15 Watercolor Painting Ideas for Beginners to Try
Master watercolor painting with 15 beginner-friendly ideas. Simple techniques, stunning results, and expert tips to start your watercolor journey!
Have you ever watched watercolor paint dance across wet paper, creating its own beautiful story? There's something magical about watercolors that captures hearts instantly. Unlike other mediums, watercolors have a life of their own, flowing and blending in ways that surprise even seasoned artists. If you've been intimidated by those gorgeous watercolor paintings on social media, here's a secret: they're actually one of the most forgiving mediums for beginners! Why? Because those "happy accidents" often create the most stunning effects. Whether you're completely new to painting or switching from another medium, these ideas will help you embrace the fluid, dreamy world of watercolors. Ready to let your creativity flow?
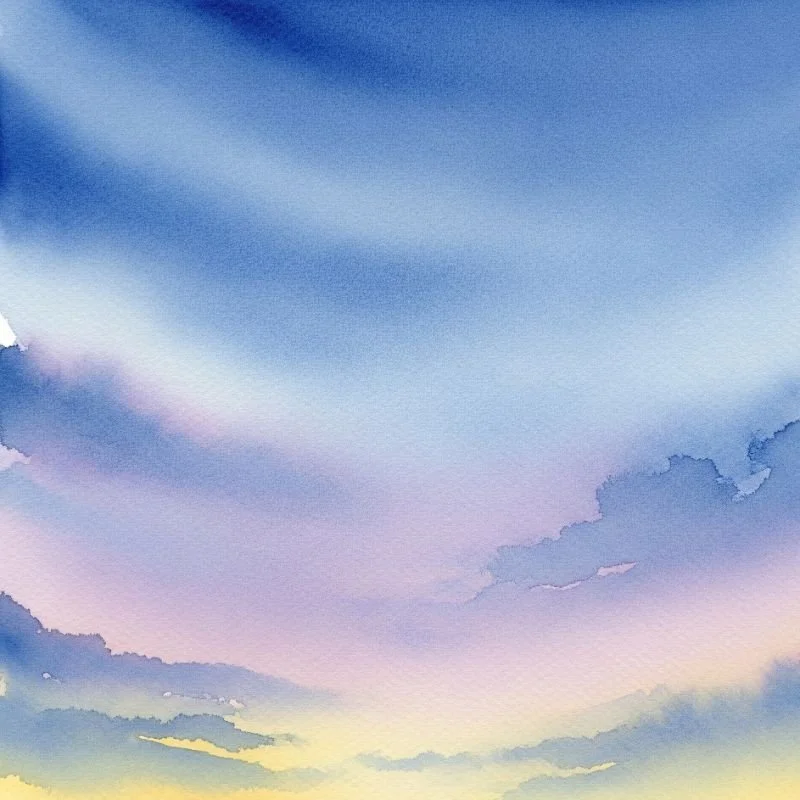
1. Simple Wet-on-Wet Sky Paintings
Ever wondered how artists create those dreamy, soft skies? The wet-on-wet technique is your answer! Start by wetting your paper with clean water, then drop in blues, purples, and pinks. Watch as colors flow into each other, creating natural cloud formations. This technique teaches you watercolor's fundamental behavior while producing stunning results. You can't really mess this up because real skies are never perfect either! Add darker colors at the top for depth, letting gravity help create gradients. The unpredictability makes each sky unique. Try sunrise colors for warmth or storm clouds for drama.
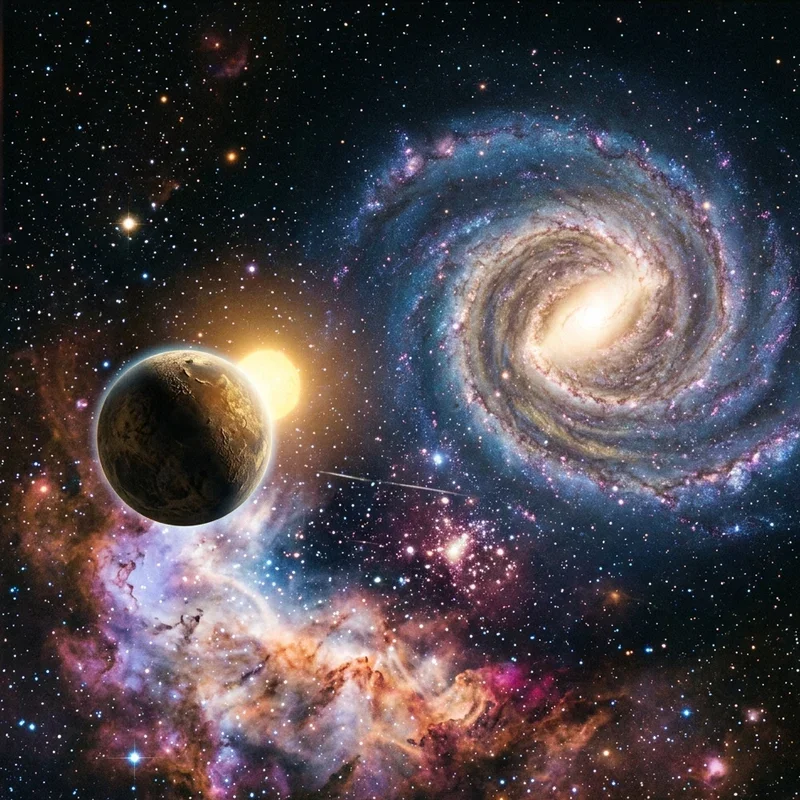
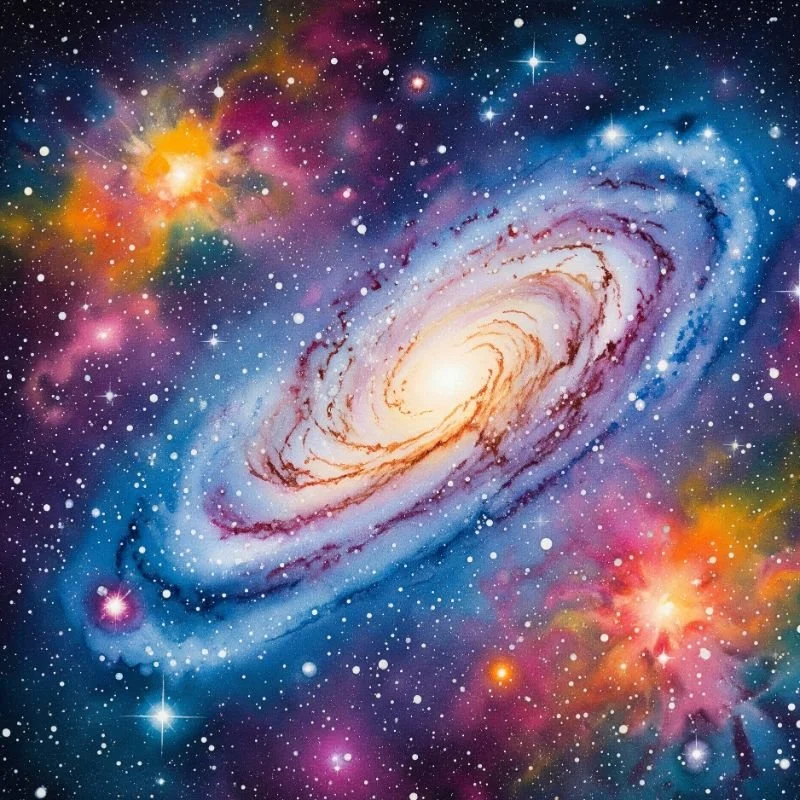
2. Colorful Watercolor Galaxies
Transform your paper into a window to the cosmos! Start with wet paper and drop in deep purples, blues, and blacks. While still wet, sprinkle salt for star clusters or use a toothbrush to splatter white paint for stars. The bleeding colors create nebula effects naturally. This project teaches color mixing on paper and brush control. You'll discover how different amounts of water affect paint flow. Add metallic watercolors for extra cosmic shimmer. The best part? Space is abstract, so whatever happens looks intentional! Create multiple small galaxies for bookmarks or one large piece for wall art.
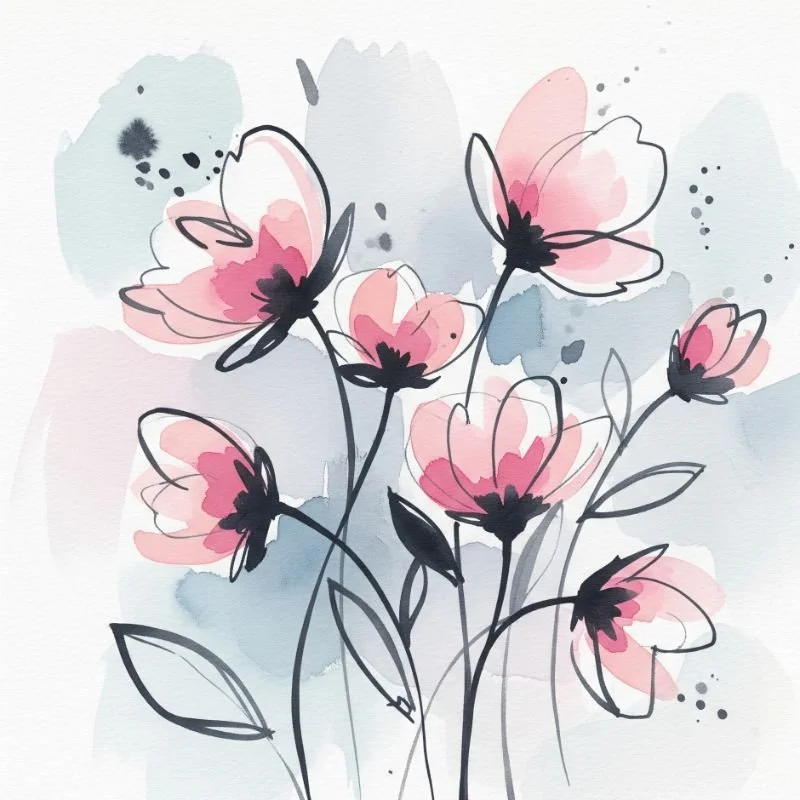
3. Easy Abstract Florals
Who says flowers need to look realistic? Abstract florals celebrate watercolor's spontaneous nature. Drop concentrated color onto wet paper for flower centers, then let the paint bloom outward. Add stems and leaves with quick, loose strokes. This technique builds confidence because there's no pressure for botanical accuracy. You'll learn how pigment concentration affects spread and how timing impacts blending. Try different color combinations: warm colors for cheerful bouquets, cool tones for elegant arrangements. These paintings work beautifully as sets. Remember, nature isn't perfect, so embrace those wonky petals!
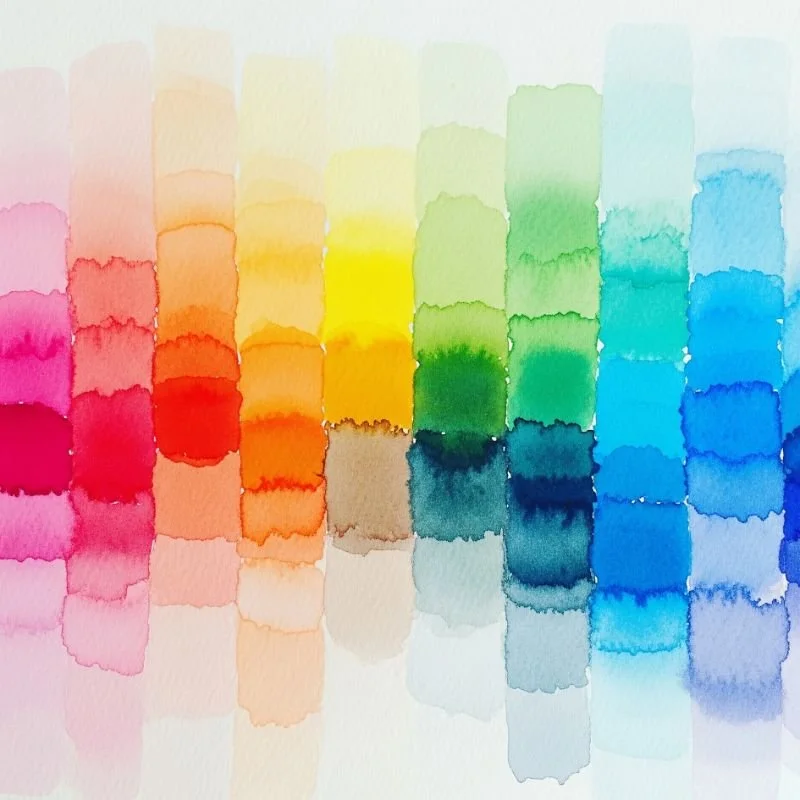
4. Gradient Color Swatches
Think of this as your watercolor workout! Creating smooth gradients teaches essential water control. Start with concentrated color at the top, adding more water as you work down. This exercise seems simple but teaches volumes about paint behavior. You'll understand how water-to-pigment ratios work and develop brush control. Create swatches of every color in your palette to understand their properties. Some colors granulate, others stay smooth. Make gradient charts for color mixing references. These swatches aren't just practice; they're beautiful abstract art pieces themselves. Frame them for modern wall decor!
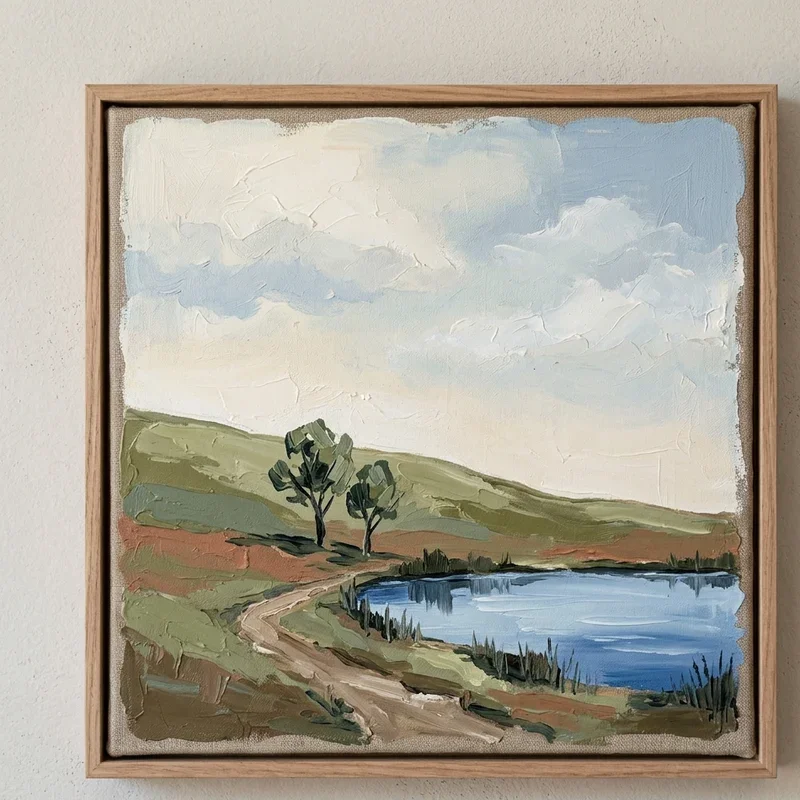
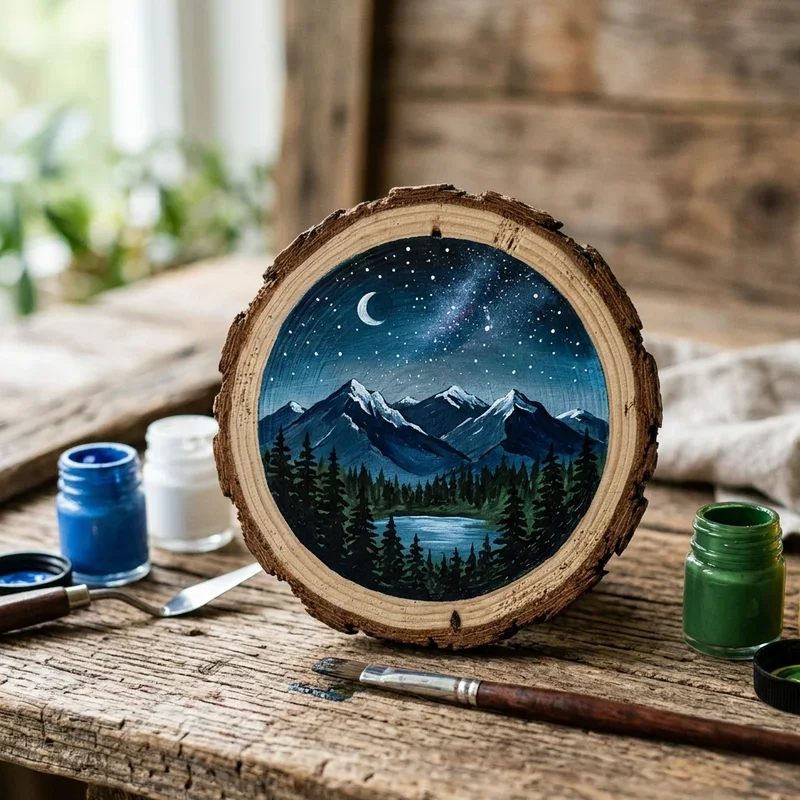
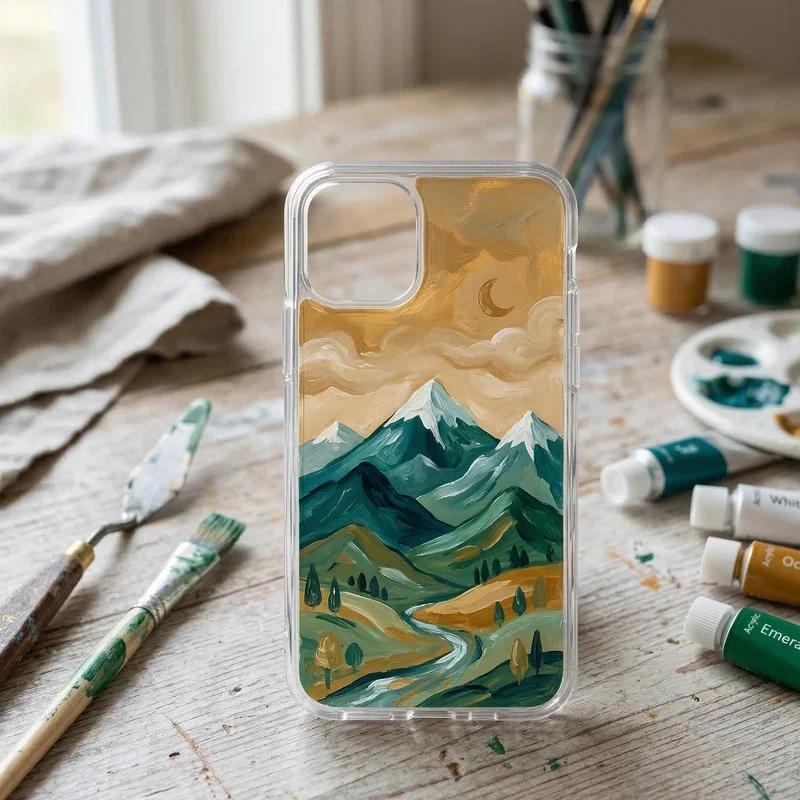
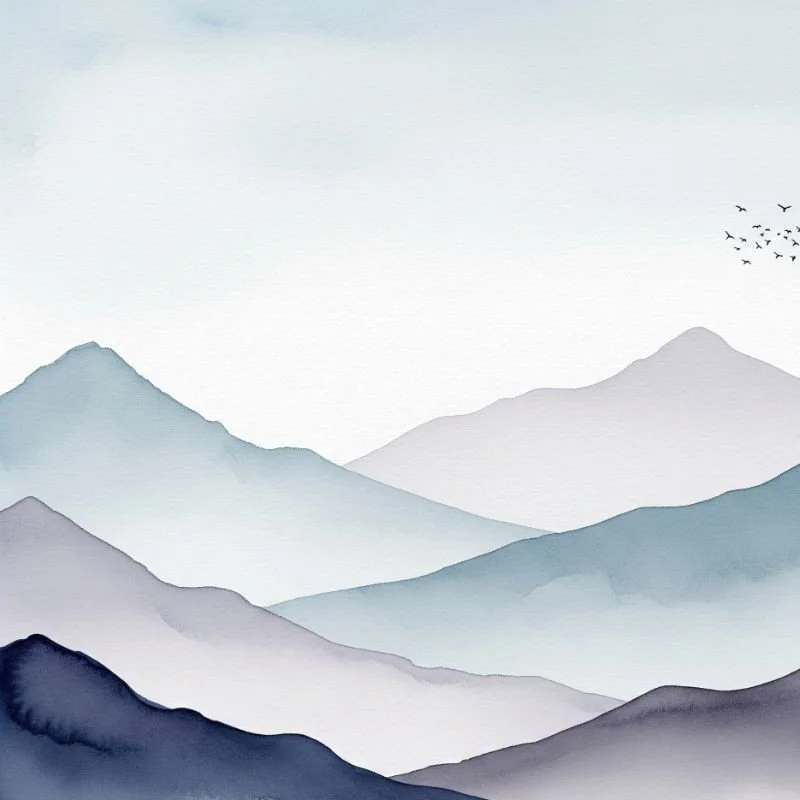
5. Minimalist Mountain Landscapes
Less is more with minimalist mountain scenes. Using just three values (light, medium, dark), create layered mountain ranges. Start with the furthest mountains in pale blue-gray, adding darker layers as you come forward. This teaches atmospheric perspective without complexity. You'll master the flat wash technique and learn patience between layers. The simplicity forces focus on technique rather than details. Add a simple sun or moon for focal interest. These peaceful scenes make perfect meditation pieces. Try different color schemes: purple mountains at sunset, green summer ranges, or classic blue mountain silhouettes.
6. Whimsical Watercolor Balloons
Balloons are perfect circles of joy for beginners! Paint simple oval shapes in bright colors, adding strings with a fine brush. The round shapes teach brush control and color intensity. While circles seem basic, getting smooth, even coverage takes practice. You'll learn when paint is too wet or too dry. Add highlights while wet by dabbing with tissue for realistic shine. Cluster balloons for birthday cards or paint single balloons floating away. Experiment with transparent layers for overlapping balloons. These cheerful subjects instantly brighten any space and make wonderful gifts!

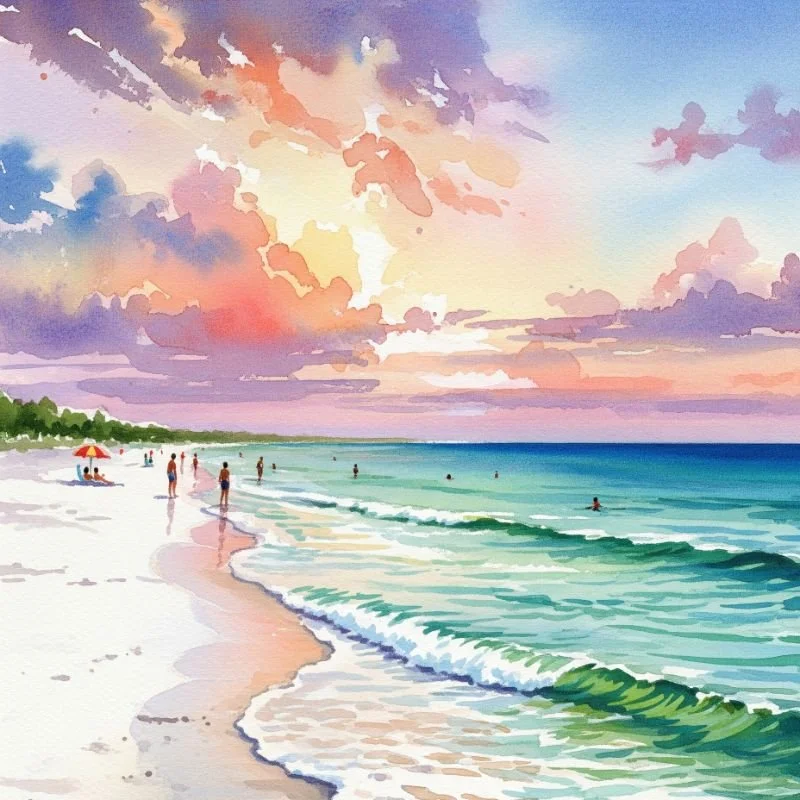
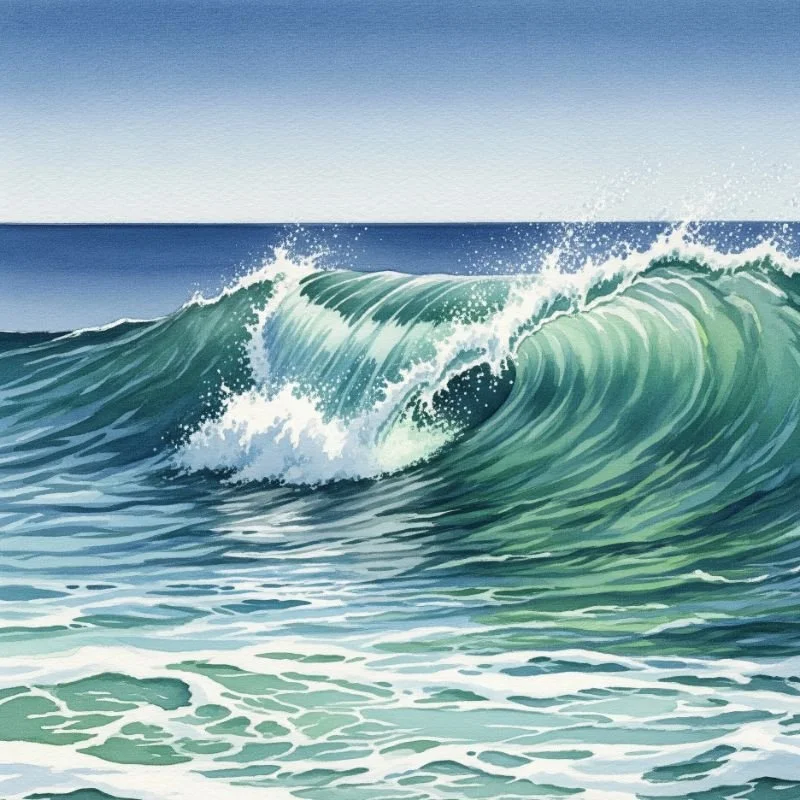
7. Ocean Wave Studies
Capture the ocean's movement with simple wave studies. Use horizontal strokes of varying blue-green shades. Leave white paper showing for foam and spray. This project teaches the importance of negative space in watercolor. You'll discover how layering creates depth and movement. Start with light washes, building darker values in wave shadows. The key is knowing when to stop; overworking kills the freshness. Try different moods: calm seas with gentle ripples or dramatic storms with dark, choppy waters. These studies improve your brushwork and understanding of water's translucent quality.
8. Botanical Leaf Prints
Nature provides perfect templates! Collect interesting leaves, paint one side, and press onto paper for prints. This technique combines real texture with watercolor's fluidity. You'll learn about paint consistency for optimal transfers. Too wet blurs details; too dry won't transfer. Layer different colored leaves for autumn scenes or use single prints for minimalist art. After printing, add details with a brush. This project connects you with nature while teaching color mixing. Green isn't just green; you'll discover yellows, blues, and browns within each leaf. Frame individual prints or create botanical collections!
9. Sunset Silhouettes
Combine vibrant sunset washes with dark silhouettes for dramatic contrast. Paint your sunset first using warm oranges, pinks, and purples. Once dry, add black silhouettes of trees, buildings, or people. This two-step process teaches patience and layering. You'll master the wet-on-dry technique and understand how dark values make bright colors pop. The silhouettes hide any imperfections in your sunset gradient. Try different subjects: city skylines, flying birds, or couples holding hands. These paintings capture mood beautifully. The contrast between light and dark creates instant visual impact perfect for greeting cards!
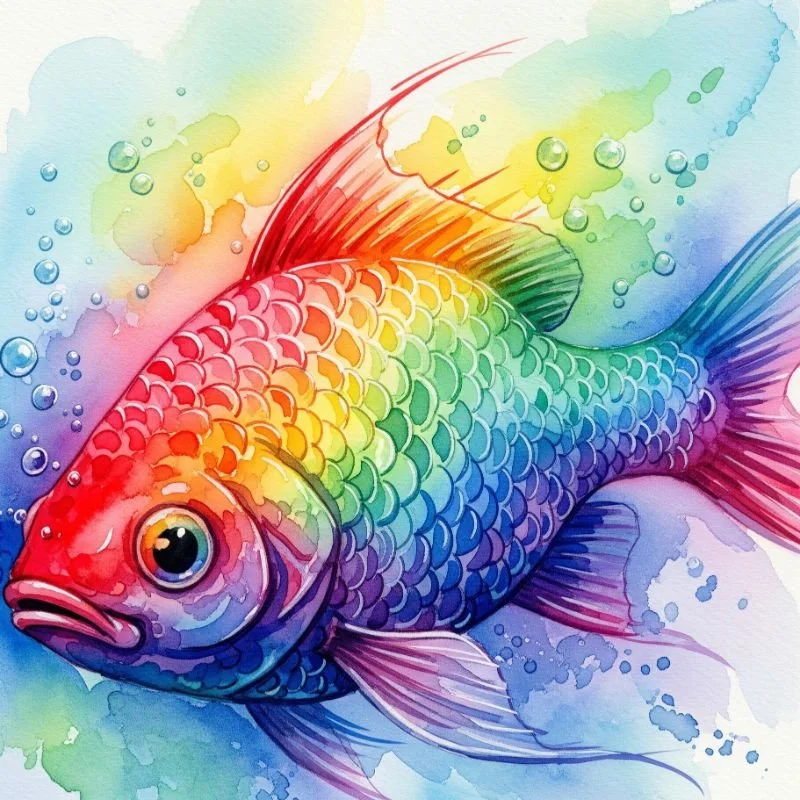
10. Rainbow Fish Paintings
Swimming into color theory! Paint simple fish shapes using rainbow gradients. Start with red at the head, transitioning through the spectrum to purple at the tail. This playful project makes color theory fun and approachable. You'll learn seamless color transitions and brush control for curved shapes. Add scales with pen once dry, or leave them abstract. Create whole schools of rainbow fish or one statement piece. Kids love these, but adults find them therapeutic too. The curved shapes teach brush flexibility. These cheerful creatures work wonderfully in bathrooms or children's rooms. Who says learning can't be colorful?
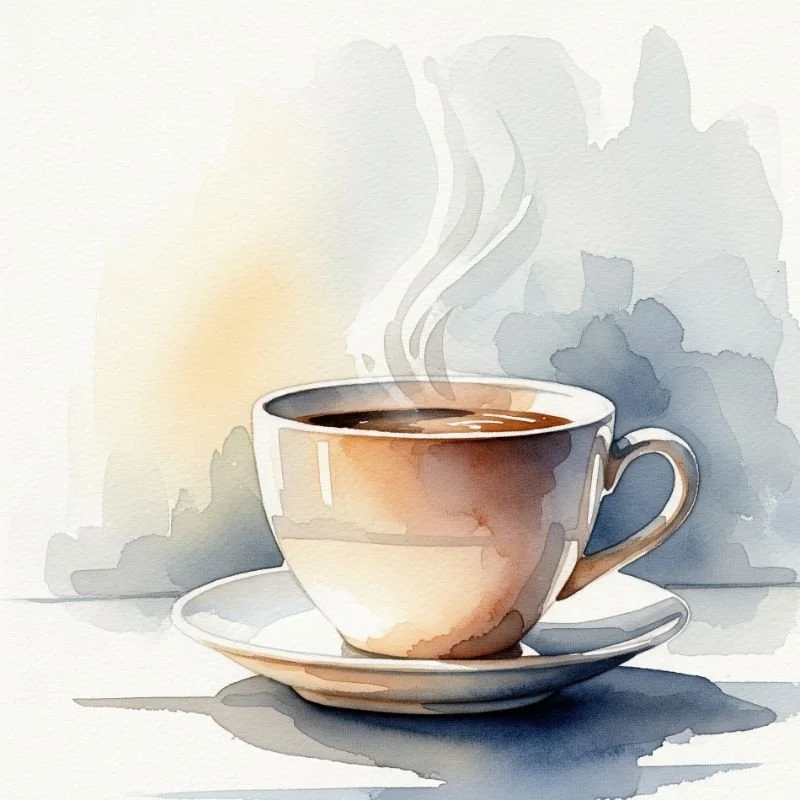
11. Coffee Cup Art
Celebrate your favorite beverage! Paint simple coffee cups with steam swirls rising above. Use warm browns for coffee, adding cream swirls with white or beige. This everyday subject removes intimidation while teaching valuable techniques. You'll practice painting cylindrical shapes and creating steam effects with very diluted paint. Add fun details like marshmallows in hot chocolate or lemon slices in tea. These paintings make perfect kitchen art or gifts for coffee lovers. Try different mug styles and patterns. The familiar subject helps you focus on technique rather than proportion. Everyone can relate to that morning cup!
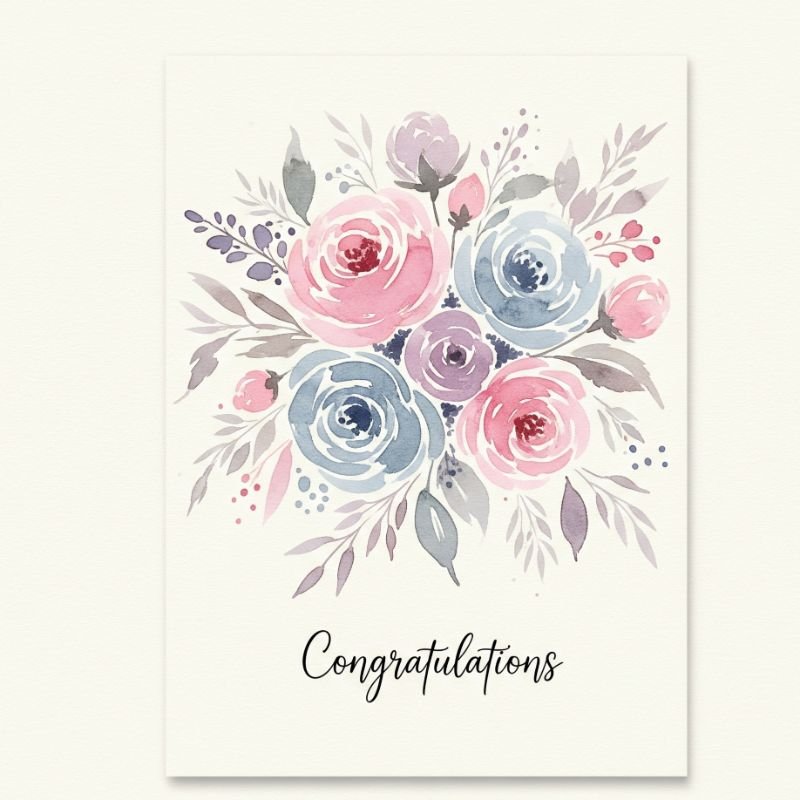
12. Watercolor Greeting Cards
Turn your practice into purposeful gifts! Create simple designs perfect for cards: birthday cakes, hearts, flowers, or abstract washes. This project teaches composition within small spaces. You'll learn to work quickly and decisively since card-sized papers dry fast. The small scale makes experiments less intimidating. Try different techniques for each card: wet-on-wet backgrounds, simple illustrations, or abstract color explosions. Add metallic accents or simple lettering. These handmade cards mean more than store-bought ones. Keep a stack ready for unexpected occasions. The best part? Recipients treasure handmade art, even if it's "imperfect"!
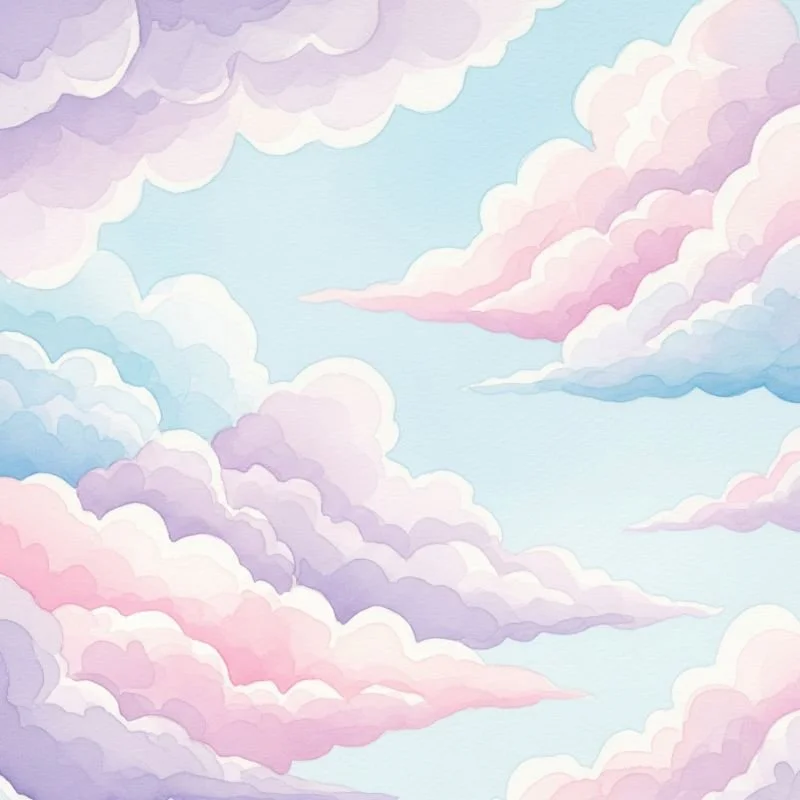
13. Dreamy Cloud Formations
Master the art of soft edges with cloud studies. Wet your paper partially, leaving dry areas for crisp cloud edges. Drop in grays and blues, letting them spread naturally. This technique teaches controlled spontaneity. You'll understand how water behaves on partially wet paper. Clouds are forgiving subjects since they're naturally irregular. Try different weather moods: fluffy white cumulus, dramatic storm clouds, or wispy cirrus streaks. Use tissue to lift paint for highlights. These studies improve your understanding of negative space and soft transitions. Plus, who doesn't love lying back and watching clouds? Now you can paint that peaceful feeling!
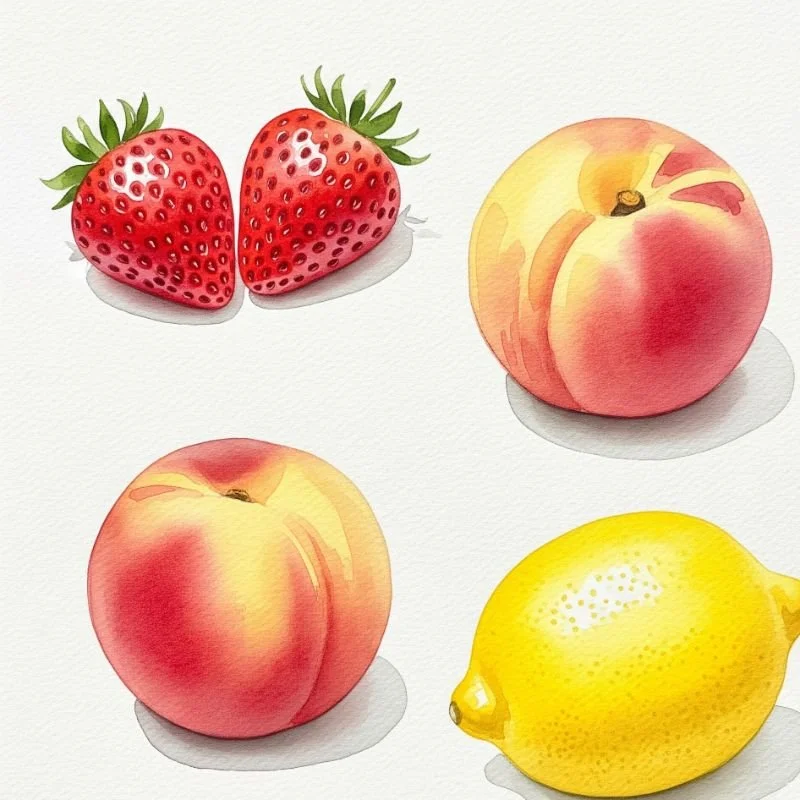
14. Simple Fruit Studies
Fruit provides perfect practice for form and color. Paint basic shapes: round oranges, oval lemons, or teardrop strawberries. This classic subject teaches color mixing and shadow placement. You'll learn to suggest dimension with value changes. Start with light washes, adding darker shadows while damp. The key is simplicity; don't overwork details. Leave highlights by preserving white paper or lifting paint with tissue. Try painting fruit slices showing translucent segments. These studies improve observation skills and color understanding. Arrange finished pieces for cheerful kitchen galleries. Remember, wonky shapes add character. Your lemon doesn't need to be perfect to be beautiful!
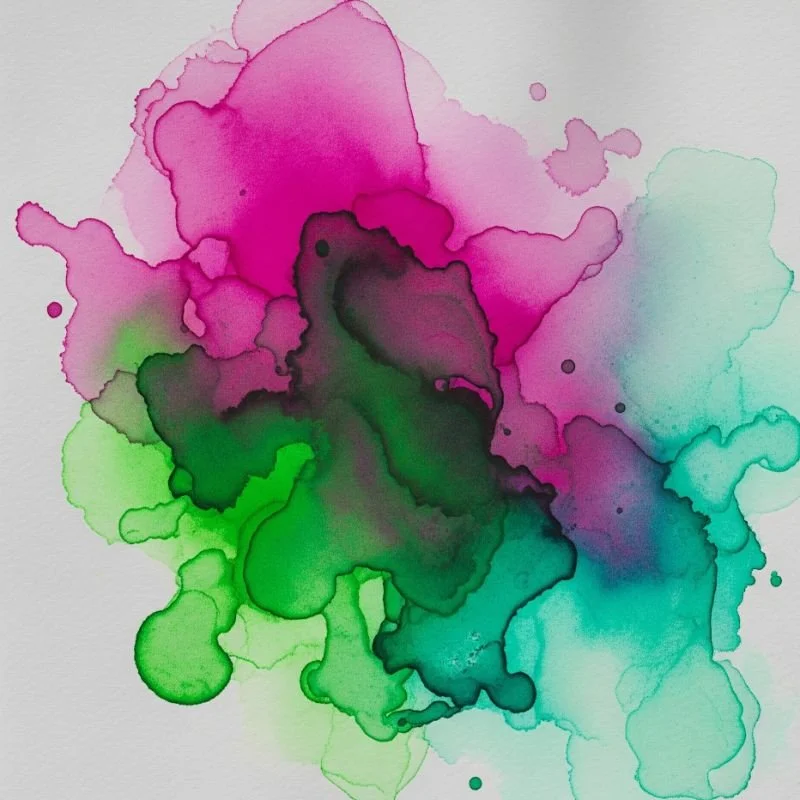
15. Abstract Color Bleeding Experiments
End with pure creative freedom! Drop different colors onto very wet paper and watch them mingle. Tilt your paper to guide paint flow, creating organic patterns. This technique celebrates watercolor's unpredictable nature. You'll discover which colors play nicely together and which create mud. Try salt, alcohol drops, or plastic wrap for texture. These experiments often produce frameable art accidentally! Document color combinations that work for future reference. The lack of planned outcome removes pressure, making this perfect for creative blocks. Use results as backgrounds for other art or frame favorites as modern abstracts. Sometimes the best art happens when you stop trying!
Conclusion
Watercolor painting opens a world where spontaneity meets beauty, transforming simple water and pigment into breathtaking art. These fifteen ideas prove you don't need years of training to create meaningful pieces that touch hearts. Remember, watercolor's true magic lies in its delightful unpredictability. Every unexpected bloom and bleed adds character to your work. Embrace the flows, celebrate the accidents, and dance with water's natural movement. Whether you're painting galaxies or coffee cups, each brushstroke teaches something new. Your artistic journey starts with one brave brushstroke, one drop of vibrant color meeting water. So grab your paints, trust the process, and let creativity flow freely onto paper. The world needs your unique artistic voice!
FAQs
1. What basic supplies do I need to start watercolor painting?
Watercolor paints, brushes, watercolor paper, water containers, and paper towels are essential.
2. Why does my watercolor paper keep buckling when wet?
Use heavier watercolor paper (140lb minimum) or tape edges down to prevent warping.
3. How do I fix mistakes in watercolor paintings?
Lift wet paint with tissue or sponge; some mistakes become beautiful happy accidents.
4. Should I draw pencil outlines before painting with watercolors?
Light pencil sketches help beginners, but keep lines minimal to maintain watercolor's freshness.
5. How long should I wait between watercolor layers?
Wait until the first layer feels dry to touch, usually 5-15 minutes depending on humidity.
Stay up to date with our latest ideas!