Do I Have to Sand Wood Before Painting?
Do I have to sand wood before painting? Learn when sanding is essential, when you can skip it, and how to get a flawless finish.

So you have got a piece of furniture sitting in your garage, a paintbrush in your hand, and one nagging question bouncing around your head. Do I have to sand wood before painting? It is the kind of question that stops DIYers dead in their tracks, and for good reason. Nobody wants to spend hours sanding if they do not have to, but nobody wants their fresh paint job peeling off in sheets either.
Here is the deal. Sanding is one of those steps that feels tedious, dusty, and frankly a little boring. But skipping it can turn a weekend project into a full-blown disaster. Or can it? The answer is not as black and white as most people think. Sometimes sanding is absolutely non-negotiable, and other times you can get away with alternatives that save you time and elbow grease.
Whether you are tackling your first bookshelf makeover or repainting kitchen cabinets for the third time, understanding when and why to sand makes all the difference between a professional-looking result and a sticky, blotchy mess. Grab a cup of coffee, settle in, and let us sort this out once and for all.
Why Sanding Exists in the First Place
Before we dive into whether you can skip it, let us talk about why sanding became a thing in the painting world. It is not just busywork that someone invented to make your life harder, promise.
Wood surfaces, especially raw ones, have a natural texture that includes tiny fibers, rough patches, and sometimes mill marks from manufacturing. When you slap paint directly onto an unprepped surface, the paint grabs onto some spots and slides right off others. The result? An uneven finish that looks amateur at best and starts chipping at worst.
Sanding does two critical things. First, it smooths out imperfections so the paint lays down evenly. Second, and this is the big one, it creates microscopic scratches on the surface that give the paint something to grip onto. Think of it like Velcro for your paint. Without that grip, you are basically asking paint to stick to a surface that does not want to cooperate.
On previously painted or finished wood, sanding serves an additional purpose. It dulls the existing finish, breaking through that slick, shiny barrier so the new paint can bond properly. Ever tried painting over a glossy surface without sanding? Yeah, it is about as effective as writing on glass with a crayon.
Do I Have to Sand Wood Before Painting Every Single Time?
Now here is where things get interesting. The short answer is no, you do not always have to sand. But the long answer requires a bit more nuance than that.
When Sanding Is Absolutely Necessary
There are situations where skipping the sandpaper is just asking for trouble. If you are dealing with any of the following scenarios, grab that sanding block and get to work.
Rough or splintered raw wood needs sanding before anything else happens. Painting over splinters just locks them in place under a coat of color, and nobody wants a surface that feels like a cactus. Previously varnished or lacquered surfaces with a high gloss also demand sanding. That shiny finish acts like a shield, and paint will not penetrate it without some scuffing first.
Furniture with existing paint that is chipping, flaking, or bubbling needs sanding to remove the damaged areas. Painting over failing paint is like putting a bandage on a bandage. It might look okay for a day, but it will not hold up. Wood with visible grain raising, water damage, or stains should also get a thorough sanding to create a clean, uniform surface.
When You Might Get Away Without Sanding
On the flip side, there are circumstances where sanding is not strictly required. If you are working with clean, smooth raw wood that has no rough spots or mill marks, a good primer alone might do the trick. Some modern primers are specifically designed to bond without sanding, and they actually deliver on that promise.
Previously painted surfaces in good condition with a flat or satin sheen can sometimes accept a new coat with just a thorough cleaning. If the existing paint is not peeling and the surface is not glossy, a deglosser or liquid sanding product can create enough tooth for the new paint to stick.
Chalk paint deserves a special mention here too. It is formulated to adhere to most surfaces without sanding or priming. For casual, shabby-chic projects where perfection is not the goal, chalk paint can be a real lifesaver.

The Different Types of Sanding and What They Do
Not all sanding is created equal, and using the wrong approach can actually do more harm than good. Let us walk through the main types so you know exactly what each one accomplishes.
Light Scuff Sanding
This is the most common type for painting prep and the least intimidating. You are not trying to strip anything or reshape the wood. You are just lightly going over the surface with fine-grit sandpaper, usually 150 to 220 grit, to create a slightly rough texture. Think of it as giving the wood a five o'clock shadow instead of a full beard. It takes just a few minutes per surface and makes a world of difference in paint adhesion.
Medium Sanding for Surface Prep
When you are dealing with rougher wood, old finishes, or minor imperfections, stepping down to 100 to 150 grit gets the job done. This level of sanding removes a thin layer of material and smooths out bumps, scratches, and uneven spots. It is the sweet spot for most furniture refinishing projects.
Heavy Sanding or Stripping
Reserved for serious situations like removing multiple layers of old paint, taking off thick varnish, or reshaping wood, heavy sanding uses coarser grits in the 60 to 80 range. This is real work, the kind that leaves your arms sore and your shop covered in dust. Most painting projects do not require this level of aggression unless you are starting from scratch on a heavily coated piece.
Between-Coat Sanding
Here is one that catches a lot of people off guard. Sanding between coats of paint or primer is actually just as important as the initial prep sanding. A quick pass with 220-grit sandpaper between coats knocks down any brush marks, dust nibs, or raised grain and helps each subsequent coat bond to the one beneath it. Skip this step and you might end up with a bumpy, textured finish that no amount of final coating will fix.
Alternatives to Traditional Sanding
Alright, so maybe you absolutely despise sanding. The dust gets everywhere, it takes forever on detailed pieces, and your neighbor keeps giving you dirty looks when you fire up the orbital sander at eight in the morning. Fair enough. There are alternatives worth considering.
Liquid Deglosser
Also called liquid sandpaper, this chemical solution wipes onto surfaces with a cloth and chemically etches the existing finish to create grip for new paint. It works well on flat, accessible surfaces and eliminates the dust problem entirely. However, it is not a miracle worker. It will not smooth out rough wood or remove heavy texture. Think of it as a shortcut for surfaces that are already in decent shape.
Bonding Primers
Products like Zinsser BIN, KILZ Adhesion, and similar bonding primers are formulated to stick to slick surfaces without sanding. They create a grippy base coat that regular paint can latch onto. For furniture makeovers where time is tight, a quality bonding primer can genuinely replace the sanding step on smooth, previously finished surfaces.
Chalk Paint and Mineral Paint
As mentioned earlier, chalk-style paints are designed to skip the sanding step altogether. They grip onto most surfaces through their unique formulation, and many devoted chalk paint fans have never touched a piece of sandpaper in their lives. The trade-off is that chalk paint requires a topcoat like wax or polyurethane to protect the finish, so you are swapping one step for another.
Chemical Paint Strippers
When you need to remove old paint entirely but do not want to sand, chemical strippers dissolve existing coatings so you can scrape them off. This is particularly useful for detailed furniture with carvings, spindles, or intricate moldings where sanding is practically impossible. Just make sure you work in a well-ventilated area and follow the product instructions carefully. That stuff is no joke.

Step-by-Step Guide to Sanding Wood Before Painting
For those times when sanding is the right call, here is a straightforward process that gets professional results without overcomplicating things.
Start by cleaning the wood surface thoroughly. Dust, grease, and grime need to go before sandpaper ever touches the piece. A damp cloth or a tack cloth works perfectly for this. If there is any built-up grime, a mixture of warm water and mild dish soap handles it nicely.
Choose your sandpaper grit based on the surface condition. For raw wood with minor roughness, start at 120 grit and finish at 220. For previously painted surfaces in good condition, 150 to 220 grit is plenty. For heavily damaged or rough surfaces, start at 80 and work your way up through the grits progressively.
Always sand in the direction of the wood grain. Going against the grain creates scratches that show through paint like a sore thumb. Use long, even strokes with consistent pressure. Let the sandpaper do the work instead of pressing down like you are trying to push through the wood.
After sanding, remove every last bit of dust. A tack cloth is your best friend here, followed by a slightly damp rag. Any dust left on the surface gets trapped under your primer and paint, creating a gritty texture that ruins the smoothness you just worked so hard to achieve.
Apply primer once the surface is clean and dry. Even on sanded surfaces, primer improves adhesion and creates a uniform base for your topcoat. Let it dry completely, then do a light scuff sand with 220 grit before applying your first coat of paint.
Common Mistakes People Make When Sanding for Paint
Even seasoned DIYers fall into these traps, so do not feel bad if you have made these blunders before. The important thing is knowing what to avoid going forward.
Over-Sanding the Surface
More is not always better. Sanding too aggressively or using too coarse a grit on delicate wood can gouge the surface, round off edges, and create low spots that show through paint. You are prepping, not sculpting. A light touch with appropriate grit is all you need.
Skipping Grits
Jumping from 80 grit straight to 220 is tempting when you are in a hurry, but it leaves deep scratches from the coarse paper that the fine paper cannot remove. Always step up through grits gradually. Going from 80 to 120 to 180 to 220 gives you a progressively smoother surface at each stage.
Ignoring Dust Removal
This one is sneaky. You do a fantastic job sanding, the surface feels smooth as silk, and you get excited and start painting right away. Big mistake. Sanding dust sitting on the surface gets mixed into your paint and creates a grainy, rough finish. Take the extra two minutes to wipe everything down thoroughly.
Using Worn-Out Sandpaper
Old sandpaper that has lost its grit does not sand. It polishes. And polishing is the opposite of what you want when prepping for paint. If your sandpaper feels smooth or is not producing dust, swap it out for a fresh piece. Sandpaper is cheap. Repainting an entire project because of bad prep is not.
How Different Wood Types Affect Your Sanding Approach
Not every piece of wood behaves the same under sandpaper, and understanding these differences saves you a lot of frustration.
Softwoods like pine, cedar, and spruce sand easily but also scratch easily. Use lighter pressure and finer grits to avoid digging in. Pine in particular has a tendency to develop swirl marks from orbital sanders, so hand sanding or using a random orbital on a low setting works better.
Hardwoods like oak, maple, and walnut are more forgiving in terms of scratching but require more effort to sand. The dense grain resists the paper, so you might need to spend more time on each section. The good news is that hardwoods typically produce a smoother final surface.
Plywood and MDF have their own quirks. The face veneer of plywood is often very thin, so aggressive sanding can go right through it and expose the layers beneath. MDF does not have grain, so sanding direction matters less, but it produces an incredibly fine dust that gets absolutely everywhere. Wear a mask, seriously.

The Bottom Line on Do I Have to Sand Wood Before Painting
Look, the question of do I have to sand wood before painting does not have a one-size-fits-all answer, and anyone who tells you otherwise is oversimplifying things. The real answer depends on what you are painting, what condition it is in, what type of paint you are using, and how durable you need the finish to be.
For high-traffic items like kitchen cabinets, dining tables, and chairs, sanding is practically mandatory. These pieces take a beating daily, and the paint needs every advantage it can get to hold up over time. For decorative items, accent pieces, or projects where a rustic look is actually desirable, you have more flexibility to explore alternatives.
The safest bet? When in doubt, sand. It adds maybe 30 minutes to an hour for most projects, and the payoff in terms of finish quality and durability is enormous. Your future self, the one who is not repainting a peeling dresser six months from now, will thank you.
Conclusion
So do I have to sand wood before painting? In most cases, yes, a quick sanding makes your paint job look better and last significantly longer. However, modern alternatives like bonding primers, deglossers, and chalk paints offer legitimate shortcuts for the right situations. The key is matching your prep method to your project. Take five minutes to assess the surface condition, choose your approach wisely, and you will end up with a finish that looks like a professional handled it.
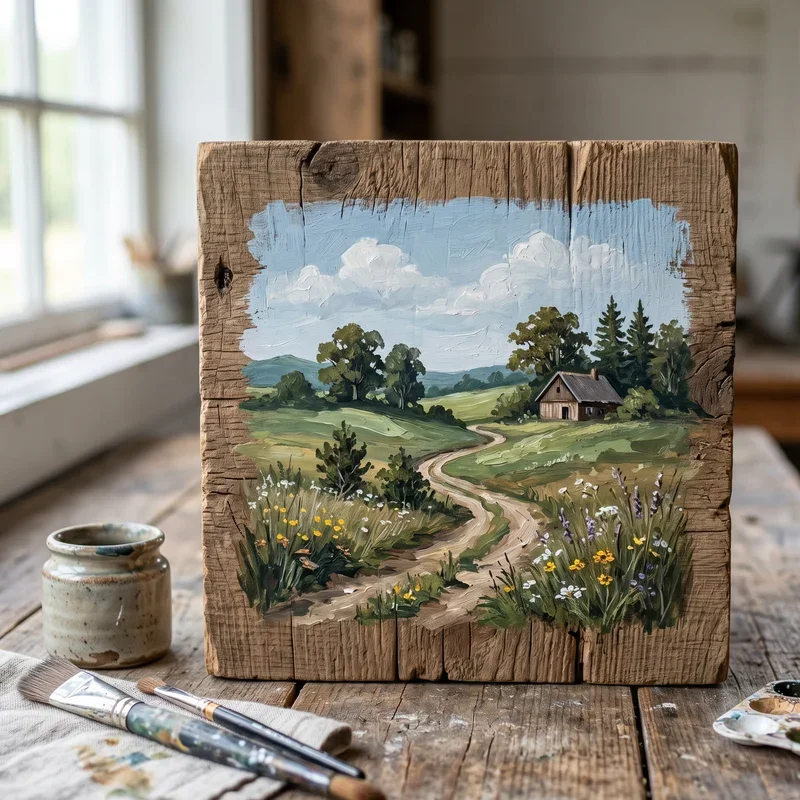
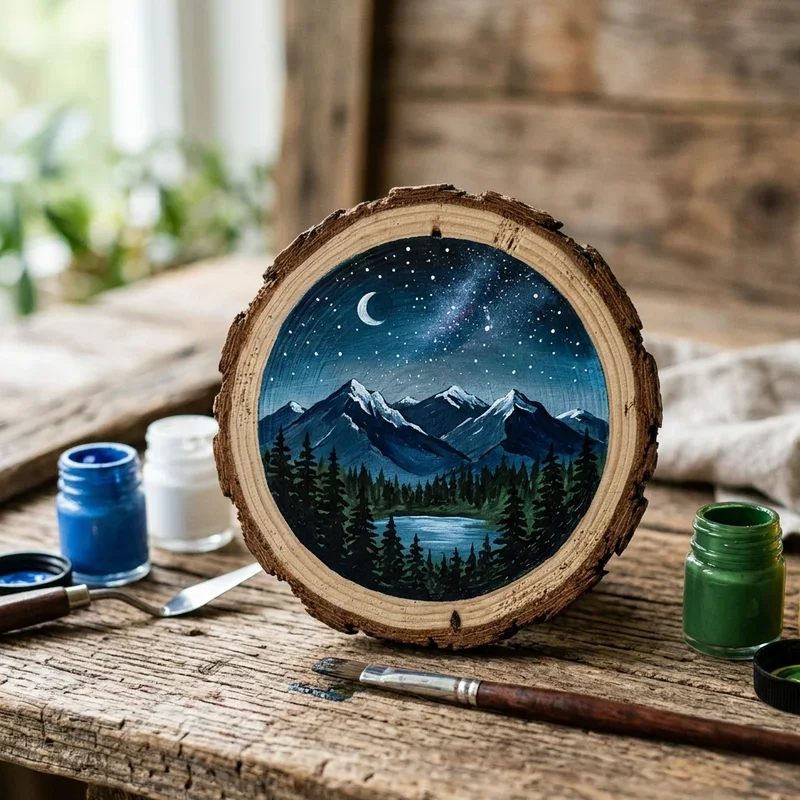
Read next: 15 Wood Slice Painting Ideas for Charming DIY Decor
Frequently Asked Questions
1.Do I have to sand wood before painting with chalk paint?
No, chalk paint is specifically formulated to adhere to most surfaces without sanding.
2.What grit sandpaper should I use before painting wood?
Use 150 to 220 grit sandpaper for most standard wood painting preparation projects.
3.Can I use a liquid deglosser instead of sanding?
Yes, liquid deglossers work well on smooth, previously finished surfaces in good condition.
4.Do I need to sand between coats of paint?
Light sanding with 220 grit between coats creates a smoother and more durable finish.
5.How long should I wait after sanding before painting?
You can paint immediately after sanding once all dust is thoroughly cleaned and removed.
Stay up to date with our latest ideas!