15 Flower Painting Ideas for Every Skill Level
Discover 15 inspiring flower painting ideas perfect for beginners to advanced artists. Transform petals into masterpieces today!

Have you ever gazed at a garden bursting with colorful blooms and wished you could capture that beauty on canvas? You're not alone! Flower painting has captivated artists for centuries, and there's something magical about translating nature's delicate petals into permanent art. Whether you're clutching a paintbrush for the first time or you've been creating art for years, flowers offer endless possibilities for creative expression. Think of each flower as a unique teacher, ready to guide you through new techniques and color combinations. From simple daisies that welcome beginners with open arms to complex roses that challenge seasoned artists, this journey through 15 flower painting ideas will help you discover projects perfectly matched to your skill level. Ready to let your creativity blossom?
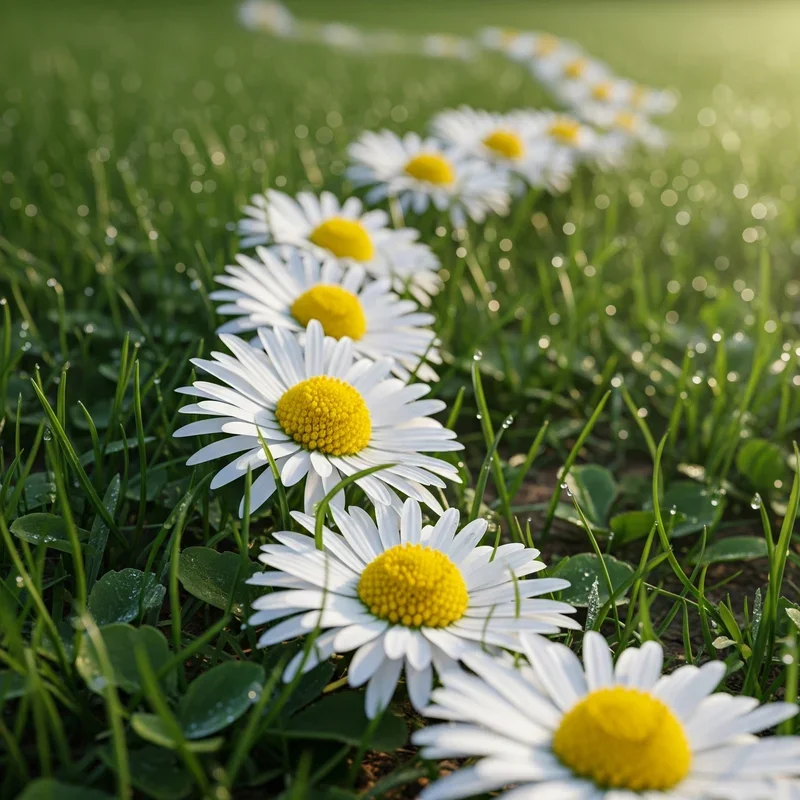
1. Simple Daisy Chain for Absolute Beginners
Starting your flower painting journey doesn't require complex techniques or expensive supplies. Daisies are the perfect gateway flowers because their simple structure forgives mistakes while teaching fundamental skills. Begin with basic white circles for petals and add yellow centers using a small brush or even your fingertip. The beauty of painting daisies lies in their imperfection; nature never creates identical petals, so neither should you! Try creating a chain of daisies across your canvas, connecting them with gentle green stems. This project teaches you brush control, color mixing for various shades of white and cream, and the basics of composition. You'll discover how shadows beneath petals create dimension and how a touch of blue in white paint mimics natural lighting.
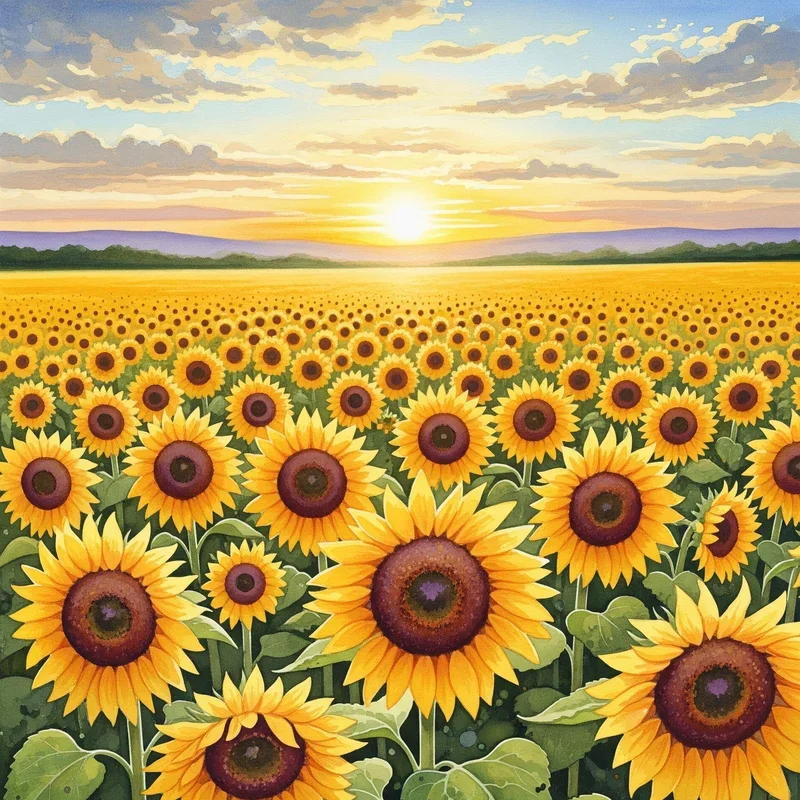
2. Watercolor Sunflowers: Your First Bold Statement
Sunflowers burst with confidence, making them ideal for painters ready to embrace vibrant colors. Start by sketching large circles and add petals radiating outward like sun rays. The key to stunning sunflower paintings lies in layering yellows, oranges, and touches of brown to create depth. Don't worry about perfect symmetry; sunflowers in nature lean, twist, and dance in the breeze. Use wet-on-wet watercolor techniques to blend colors naturally, creating that gorgeous gradient from deep golden centers to bright yellow tips. Add texture to the center using a dry brush technique or by sprinkling salt on wet paint. This project builds your confidence with bold color choices and teaches you how water controls paint flow. Your sunflowers will radiate warmth and energy, proving that bigger brushstrokes can create bigger impact on your artistic journey.
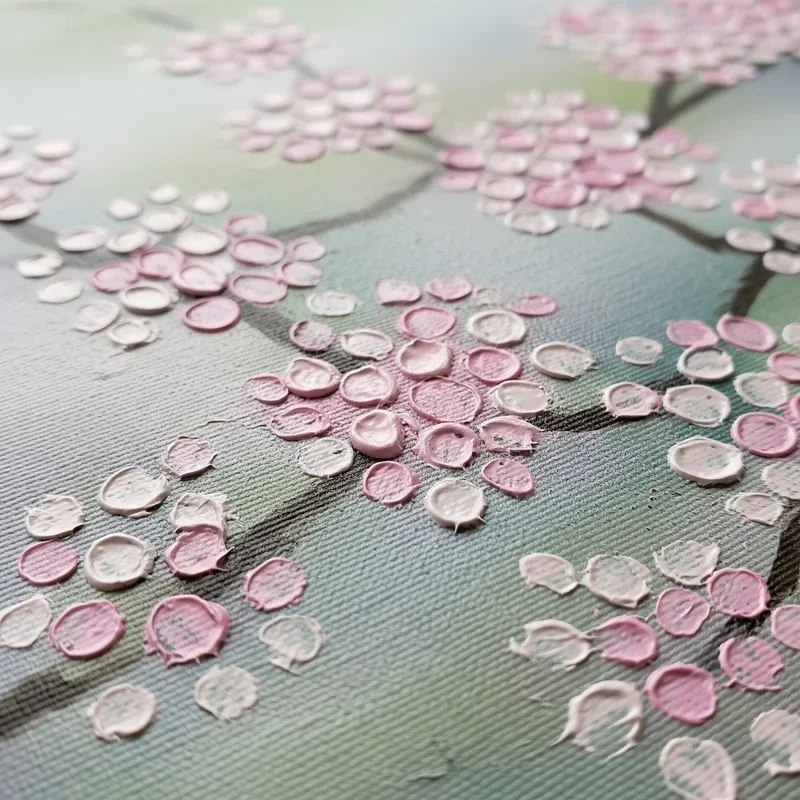
3. Abstract Cherry Blossoms Using Cotton Swabs
Who says you need expensive brushes to create beautiful art? Cotton swabs transform into perfect tools for painting delicate cherry blossoms. This technique removes the pressure of precision while maintaining the ethereal quality these flowers represent. Dip cotton swabs in pink and white paint, then gently dab clusters across your canvas to form blooming branches. Layer different shades of pink, from pale blush to deep magenta, creating depth and movement. Add thin brown branches using a fine brush or even a toothpick. The beauty of this abstract approach means every "mistake" becomes part of the artistic interpretation. You'll learn about negative space, color harmony, and how simple tools can produce sophisticated results. This project proves that art accessibility isn't about having professional supplies but about creative problem-solving and embracing unconventional methods.
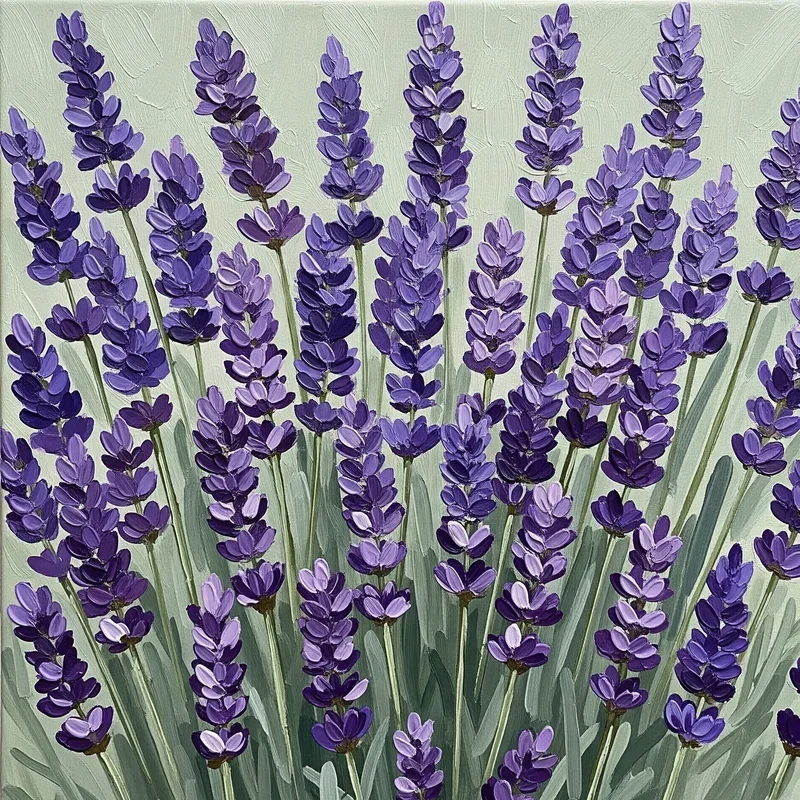
4. Minimalist Lavender Sprigs with Basic Brushstrokes
Minimalism in flower painting teaches you that less truly can be more. Lavender sprigs offer the perfect subject for exploring economy of brushstrokes while maintaining botanical accuracy. Using just purple, green, and white, create delicate stems with single upward strokes, then add tiny purple dots or short lines for individual flowers. The challenge lies in suggesting detail without overworking the paint. This project develops your brush control and teaches you about visual rhythm through repetition. Space your lavender sprigs thoughtfully across the canvas, creating a calming composition that breathes. You'll discover how varying the pressure on your brush creates different line weights, adding interest without complexity. The finished piece radiates tranquility, perfect for meditation spaces or bedroom walls, proving that powerful art doesn't always shout; sometimes it whispers.
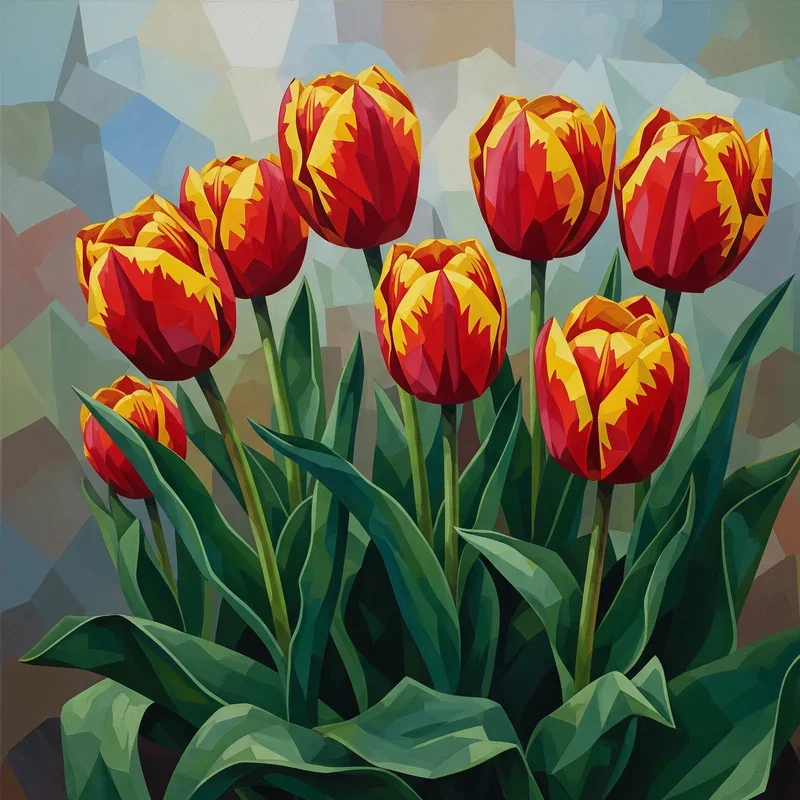
5. Geometric Tulips: Where Math Meets Art
Transform traditional flower painting by incorporating geometric shapes into organic tulip forms. Start by sketching tulips using triangles and diamonds as building blocks, then soften some edges while keeping others sharp. This contemporary approach bridges the gap between abstract and representational art. Choose a limited color palette, perhaps three shades of red or pink, to maintain visual cohesion. Fill each geometric section with flat color or subtle gradients, creating a stained-glass effect. This project enhances your understanding of shape relationships and color theory. You'll learn how geometric interpretation can modernize classical subjects and how mathematical precision can coexist with artistic expression. The result is a striking piece that appeals to both traditional flower art lovers and contemporary design enthusiasts, perfect for modern living spaces seeking botanical elements with an edge.
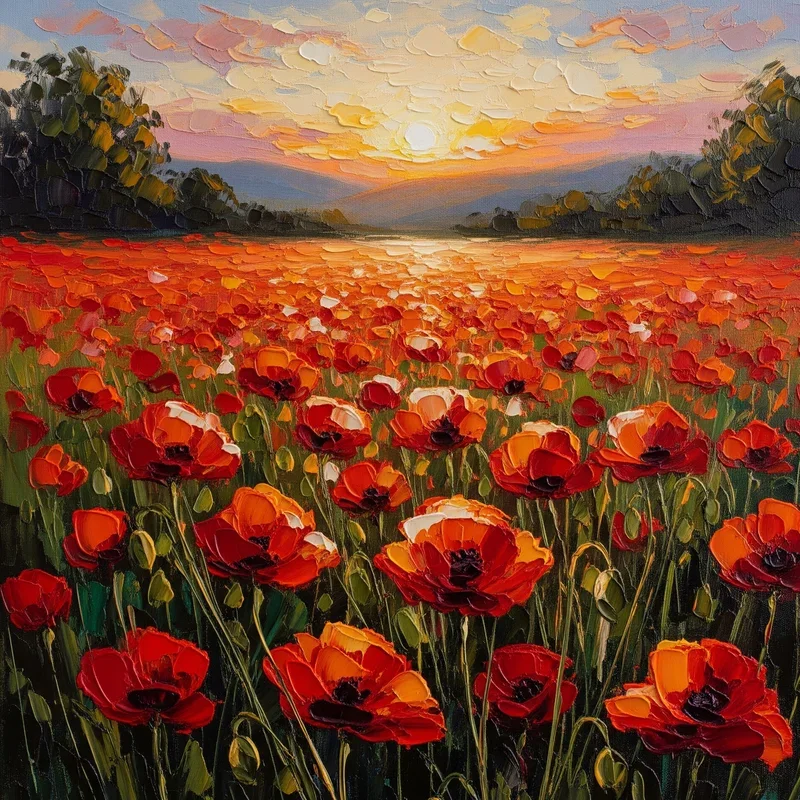
6. Impressionist Poppies with Palette Knife Technique
Channel your inner Monet by creating impressionist poppies using a palette knife instead of traditional brushes. This technique produces bold, textured petals that seem to dance off the canvas. Load your palette knife with thick paint and apply it in swift, confident strokes to build poppy petals. Mix reds, oranges, and pinks directly on the canvas for spontaneous color variations. The palette knife naturally creates interesting edges and textures that brushes can't replicate. Don't aim for photographic accuracy; instead, capture the essence and movement of poppies swaying in a breeze. Add green stems and leaves with the knife's edge, creating sharp, energetic lines. This project teaches you about paint thickness, texture creation, and the importance of decisive mark-making. Your finished piece will vibrate with energy and movement, showcasing how different tools dramatically change artistic outcomes.
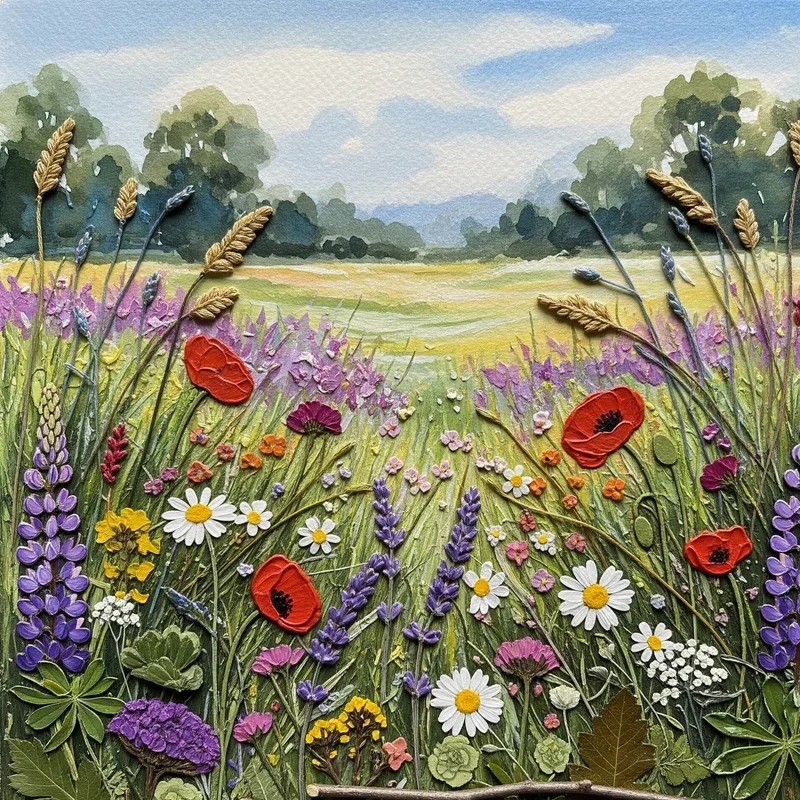
7. Mixed Media Wildflower Meadow
Combine various techniques and materials to create a dynamic wildflower meadow that tells a story. Start with a watercolor wash background suggesting sky and distant hills, then layer acrylic paint for middle-ground flowers. Add texture using tissue paper for delicate petals or sand mixed with paint for seedheads. Incorporate pen work for fine details like stamens and grass blades. This project encourages experimentation and teaches you how different media interact. You'll discover which flowers work best in each medium: watercolor for soft cosmos, acrylics for bold black-eyed Susans, and ink for delicate Queen Anne's lace. The key is building layers gradually, allowing each to dry before adding the next. This approach creates depth and visual interest that keeps viewers discovering new details. Your meadow becomes a celebration of technique variety and artistic freedom.
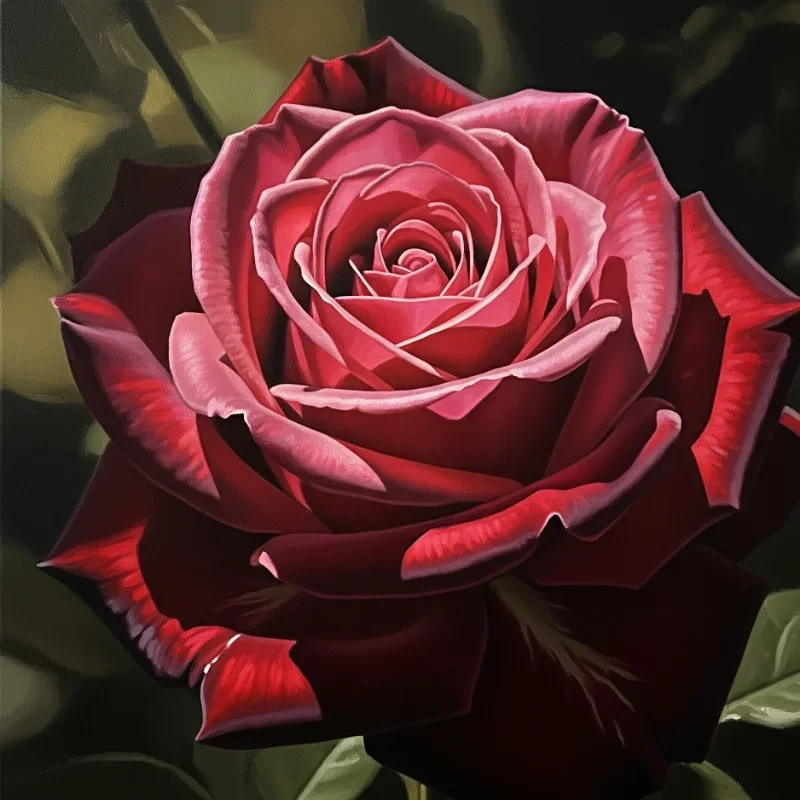
8. Realistic Rose Study: Mastering Light and Shadow
Roses represent the ultimate challenge in flower painting, demanding understanding of complex petal arrangements and subtle color variations. Begin with careful observation of a real rose or high-quality photograph, noting how light travels through translucent petals. Build your rose slowly, starting with the center spiral and working outward. Mix multiple shades for each petal, considering reflected light and cast shadows. Pay attention to edges; some are sharp where petals fold, others soft where they curve. This project develops your patience and observational skills while teaching advanced color mixing. You'll learn how warm and cool variations of the same color create dimension. Add dewdrops using tiny touches of white and transparent glazes for that fresh-picked appearance. This intensive study elevates your technical skills and proves that realistic painting combines scientific observation with artistic interpretation.
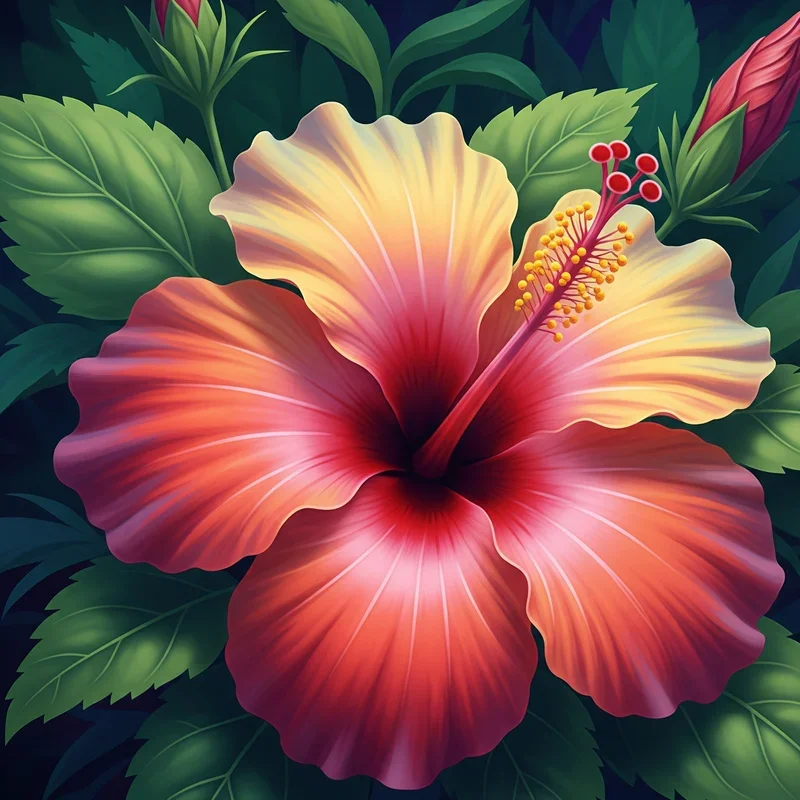
9. Tropical Hibiscus with Gradient Techniques
Transport viewers to paradise by mastering gradient techniques through tropical hibiscus paintings. These dramatic flowers showcase nature's bold color transitions, perfect for learning smooth blending methods. Start with the flower's trumpet center, blending deep burgundy into bright red, then fading to pink or orange at petal edges. Use a clean, damp brush to soften transitions between colors while paint remains wet. The key lies in working quickly and confidently, as hesitation creates unwanted lines. Add the prominent stamen and pistil with precise brushwork, using contrasting colors to make them pop. Include glossy leaves using various green gradients to complement your flower. This project strengthens your color theory understanding and brush control while teaching you about tropical light's intensity. Your finished hibiscus will radiate warmth and vitality, bringing tropical elegance to any space.
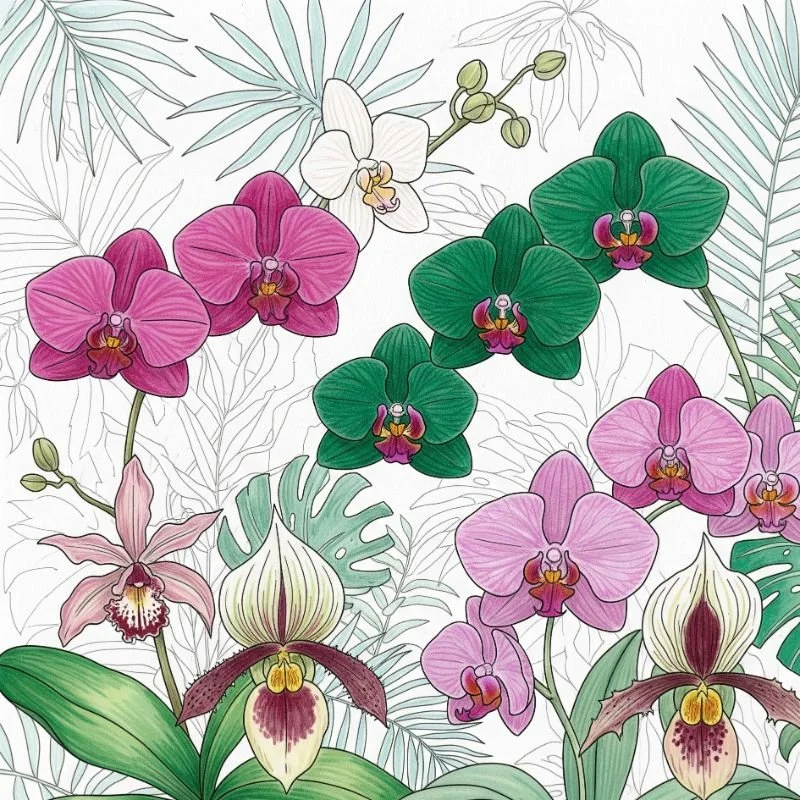
10. Delicate Orchids: Advanced Watercolor Layering
Orchids demand precision and patience, making them perfect for advancing your watercolor skills through sophisticated layering techniques. Begin with pale washes to establish basic shapes, then gradually build intensity through multiple transparent layers. The challenge lies in maintaining luminosity while adding depth. Study orchid anatomy carefully; their complex structures include specialized petals, sepals, and labellums, each requiring different treatment. Use masking fluid to preserve highlights on petal edges and spots. Work wet-on-dry for sharp details and wet-on-wet for soft color transitions within petals. This project teaches restraint and planning, as watercolor doesn't forgive heavy-handed approaches. You'll develop patience between layers and learn how subtle color temperature shifts create three-dimensional effects. The resulting orchids appear to glow from within, demonstrating watercolor's unique ability to capture translucent beauty.

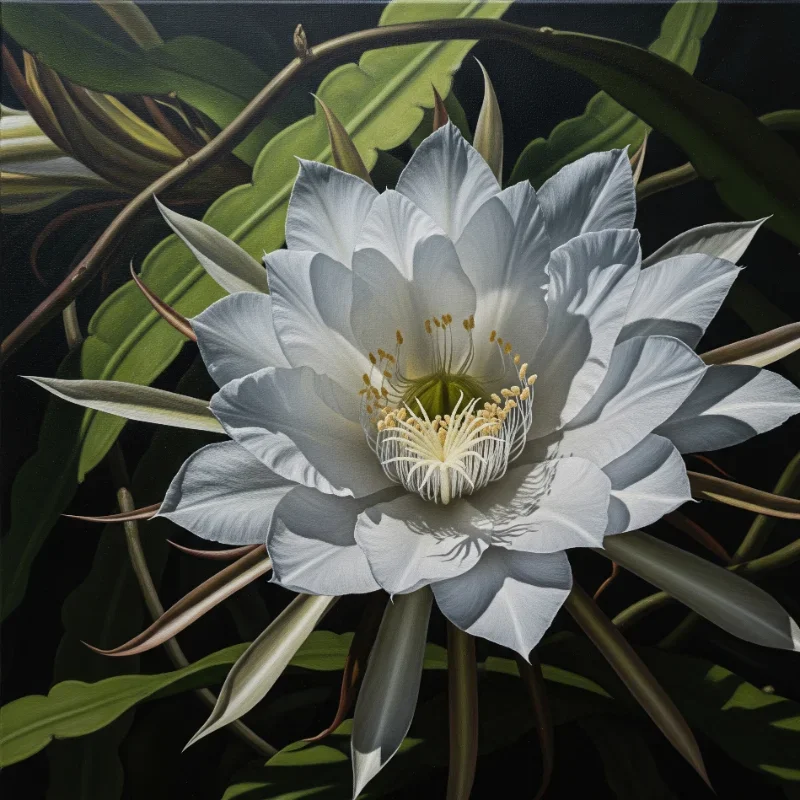
11. Night-Blooming Cereus in Dramatic Lighting
Explore dramatic contrast by painting the elusive night-blooming cereus against a dark background. This rare flower that blooms only at night offers lessons in creating luminosity through contrast. Start with a black or deep blue background, then build your flower using whites, creams, and pale yellows. The key is making the flower appear to emit its own light. Use dry brushing techniques to create the papery texture of petals, and add subtle color variations to prevent flat white areas. Include moonlight effects by adding blue tints to shadow areas. This project teaches you about value relationships and how darkness enhances light. You'll learn to create glow effects and understand how limited color palettes can produce powerful results. The finished painting captures a magical moment rarely witnessed, showcasing nature's nocturnal beauty.
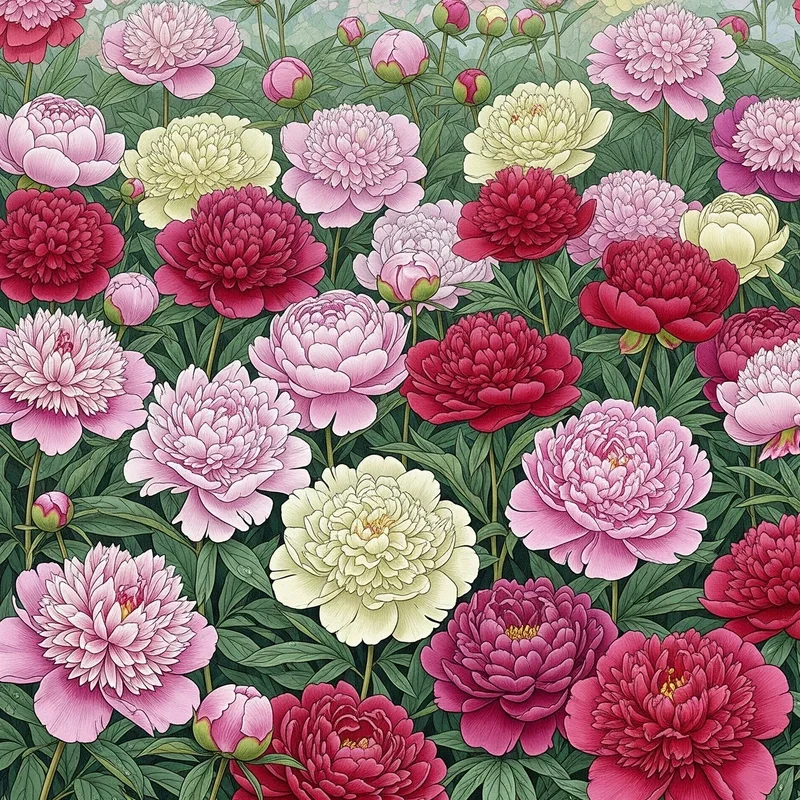
12. Botanical Illustration Style Peonies
Merge art with science by creating peonies in botanical illustration style, emphasizing accuracy while maintaining artistic appeal. Study peony structure meticulously, counting petals and observing their arrangement patterns. Use fine brushes to render individual petals with precise edges and subtle color variations. Include botanical details like visible stamens, leaf veins, and even root systems if creating a complete study. This project demands patience and develops your observational drawing skills alongside painting techniques. Work in layers, building from light to dark, maintaining clean edges throughout. Add Latin names and scale indicators for authenticity. You'll learn how scientific accuracy enhances artistic appreciation and how limitation breeds creativity. This methodical approach teaches discipline and attention to detail while producing artwork suitable for both gallery walls and botanical reference libraries. The result bridges art and education beautifully.
13. Contemporary Lotus with Gold Leaf Accents
Elevate traditional lotus painting by incorporating gold leaf accents, creating artwork that bridges Eastern and Western aesthetics. Paint your lotus in soft pinks or whites, focusing on clean, contemporary lines rather than excessive detail. Once dry, carefully apply gold leaf to select petal edges, the flower's center, or create abstract patterns in the background. This mixed media approach adds luxury and dimension to your work. The contrast between matte paint and metallic leaf creates visual interest that changes with viewing angle and lighting. This project teaches you about incorporating non-traditional materials and understanding how metallic elements affect composition balance. You'll learn adhesive techniques and how to handle delicate gold leaf without tearing. The finished piece radiates elegance and sophistication, perfect for modern spaces seeking spiritual symbolism with contemporary flair.

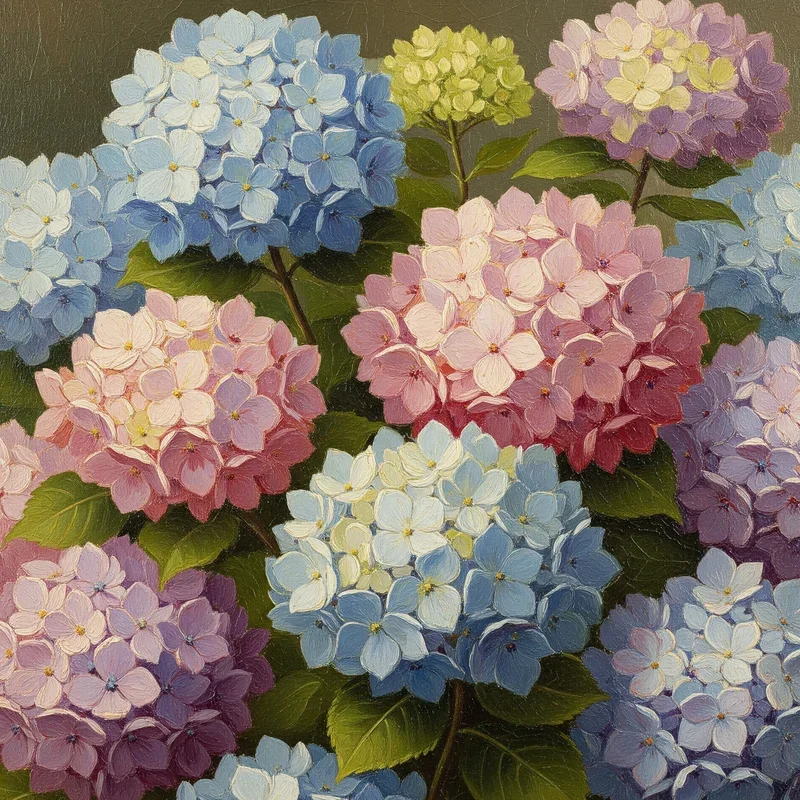
14. Vintage-Style Hydrangea Clusters
Create nostalgic charm by painting hydrangea clusters in vintage botanical style, emphasizing muted colors and soft edges. Start with large, rounded flower clusters using various shades of blue, purple, pink, or antique white. Build individual florets using four-petaled shapes, varying their size and orientation for natural appearance. Add aging effects by incorporating brown and sepia tones into your color palette. Use dry brush techniques to suggest texture and create that time-worn appearance. Include detailed leaves with visible veins and slightly yellowed edges. This project teaches color temperature manipulation and how to create cohesive color harmony using muted tones. You'll learn to balance detail with overall impression, as hydrangeas require suggesting hundreds of tiny flowers without painting each one. The result evokes grandmother's garden or vintage wallpaper, bringing timeless elegance to contemporary spaces.
15. Experimental Flower Portraits Using Unconventional Tools
Push creative boundaries by painting flowers using unconventional tools like sponges, credit cards, bubble wrap, or even vegetables. Create abstract roses by twisting bubble wrap dipped in paint, or use celery stalks to stamp rose-like shapes. Drag credit cards through wet paint to create iris petals, or press crumpled aluminum foil into paint for textured backgrounds. This experimental approach frees you from technical constraints and encourages playful exploration. You'll discover how different tools create unique marks and textures impossible to achieve with brushes alone. Layer various techniques to build complex, contemporary flower compositions. This project develops your creative problem-solving skills and teaches you to see potential art tools everywhere. The results are often surprising and always unique, proving that innovation in art comes from questioning traditional methods and embracing happy accidents.

Conclusion
Your artistic garden now blooms with fifteen different paths to explore, each offering unique lessons and rewards. Remember, every master gardener started with a single seed, and every accomplished artist began with one tentative brushstroke. These flower painting ideas aren't just projects; they're stepping stones on your creative journey. Whether you choose simple daisies or complex botanical illustrations, each painting teaches valuable skills while nurturing your artistic voice. So grab your brushes, embrace the mess, and let your creativity blossom!
Read next: 15 Flower Drawing Ideas That Are Easy and Beautiful
Frequently Asked Questions
Q1: What type of paint works best for beginning flower artists?
A1: Acrylics are most forgiving and dry quickly for beginners.
Q2: How can I make my flower paintings look more three-dimensional?
A2: Focus on light sources and add shadows beneath petals consistently.
Q3: Should I always paint flowers from real life references?
A3: Photos work well, but real flowers teach better color observation.
Q4: What's the easiest flower painting technique for complete beginners?
A4: Start with simple dabbing techniques using sponges or cotton swabs.
Q5: How do I prevent my flower paintings from looking flat?
A5: Vary your colors and values within each petal and flower element.
Stay up to date with our latest ideas!