15 Flower Drawing Ideas That Are Easy and Beautiful
Learn 15 easy flower drawing ideas perfect for beginners. Step-by-step techniques to create beautiful blooms that'll make your art blossom.
Remember when you were a kid and drew flowers as simple circles with petals? Well, guess what? That childhood instinct was spot on! Drawing flowers doesn't have to be intimidating or require years of art school. In fact, some of the most stunning floral illustrations start with basic shapes you already know. Whether you're doodling in the margins of your notebook or planning your next masterpiece, flowers offer endless creative possibilities. They're forgiving subjects that welcome mistakes and turn them into unique artistic features. From simple daisies to elegant roses, each flower teaches you something new about shapes, shading, and bringing nature to life on paper. Ready to grow your artistic garden?
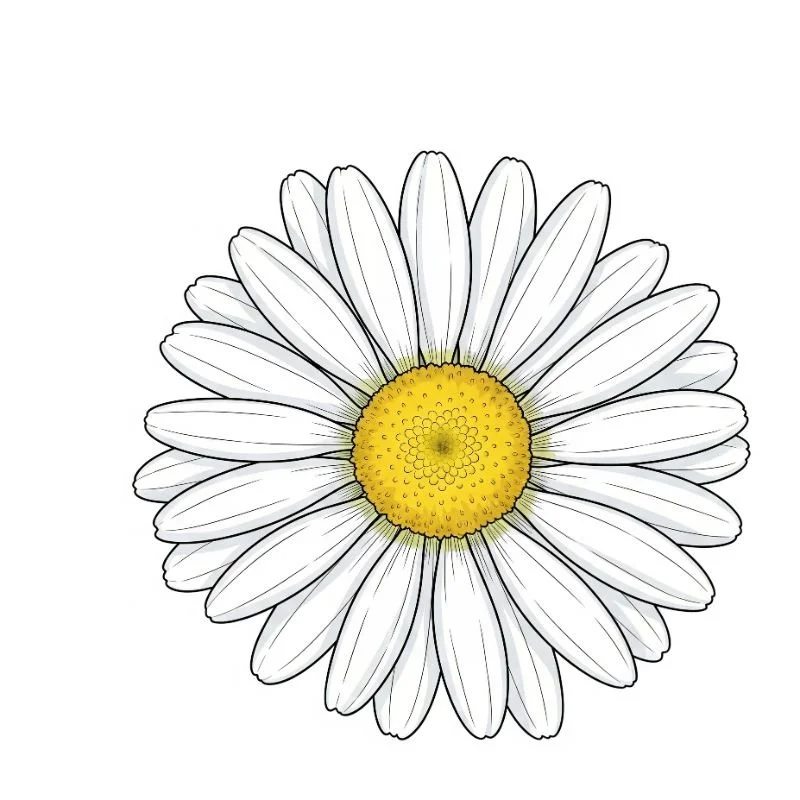
1. Simple Daisy: The Perfect Starter Flower
Let's kick things off with everyone's favorite flower! Start with a small circle for the center, then add oval petals radiating outward like sun rays. The beauty of daisies lies in their imperfection; no two petals need to be identical. Try varying the lengths and widths for a more natural look. Add some texture to the center with tiny dots or crosshatching. Want to level up? Tilt some petals forward and others backward to create dimension. Practice drawing daisies from different angles to build confidence. They're like the training wheels of flower drawing!
2. Five-Petal Blossoms: Master the Basic Flower Shape
Think of five-petal flowers as your artistic building blocks. Start by drawing a small circle, then imagine a clock face. Place petals at 12, 2, 5, 7, and 10 o'clock positions. This creates natural spacing without the stiffness of perfect symmetry. Each petal can be a simple teardrop or heart shape. Experiment with pointed versus rounded petals to create different flower varieties. Add a stem and leaves, and suddenly you've got forget-me-nots, periwinkles, or plumerias. This versatile technique unlocks dozens of flower possibilities. Once you master this foundation, you'll see five-petal patterns everywhere in nature.

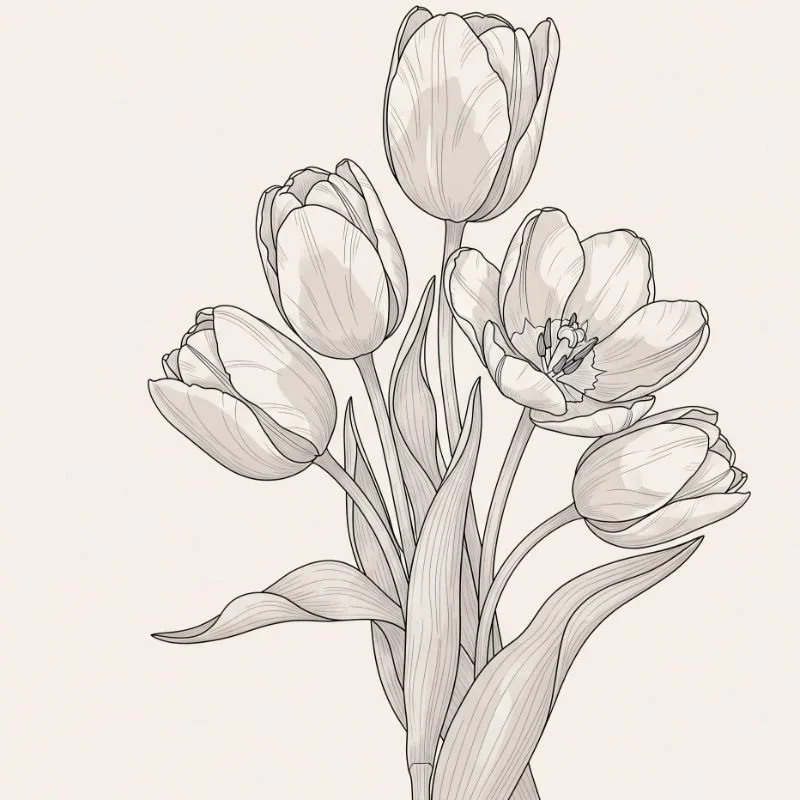
3. Tulips: Elegant Simplicity in Every Stroke
Tulips prove that elegance doesn't require complexity. Begin with a U-shape or wine glass outline for the basic form. Add two or three overlapping petals that peek out from behind. The key is keeping your lines smooth and confident. Tulip leaves are wonderfully simple too; just elongated teardrops that curve gracefully. Try drawing closed tulips for variety, using an egg shape with a pointed top. Add subtle lines to suggest petal edges without overcomplicating. Group several tulips together at different heights for an instant bouquet that looks professionally illustrated yet took mere minutes to create.
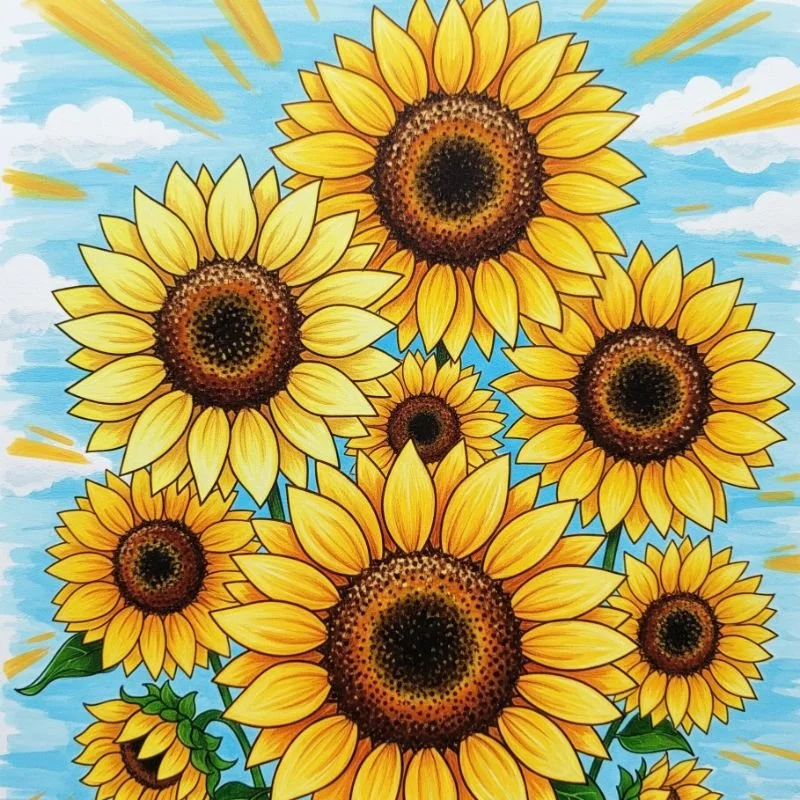
4. Sunflowers: Bring Sunshine to Your Sketchbook
Who doesn't smile when they see a sunflower? Start with a large circle for the center, then surround it with pointed oval petals. The trick is making them slightly irregular; nature isn't perfect! Create texture in the center using a spiral pattern or tiny circles. Sunflower petals often curl and fold, so don't be afraid to overlap them or show some from the side. Add a thick, sturdy stem and large heart-shaped leaves. For extra realism, make some petals droop slightly. These cheerful giants are surprisingly forgiving to draw and instantly brighten any sketchbook page.
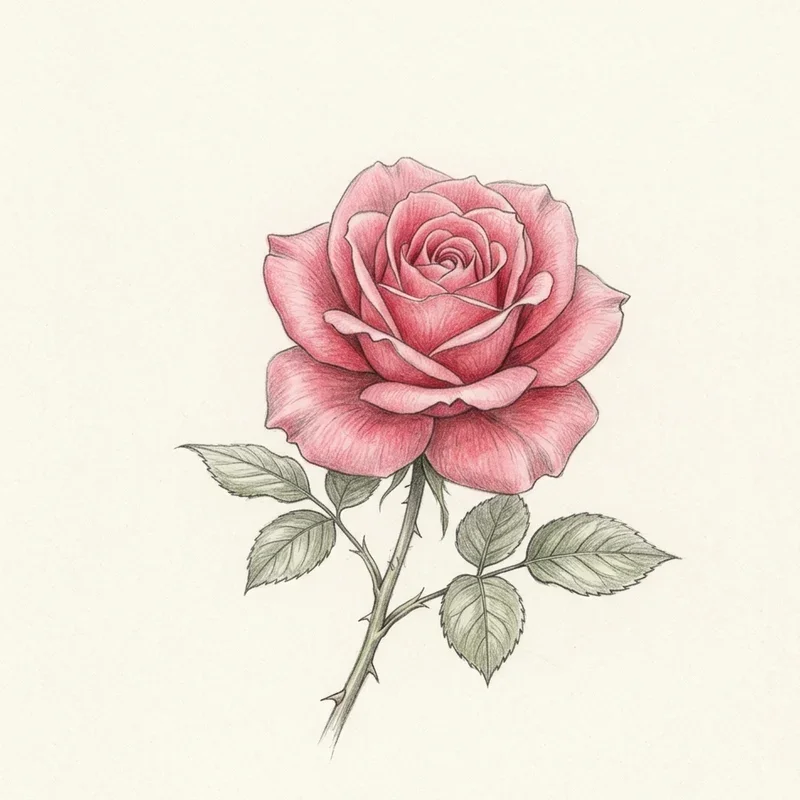
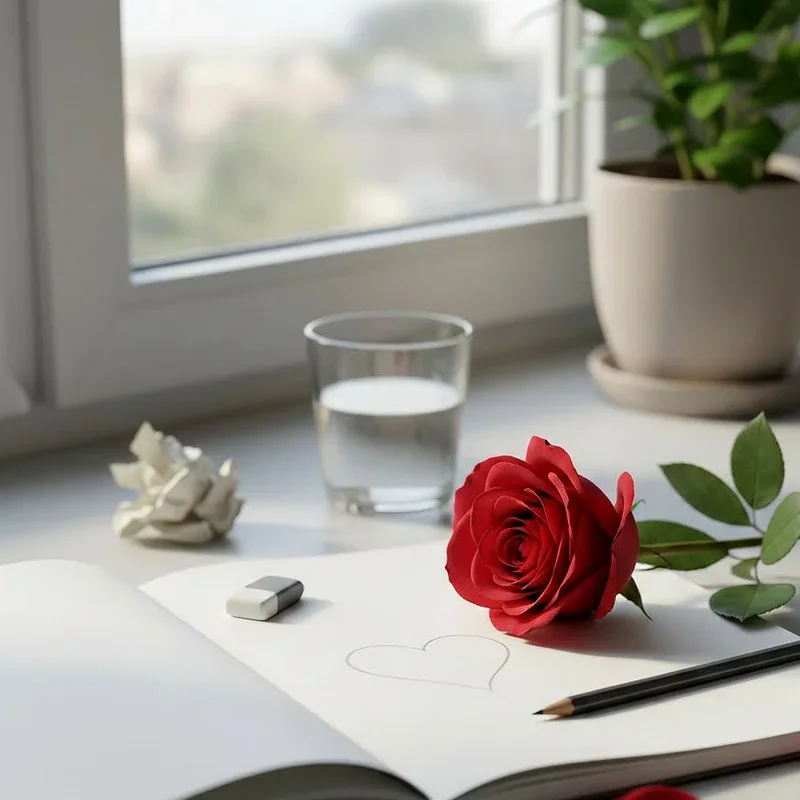
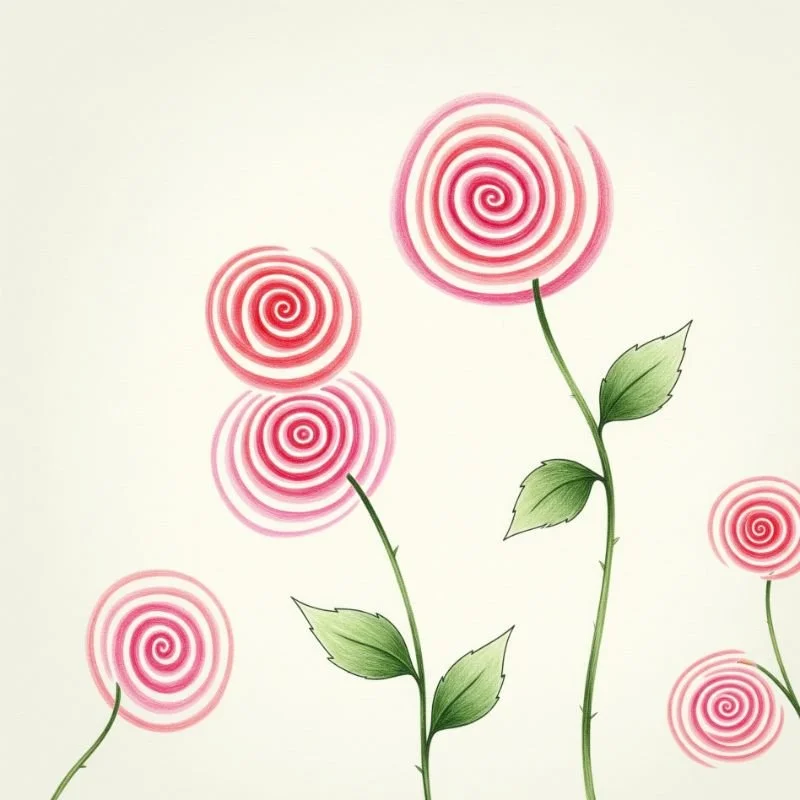
5. Roses: Simplified Spiral Technique
Roses intimidate many artists, but here's a secret: they're just spirals in disguise! Start with a small spiral in the center, like a cinnamon roll. Build outward with C-shaped curves that get larger as you go. Each curve represents a petal wrapping around the flower. Add a few loose outer petals for that full-bloom effect. Don't worry about perfection; roses in nature have irregular petals too. Include some thorns and serrated leaves to complete your rose. This spiral method works for both side views and three-quarter angles. Practice makes perfect, and soon you'll be drawing roses with your eyes closed!
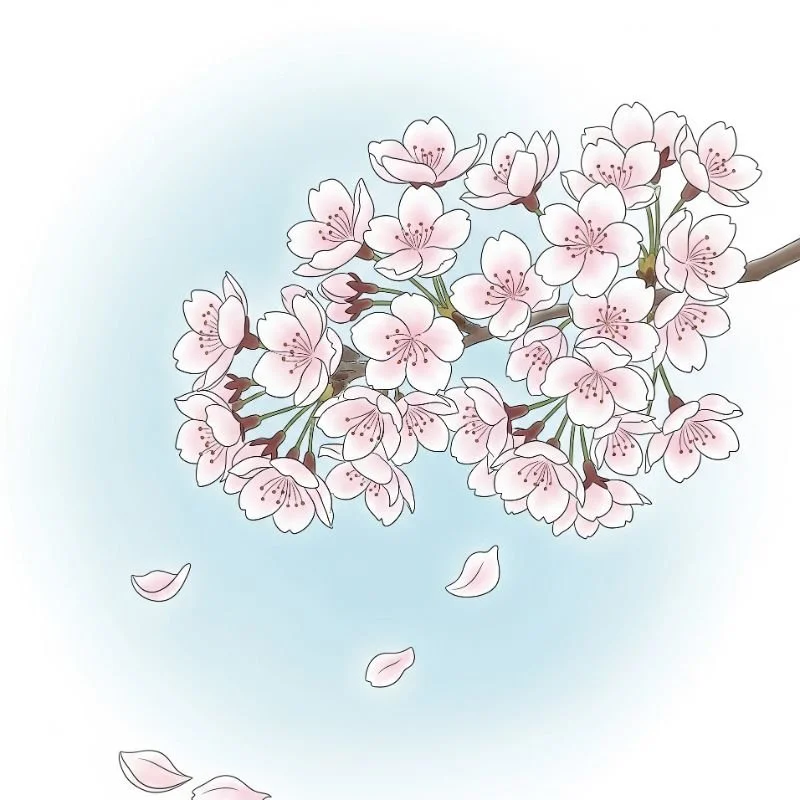
6. Cherry Blossoms: Delicate Beauty Made Easy
Cherry blossoms embody spring's gentle arrival, and they're surprisingly simple to draw. Each flower has five petals with a small notch at the tip, like tiny hearts. Start with a small circle center, then add your notched petals around it. The magic happens when you cluster them along branches. Draw irregular twigs first, then scatter blossoms at various angles. Some should face forward, others in profile. Add unopened buds using simple oval shapes. Vary the sizes for natural appeal. A few fallen petals around your drawing adds poetry to your artwork. These delicate blooms teach you about negative space and composition.
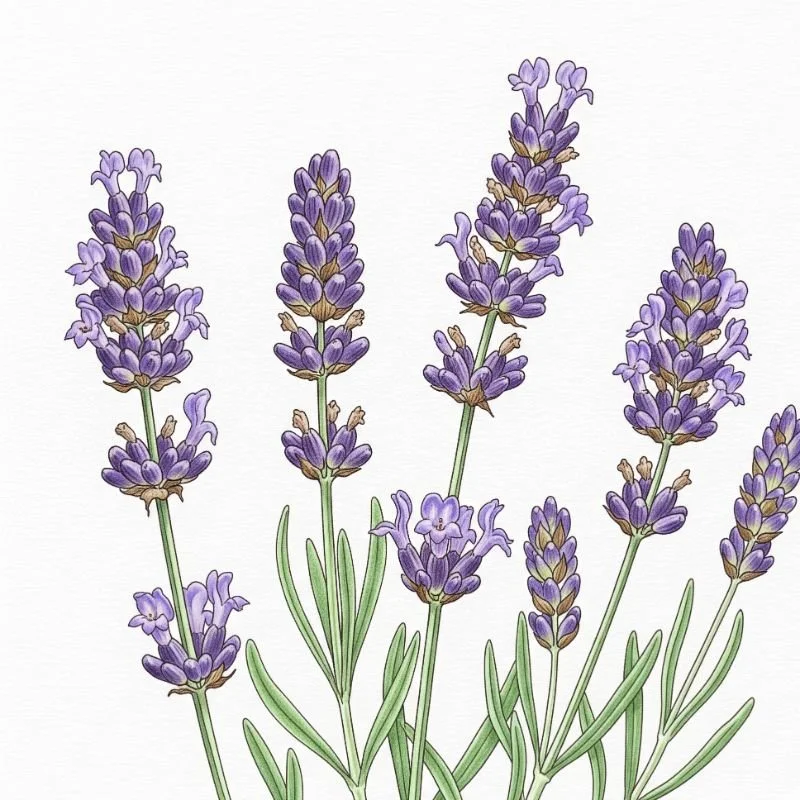
7. Lavender Sprigs: Create Calming Botanical Art
Lavender drawings bring instant calm to any page. Start with a gently curving stem line. Add tiny oval shapes stacked along the upper portion, getting smaller toward the top. Each oval represents a tiny flower cluster. Don't line them up perfectly; nature loves irregularity. The key is layering and overlapping for depth. Add narrow leaves at the base, pointing upward at sharp angles. Try drawing multiple sprigs at different heights for a fuller arrangement. Use quick, loose strokes rather than careful precision. Lavender teaches you that sometimes less detail creates more impact. These aromatic sketches practically smell good!
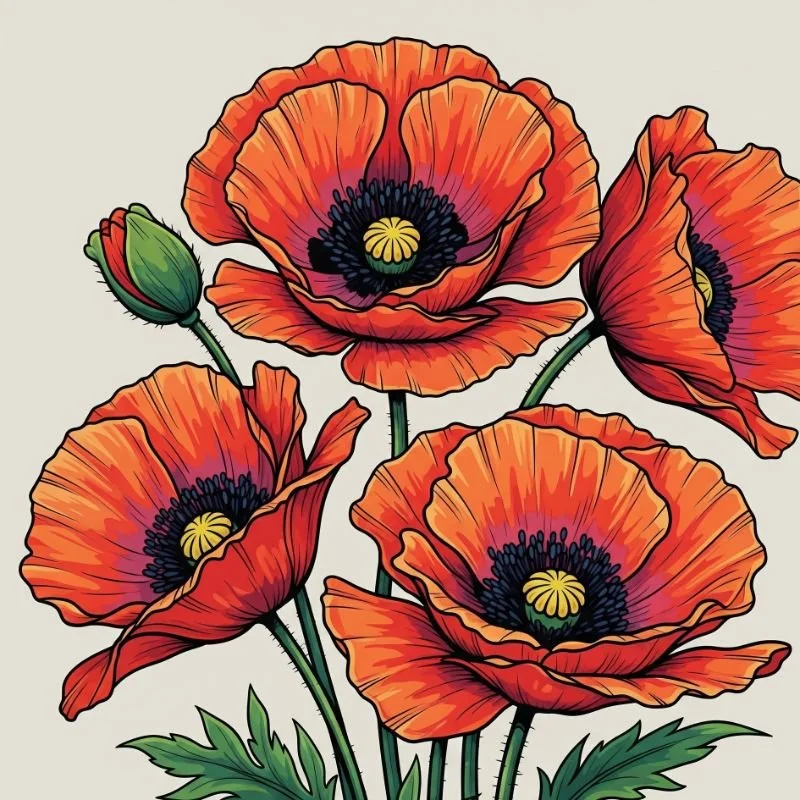
8. Poppies: Bold and Beautiful Blooms
Poppies dance between delicate and dramatic, making them thrilling to draw. Begin with a cup shape, then add four overlapping petals with ruffled edges. Think of crepe paper that's been gently crumpled. The center features a dark circle surrounded by radiating lines. Poppy petals often have dark markings at their base, adding visual interest. Their stems are thin and slightly hairy, bending gracefully under the flower's weight. Draw some poppies from the side to show their distinctive profile. These flowers teach you about texture and movement. Let your hand flow freely; poppies celebrate imperfection!
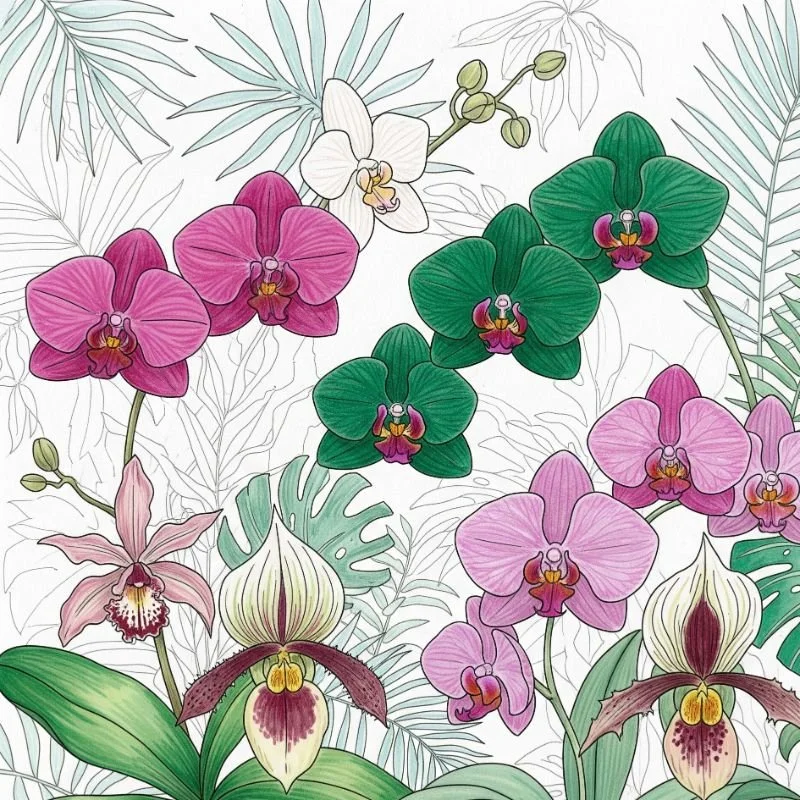
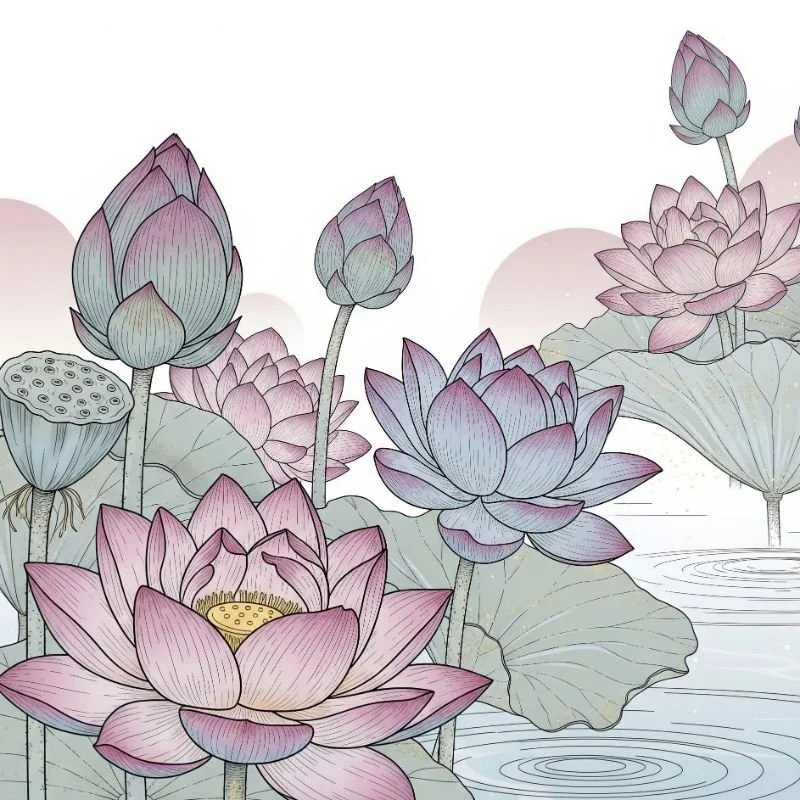
9. Lotus Flowers: Zen in Every Petal
Lotus flowers emerge from muddy waters as symbols of purity and enlightenment. Start with an oval center, then layer pointed petals around it in concentric circles. Inner petals stand upright while outer ones open wider. Think of it as a blooming artichoke made elegant. Each petal has subtle veining running from base to tip. Add a few water drops for that fresh-from-the-pond look. Lotus leaves are circular with a single split, floating nearby like natural plates. This meditative flower teaches patience and layering techniques. Drawing lotuses becomes almost therapeutic, bringing zen to your artistic practice.
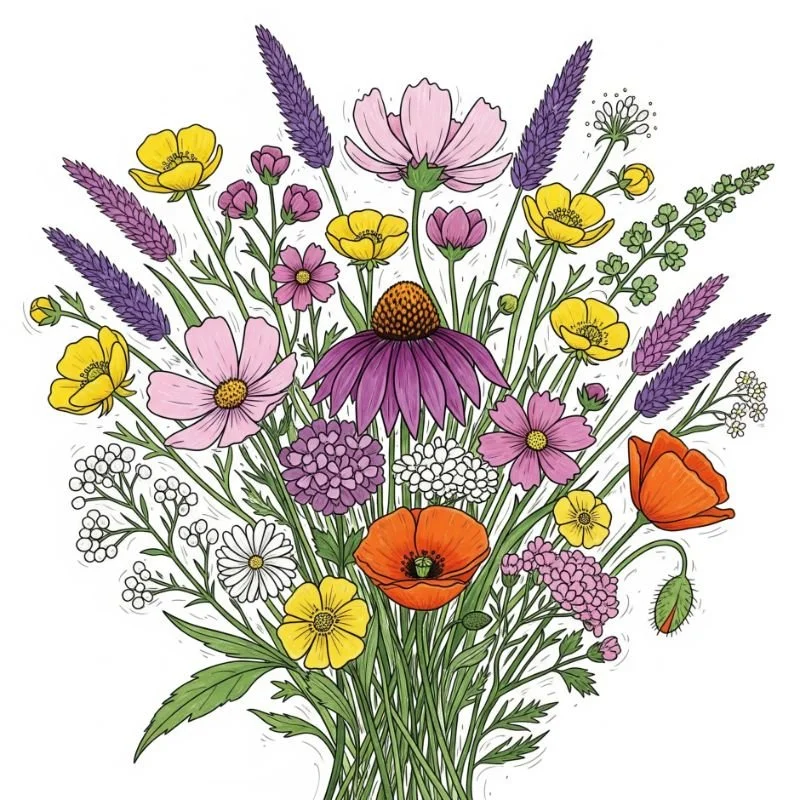
10. Wildflower Bouquet: Mix and Match Magic
Why draw one flower when you can create an entire meadow? Wildflower bouquets let you combine different techniques you've learned. Start with varying stem heights and directions. Mix flower types: add some daisies, tiny five-petaled blooms, and grass-like elements. The secret is intentional chaos. Overlap stems, vary flower sizes, and include buds alongside full blooms. Add some trailing vines or delicate baby's breath for texture. Think of it as nature's own arrangement. This exercise teaches composition and helps you see how different elements work together. Every wildflower bouquet tells a unique story.
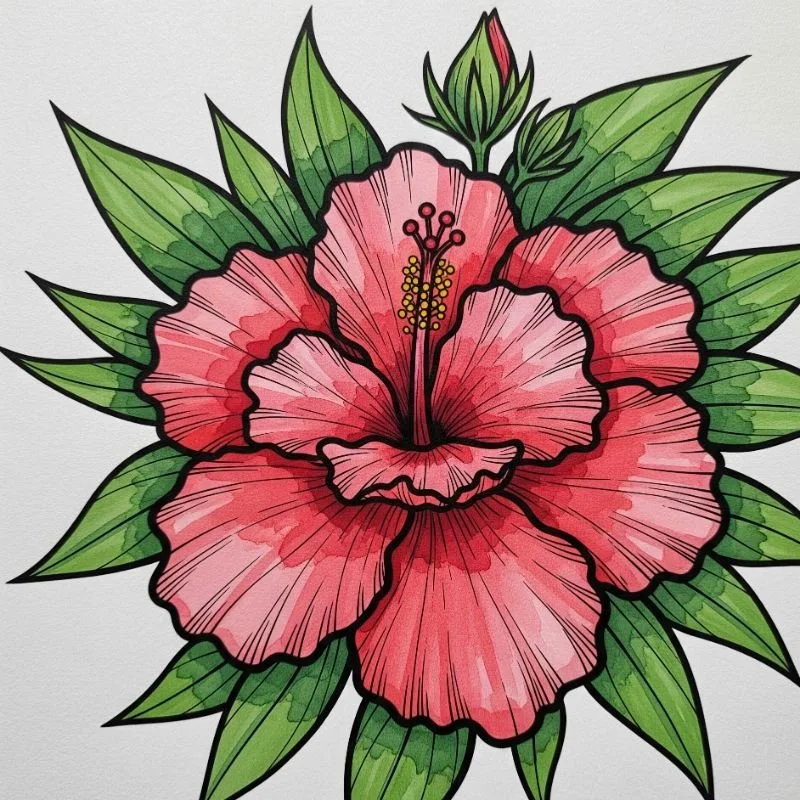
11. Hibiscus: Tropical Vibes on Paper
Transport yourself to a tropical paradise with hibiscus flowers! Begin with five large, overlapping petals arranged like a pinwheel. Each petal has gentle waves along its edges. The distinctive feature is the long stamen extending from the center, topped with fuzzy pollen. Add subtle lines radiating from the center through each petal. Hibiscus leaves have serrated edges and prominent veining. These showstoppers look complex but break down into simple shapes. Try drawing one from different angles to understand its structure. The loose, flowing nature of hibiscus petals makes them forgiving subjects for beginners exploring botanical illustration.
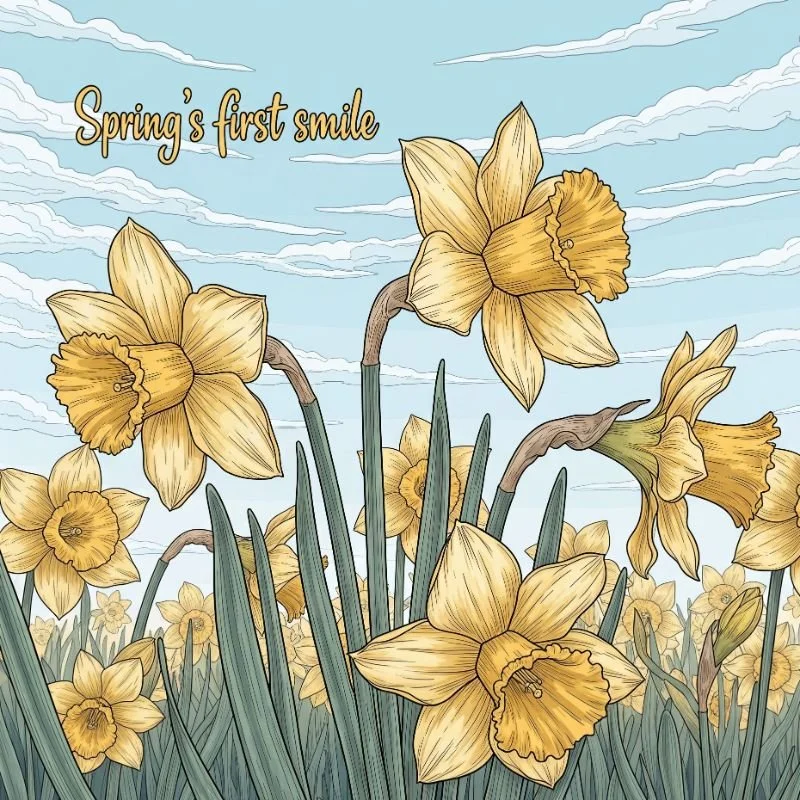
12. Daffodils: Spring's First Smile
Daffodils announce spring's arrival with their cheerful trumpet shapes. Start with a circle, then add six petals around it like a star. The center trumpet is simply a cylinder viewed from an angle. Add small ruffles to the trumpet's edge for authenticity. Daffodil petals slightly overlap and can twist naturally. Their leaves are long, narrow, and grass-like, emerging from the ground in clusters. Try drawing daffodils at different stages: tight buds, partially open, and full bloom. These happy flowers teach you about perspective and dimensional drawing. Group several together for an instant spring scene that brightens any grey day.
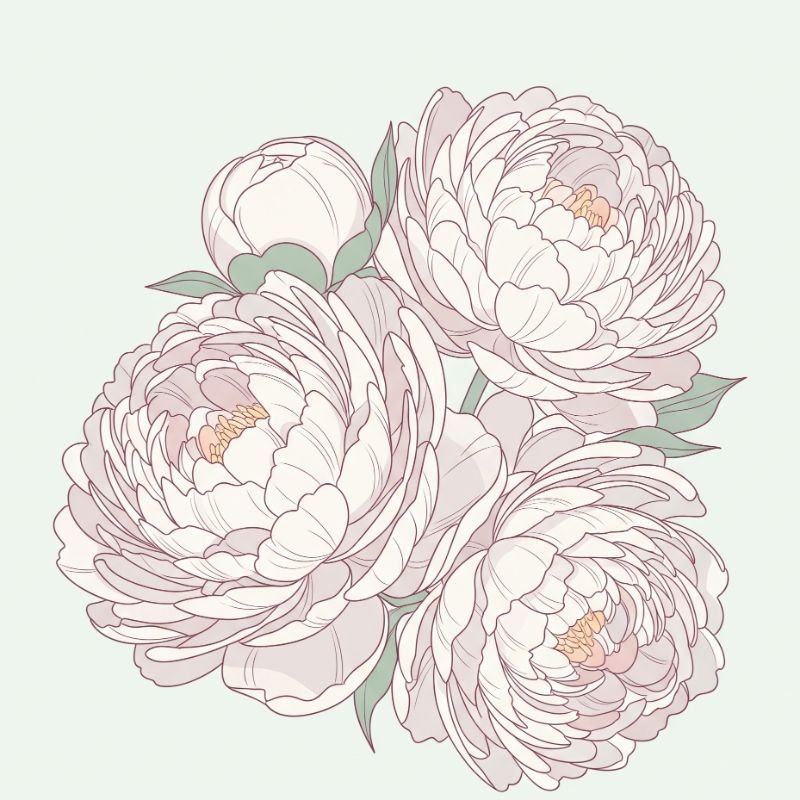
13. Peonies: Fluffy Layers Simplified
Peonies look impossibly complex but break down beautifully into layered circles. Start with a loose circular outline. Fill it with overlapping curved petals, working from outside to center. Each petal is slightly ruffled, like tissue paper. The key is building layers without overthinking individual petals. Add some petals curling inward, others flaring out. The center remains somewhat hidden, adding mystery. Peony leaves are divided into three sections, each with its own character. These lush blooms teach you about volume and how to suggest complexity through simple shapes. Your peonies don't need every petal perfect to capture their abundant beauty.
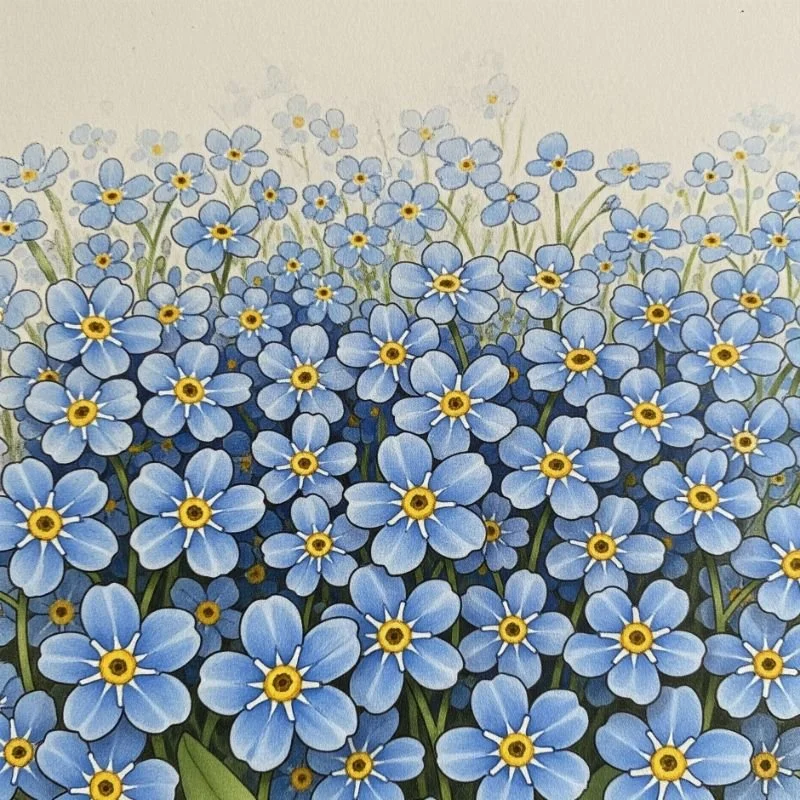
14. Forget-Me-Nots: Tiny Flowers, Big Impact
These miniature marvels prove that size doesn't determine beauty. Each tiny flower has five rounded petals with a small white or yellow center. The real charm comes from clustering them together. Draw small groups connected by delicate stems. Vary their positions: some facing forward, others in profile, a few from behind. Their leaves are small, elongated ovals scattered along the stems. The trick is suggesting many flowers without drawing each one in detail. Use dots and small circles for distant blooms. These humble flowers teach economy of line and how negative space can enhance your drawing.
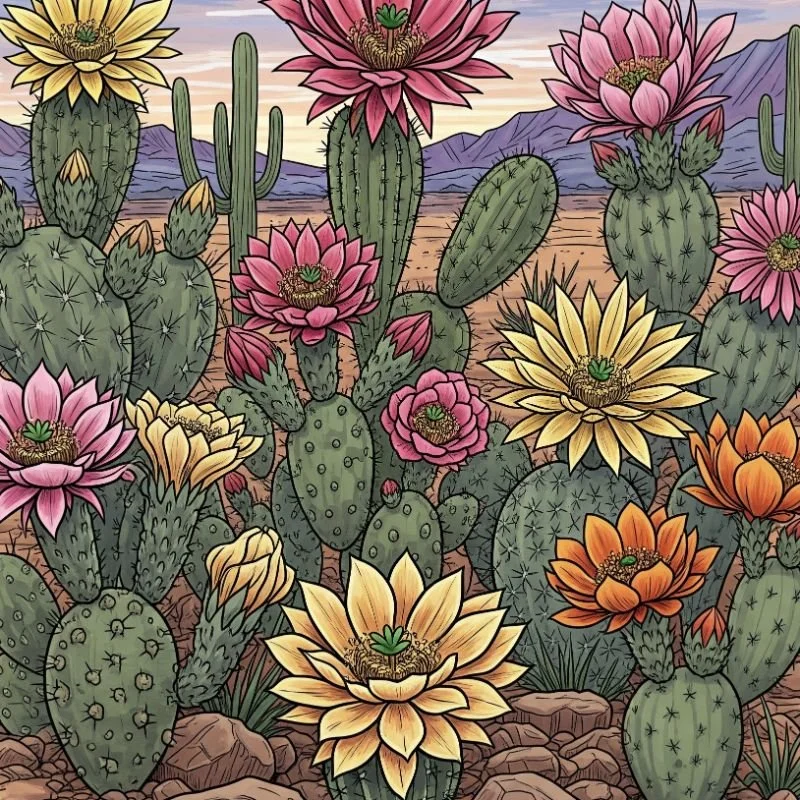
15. Cactus Flowers: Desert Blooms for Beginners
Cactus flowers offer stunning contrast against their prickly hosts. Start with the cactus pad or column, adding small dots or lines for spines. The flowers emerge directly from the cactus body. Draw them as cups of overlapping petals, often in vibrant imaginary colors. Many cactus flowers have numerous thin petals radiating from a dense center. Some bloom in clusters, others as single showstoppers. Add subtle ridges to your cactus for dimension. These desert beauties teach you about contrast and how flowers can thrive in unexpected places. They're perfect for practicing both geometric and organic shapes together.
Conclusion
Drawing flowers opens a door to endless creativity and natural beauty. These 15 techniques provide your artistic toolkit for capturing nature's diversity on paper. Each flower teaches unique lessons about shape, texture, and bringing life to simple lines. Remember, every master artist started with basic shapes and built from there. Your personal style will emerge as you practice and experiment. So grab your sketchbook and start planting your paper garden today!
Read next: 15 Art Drawing Ideas to Spark Creativity
Frequently Asked Questions
1. What materials do I need to start drawing flowers?
Just pencil and paper; add colors and shading tools as you progress.
2. How long does it take to get good at flower drawing?
With daily practice, you'll see improvement within two to three weeks.
3. Should I draw from photos or real flowers?
Both work well; real flowers offer 3D understanding, photos provide steady reference.
4. What's the easiest flower for absolute beginners?
Daisies or simple five-petal flowers are perfect starting points for anyone.
5. How do I make my flower drawings look more realistic?
Add shadows, vary line weights, and include imperfections found in nature.
Stay up to date with our latest ideas!