How to Hang Canvas Art: Tools, Spacing, and Tips
Learn how to hang canvas art like a pro with essential tools, proper spacing techniques, and expert tips for stunning wall displays.

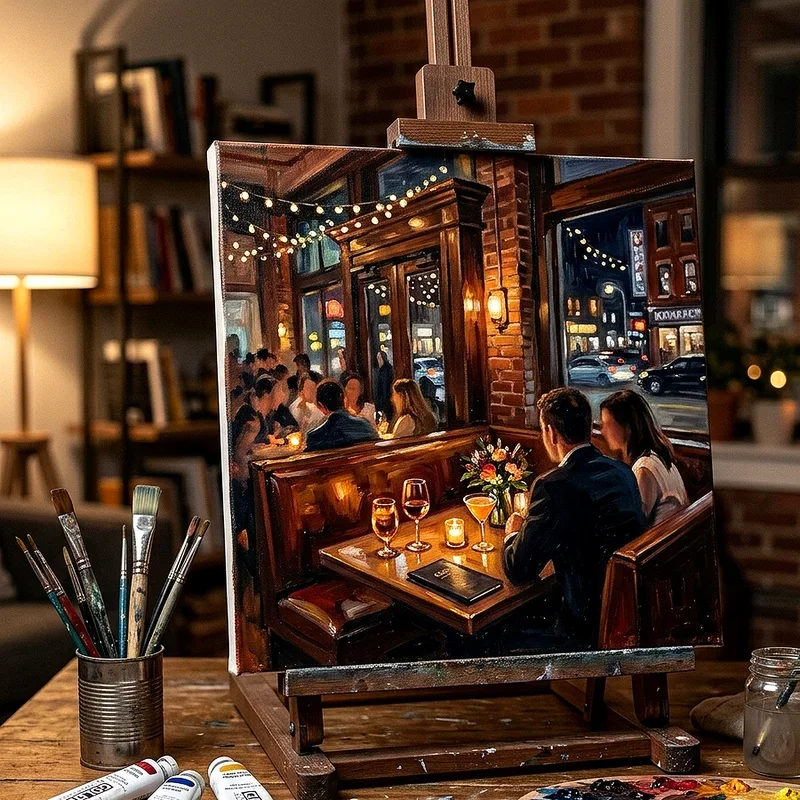
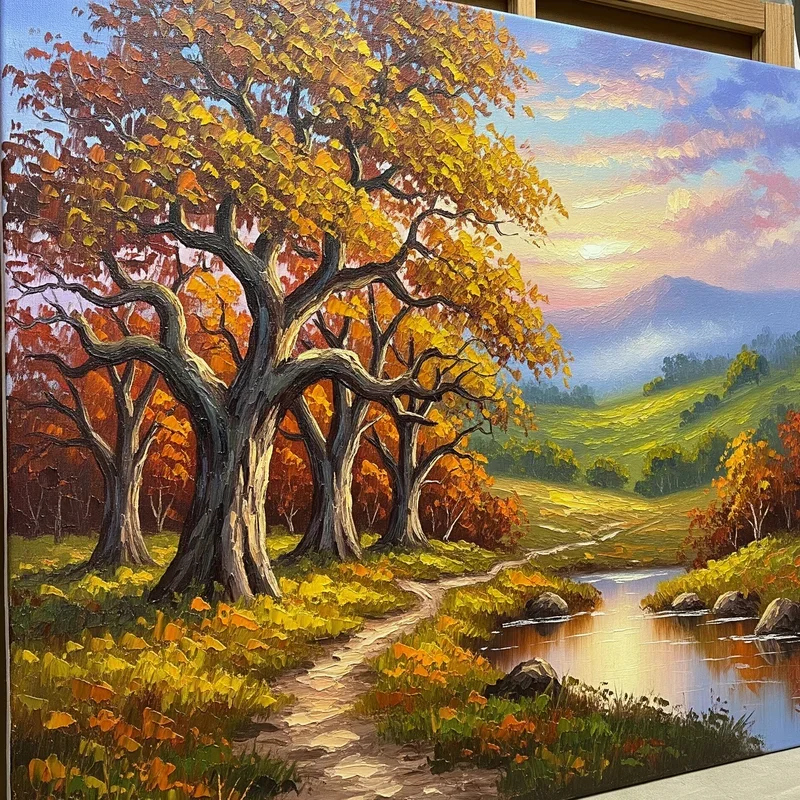
So you have just picked up a gorgeous canvas piece, and now it is sitting on your floor, leaning against the wall, waiting for its moment to shine. We have all been there, haven't we? That beautiful artwork deserves better than gathering dust in the corner of your living room. Hanging canvas art might seem straightforward, but there is actually quite a bit more to it than hammering a nail into the wall and hoping for the best. Getting your canvas up on the wall properly makes all the difference between a room that looks professionally designed and one that feels a little off. When you nail the placement, spacing, and technique, your artwork becomes a conversation starter rather than an afterthought.
Why Proper Canvas Hanging Matters
Here is the thing that many people overlook: how you hang your canvas affects not just the aesthetics but also the longevity of your artwork. A poorly hung canvas can fall, get damaged, or simply look crooked no matter how many times you adjust it. Nobody wants to wake up to the sound of their favorite painting crashing to the floor at three in the morning.
Beyond the practical concerns, proper hanging ensures that your artwork interacts with the room correctly. The height, the angle, and the relationship to furniture and other decor elements all play into creating a cohesive space. When everything comes together just right, your canvas becomes an integral part of the room rather than something that feels randomly placed.
Essential Tools You Will Need for Canvas Hanging
Before you start making holes in your walls, gathering the right tools will make the entire process smoother and more enjoyable. Nothing kills motivation quite like having to stop midway through because you are missing something crucial.
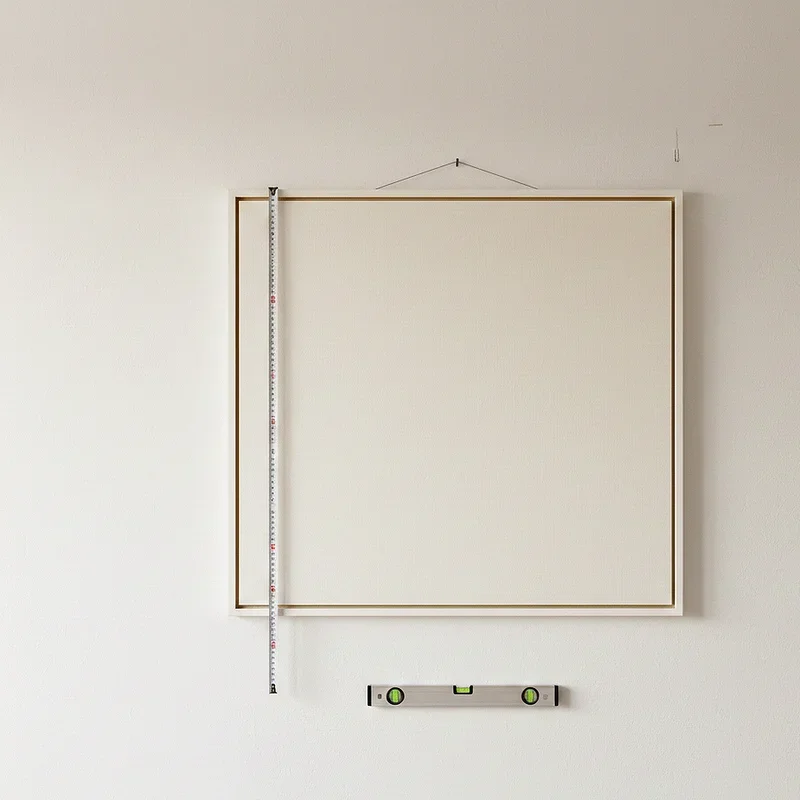
A tape measure is absolutely non-negotiable. Eyeballing measurements might work for some things in life, but hanging art is not one of them. You will also need a level, either the traditional bubble type or a digital one, to ensure your canvas hangs straight. Trust me, even a slight tilt will drive you crazy once you notice it.
Pencils come in handy for marking your wall without leaving permanent damage. A hammer is essential for most hanging methods, though some modern solutions do not require one at all. Depending on your wall type and the weight of your canvas, you might need a drill with appropriate bits for drywall anchors or masonry screws.
Picture hanging hooks, sawtooth hangers, D-rings, or wire are all options for the back of your canvas, and the choice depends on what is already attached and your personal preference. Having painter's tape around can help you visualize placement before committing to any holes.
Understanding Your Wall Type
Not all walls are created equal, and figuring out what you are working with will determine your approach. Drywall is the most common in modern homes and requires specific anchors for heavier pieces. You can usually tell drywall by knocking on it and hearing a hollow sound.
Plaster walls, common in older homes, are harder and denser. They require different hardware and a gentler touch when drilling to prevent cracking. Brick or concrete walls need masonry bits and special anchors, making the process a bit more involved but certainly doable.
Finding studs gives you the strongest support possible. A stud finder takes the guesswork out of locating these wooden supports behind your drywall. When hanging heavy canvases, securing directly into a stud provides peace of mind that your artwork will stay put.
Determining the Perfect Height
The age-old question of how high to hang artwork has a simple answer that works in most situations. Center your canvas at eye level, which typically falls around 57 to 60 inches from the floor to the center of the piece. This standard comes from gallery and museum practices, where art is hung to be viewed comfortably by the average person.
However, rules are meant to be bent sometimes. In rooms where people are primarily seated, like dining rooms or living rooms with low sofas, you might want to lower your artwork a bit. The goal is creating a comfortable viewing experience for how the space is actually used.
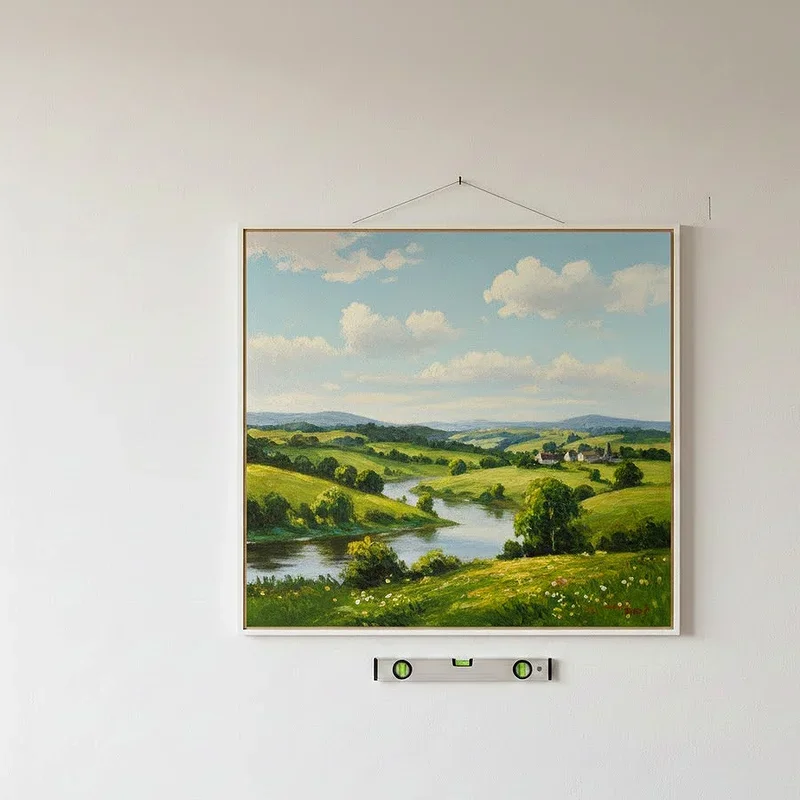
Above furniture, maintain a gap of about 6 to 8 inches between the top of the furniture and the bottom of your canvas. This creates a visual connection between the two elements without them feeling crammed together or awkwardly separated.
Spacing Techniques for Multiple Canvases
When you are working with more than one piece, spacing becomes crucial. Too close and the artwork feels cluttered; too far apart and the pieces lose their relationship to each other. For most arrangements, maintaining 2 to 3 inches between frames creates a cohesive grouping.
Gallery walls require more planning upfront but offer tremendous creative freedom. Lay out your entire arrangement on the floor first, playing with different configurations until something clicks. Take a photo of your final floor layout so you have a reference when transferring the design to the wall.
For symmetrical arrangements, measure obsessively. The human eye picks up on asymmetry quickly, so precision matters when you are going for a balanced look. Asymmetrical arrangements are more forgiving but still benefit from thoughtful planning.
Step by Step Hanging Process
Alright, let us get down to the actual hanging. First, decide exactly where you want your canvas to go. Use painter's tape to mark the corners of where the canvas will sit, then step back and evaluate. Does it feel right in the space? Is it centered where you want it?
Measure your canvas from top to bottom and mark the center point. Then measure from the top of the canvas down to wherever the hanging hardware sits on the back. Subtract this measurement from half your canvas height to find how far down from your top tape mark to place your nail or hook.
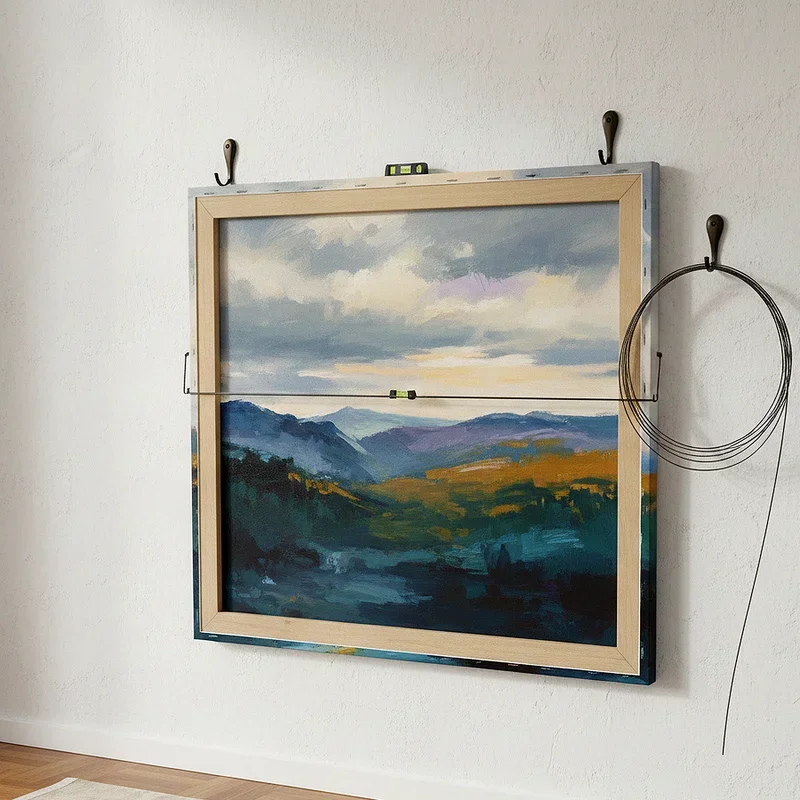
With your measurement calculated, mark the wall with a pencil. Use your level to ensure the mark is truly horizontal if you are placing two hooks. Install your hardware, whether that is a simple nail, a picture hook rated for your canvas weight, or a wall anchor system.
Lift your canvas onto the hardware gently. Step back and check for level. Many people make tiny adjustments at this stage, which is completely normal. Once everything looks straight, press any adhesive bumpers onto the back bottom corners to prevent wall scuffs and keep the canvas from shifting.
Tips for Heavy Canvas Pieces
Large or particularly heavy canvases require extra consideration. Single hooks or nails might not cut it when you are dealing with significant weight. Two hooks spread apart distribute the load and provide redundancy if one fails.
French cleats offer exceptional strength and make leveling almost foolproof. One piece of the cleat mounts to the wall, and the other attaches to the back of your canvas. The two interlock when hung, creating a secure connection that can support considerable weight.
Always check the weight rating on any hanging hardware you purchase. It might seem obvious, but grabbing whatever is on hand without verifying it can handle the load leads to disappointing results.
Common Mistakes to Avoid When Hanging Canvas Art
Hanging artwork too high ranks as the most frequent error people make. When your canvas floats way up near the ceiling, it loses connection with the rest of the room and becomes uncomfortable to view. Resist the urge to go high.
Ignoring the relationship between furniture and art creates disconnected spaces. Your canvas should feel like it belongs with the furniture grouping below it, not like it wandered in from another room.
Rushing the process leads to multiple holes and frustration. Taking an extra few minutes to measure twice and verify placement saves repair work down the road. You know what they say about measuring twice and cutting once, right? The same principle applies here.
Maintaining Your Hung Canvas
Once your artwork is up, a little maintenance keeps it looking fresh. Dust your canvas regularly with a soft, dry cloth or a feather duster. Avoid harsh chemicals or excessive moisture, which can damage the canvas material or fade the colors over time.
Check the security of your hanging hardware periodically, especially after significant temperature or humidity changes. Walls expand and contract with the seasons, and fasteners can loosen over time.
If you notice your canvas starting to tilt, resist the temptation to simply push it back into place. Investigate why it is shifting and address the root cause, whether that means tightening screws or upgrading to sturdier hardware.
How to Hang Canvas Art: Tools, Spacing, and Tips for Renters
Living in a rental does not mean you cannot enjoy beautifully displayed artwork. Damage-free hanging solutions have come a long way and can now support surprising amounts of weight without leaving holes.
Adhesive strips rated for picture hanging work wonderfully for lighter canvases. Just follow the package instructions carefully, especially regarding surface preparation and weight limits. These products work best on smooth, painted walls and may struggle on textured surfaces.
For heavier pieces, consider over-the-door hooks or leaning larger canvases on furniture pieces like mantels, shelves, or even the floor. This casual approach has become increasingly popular in design circles and adds a relaxed, contemporary vibe to any space.
Choosing the Right Hardware for Your Canvas
Selecting appropriate hardware can feel overwhelming with so many options available. Sawtooth hangers work great for lightweight pieces and come pre-attached to many store-bought canvases. They are simple to use but offer less flexibility in leveling.
D-rings paired with wire give you more adjustability and work well for medium-weight pieces. The wire allows for fine-tuning the level after hanging, which many people find helpful.
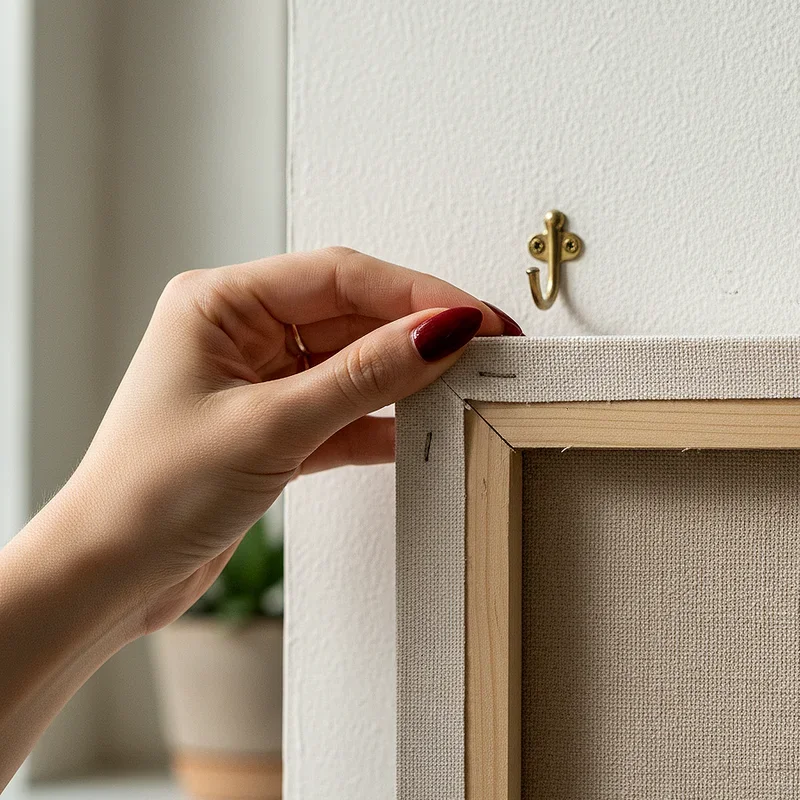
For gallery-wrapped canvases without frames, offset clips or canvas hangers designed specifically for this purpose keep the hardware hidden from view. These mount to the inner edge of the stretcher bars and hook over a nail or screw.
Creating a Gallery Wall with Multiple Canvas Pieces
Gallery walls have become incredibly popular, and for good reason. They allow you to display collections, tell visual stories, and make bold design statements. However, they require more planning than hanging a single piece.
Start by selecting pieces that share something in common, whether that is color palette, subject matter, frame style, or simply the feeling they evoke. Cohesion does not mean everything has to match perfectly, but there should be some thread connecting the pieces.
Use kraft paper or newspaper to create templates of each canvas. Tape these to the wall and rearrange until you find the perfect configuration. This method saves your walls from becoming swiss cheese while you experiment with different layouts.
Lighting Considerations for Canvas Art
Proper lighting can make or break how your canvas looks once it is hung. Natural light is wonderful but can cause fading over time, especially with vibrant colors or sensitive materials. Position valuable pieces away from direct sunlight or use UV-protective glass if framing.
Picture lights mounted above the canvas create dramatic gallery-style illumination. Track lighting offers flexibility, allowing you to adjust the angle and intensity as needed. Even well-placed floor lamps can highlight artwork effectively.
Avoid placing canvases directly opposite windows where glare might interfere with viewing. The goal is even, soft illumination that brings out the colors and details without creating hot spots or shadows.
Conclusion
Mastering how to hang canvas art: tools, spacing, and tips transforms your decorating game completely. With the right preparation, proper measurements, and a bit of patience, anyone can achieve professional-looking results at home. Your walls deserve artwork that is displayed thoughtfully, and now you have got everything you need to make it happen. So grab your tools, pick your perfect spot, and start creating the gallery-worthy space you have always wanted.
Read next: How to Clean a Canvas Painting Without Damaging It
Frequently Asked Questions
Q1. What is the ideal height for hanging canvas art on walls?
A: Center artwork at 57 to 60 inches from floor to canvas middle for optimal viewing.
Q2. How much space should I leave between multiple canvas pieces?
A: Maintain 2 to 3 inches between frames for a cohesive and balanced gallery arrangement.
Q3. Can I hang heavy canvas art without drilling into studs?
A: Yes, use wall anchors rated for your canvas weight or French cleat mounting systems.
Q4. What tools do I absolutely need for hanging canvas artwork?
A: Essential tools include a tape measure, level, pencil, hammer, and appropriate hanging hardware.
Q5. How do I hang canvas art in a rental without damaging walls?
A: Use adhesive hanging strips rated for picture weight or consider leaning artwork on furniture.
Stay up to date with our latest ideas!