Practical Drywall Tips for a Smooth, Durable Interior
Learn how to plan, repair, finish, and maintain drywall for smoother walls, cleaner interiors, and durable results during home improvement projects.
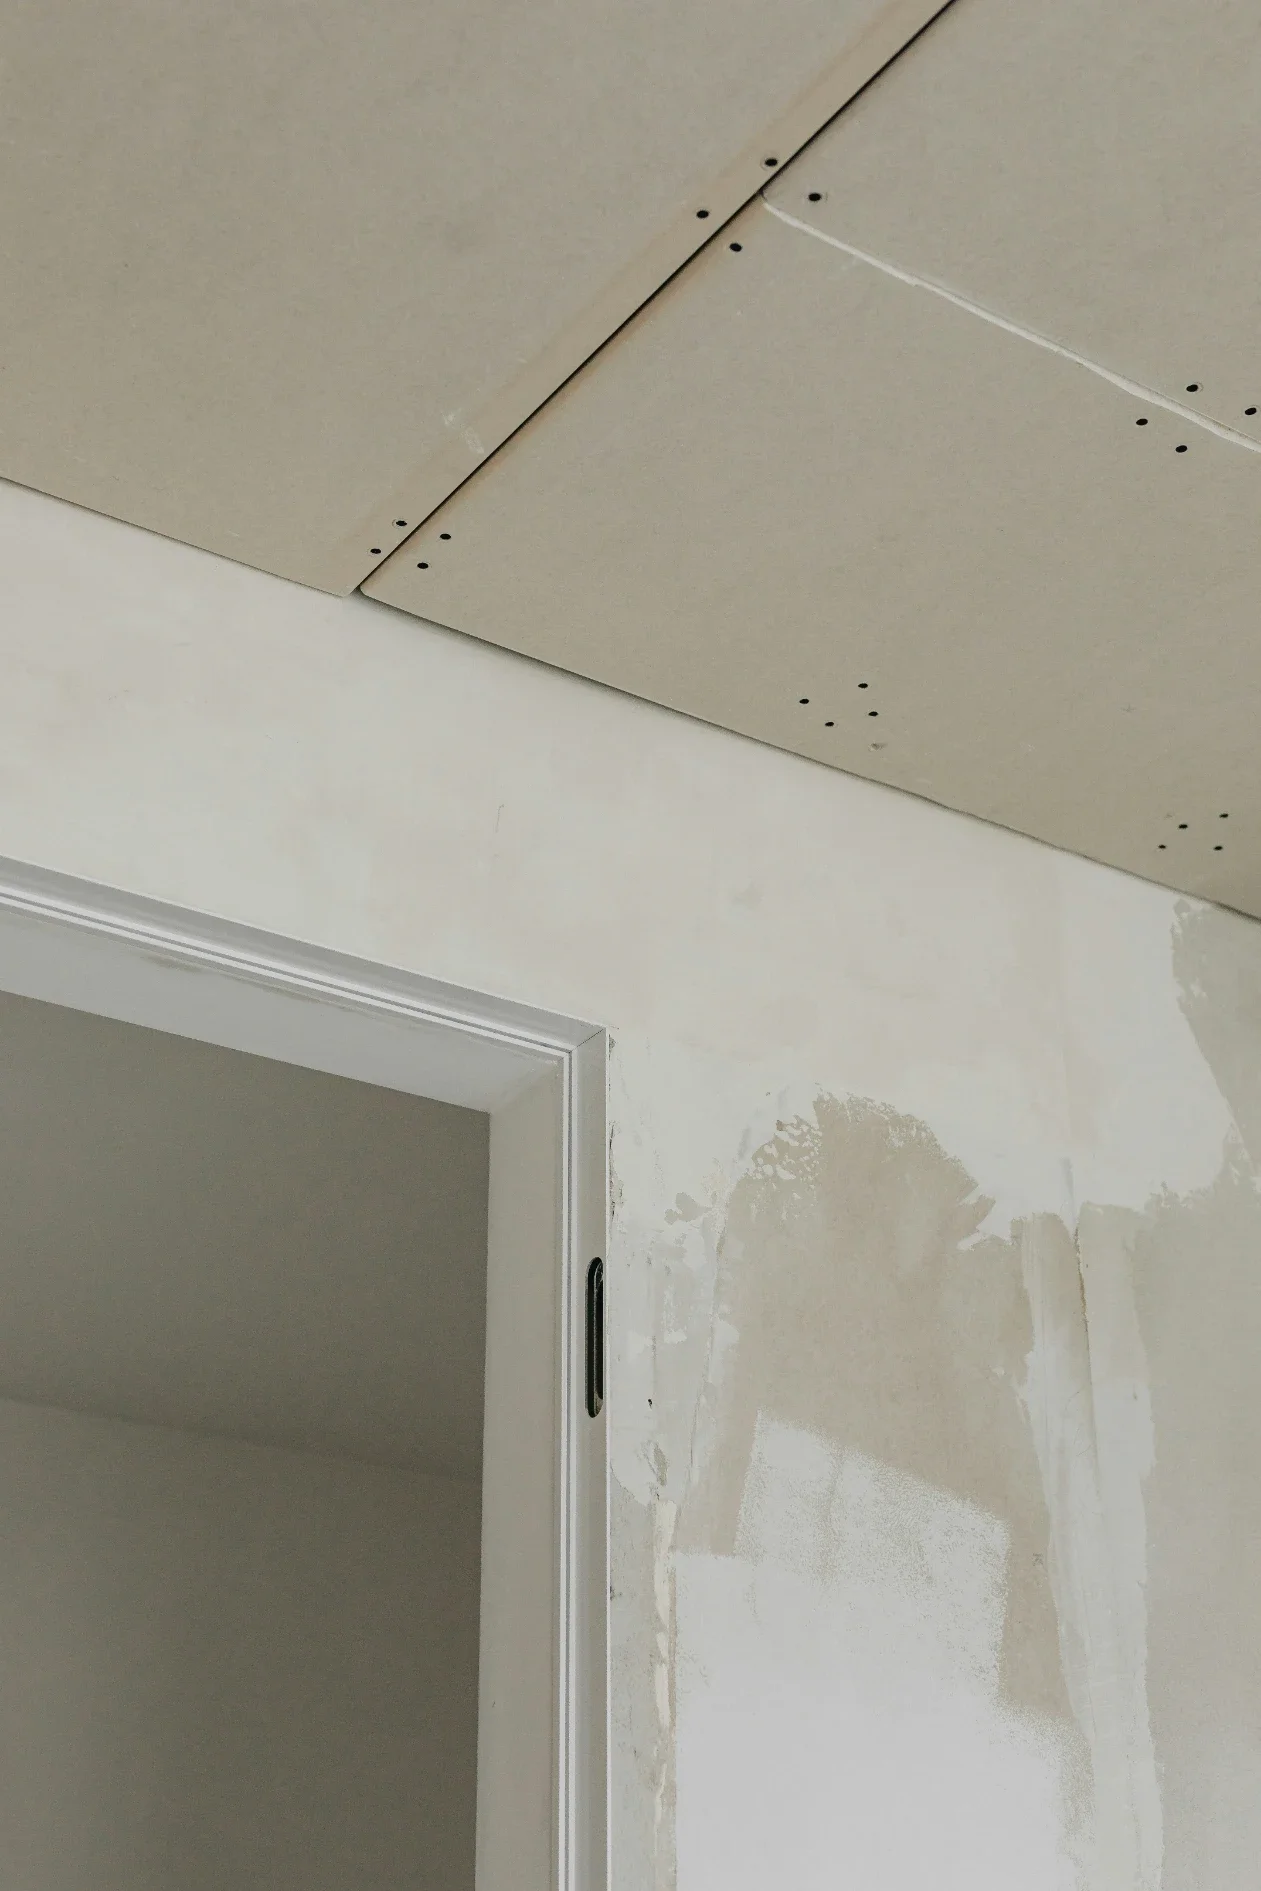
Drywall plays a major role in the appearance and comfort of modern interiors. Whether you are finishing a newly built room, remodeling an older property, or repairing walls after electrical or plumbing work, drywall installation and patching should be approached with attention to surface preparation, material selection, and finishing. Understanding the process can help homeowners plan projects more effectively and recognize when a wall needs more than a simple cosmetic repair.
Understanding the Role of Drywall
Drywall provides a practical surface for interior walls and ceilings while creating a foundation for paint, wallpaper, trim, and other finishes. Standard gypsum panels are widely used because they are relatively lightweight, easy to cut, and suitable for many residential applications.
However, different areas of a home can have different requirements. Moisture-resistant panels may be more appropriate in certain damp locations, while fire-resistant products can be required in specific assemblies according to local building codes.
Choosing the right material is therefore an important first step.
Preparing the Wall Surface
Good results depend heavily on preparation.
Before installing new panels or repairing damaged sections, the wall should be inspected for moisture, structural problems, loose materials, or hidden damage. Installing new drywall over an unresolved leak, for instance, can lead to recurring problems and premature deterioration.
The supporting structure should also be checked to ensure panels can be securely attached. Electrical wiring, plumbing, insulation, and other components behind the wall need to be considered before cutting or fastening materials.
Taking time during this stage can prevent unnecessary repairs later.
Getting the Joints Right
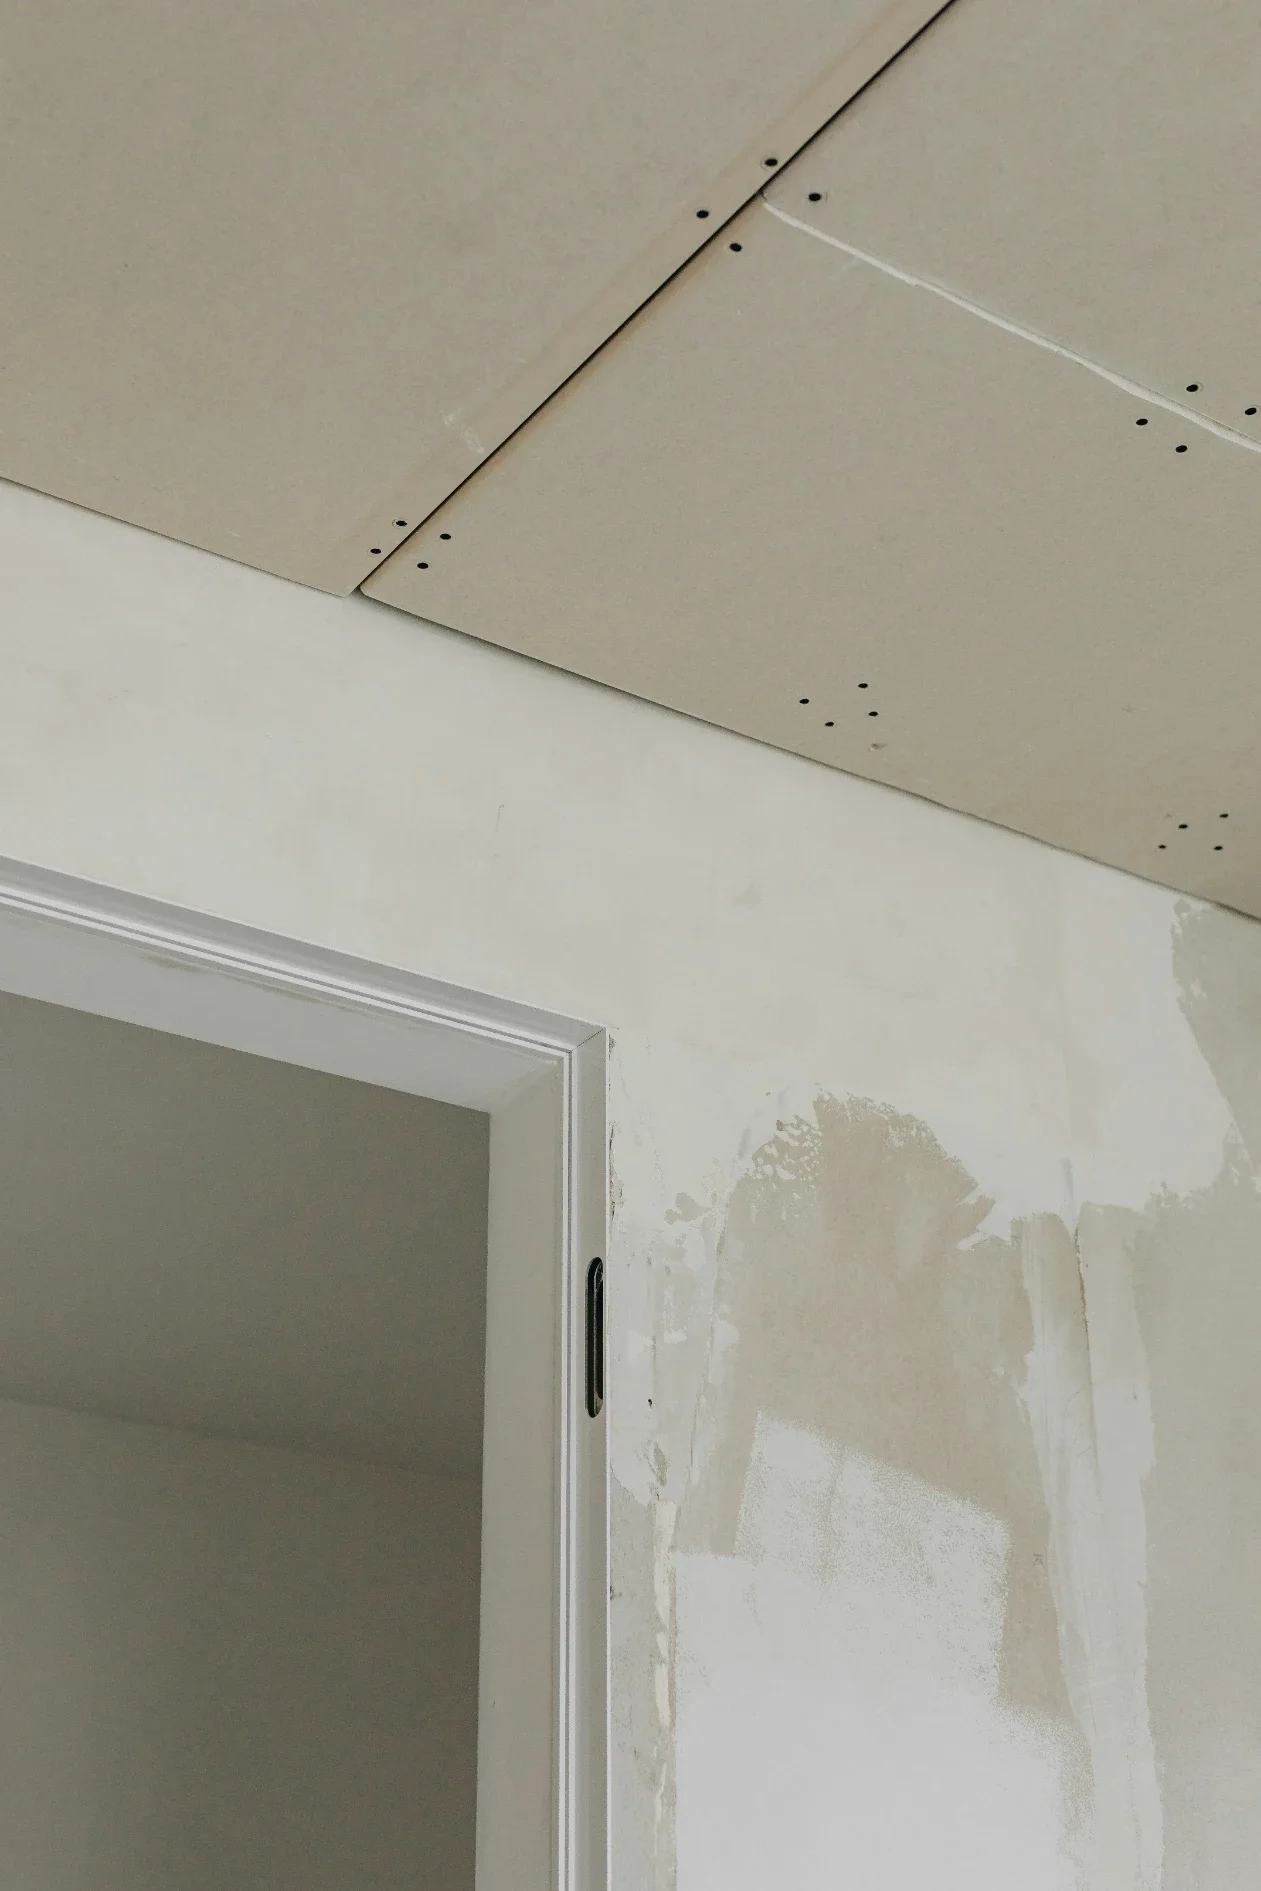
One of the most visible aspects of drywall work is the treatment of seams.
Panels are installed with joints between them, and these joints need to be covered with joint compound and appropriate tape. Several thin applications are generally preferable to one thick layer because they provide greater control over the finished surface.
Each layer needs sufficient drying time before sanding or additional compound is applied.
Corners require particular attention because uneven edges can become noticeable once the wall is painted. Corner bead or other appropriate reinforcement can help create clean, durable outside corners.
Repairing Small Holes and Cracks
Minor drywall damage is common in occupied homes.
Small nail holes, dents, and isolated imperfections can often be repaired without replacing an entire panel. The damaged area should first be cleaned and prepared before applying suitable patching material.
Larger holes require a more structured repair. Depending on their size, the damaged section may need to be cut back, supported with backing material, and filled with a replacement piece.
Cracks deserve additional investigation. A recurring crack may indicate movement, moisture, or another underlying issue rather than simply a damaged finish.
Sanding and Surface Preparation
Sanding is essential for creating a smooth transition between repaired areas and the surrounding wall.
The goal is not simply to remove excess compound. The repaired area should gradually blend into the existing surface so that the transition is difficult to detect after painting.
Excessive sanding can damage the paper surface of drywall, so controlled pressure and appropriate sanding materials are important.
Dust management is another practical consideration. Covering furniture and nearby surfaces and using appropriate dust-control methods can make cleanup significantly easier.
Priming Before Painting
Fresh joint compound absorbs paint differently from painted drywall.
Applying primer to repaired or newly installed areas helps create a more consistent surface before the final paint coats are applied. Without adequate priming, repaired sections may remain visibly different from the surrounding wall, even when the same paint color is used.
The type of primer should be selected according to the surface and finish being applied.
When Professional Help Makes Sense
Simple cosmetic repairs may be manageable for experienced homeowners, but larger projects can become considerably more demanding.
Professional assistance can be useful when an entire room requires new walls, when ceilings are involved, or when drywall work is part of a larger renovation. Projects involving water damage, extensive cracks, or changes to electrical and plumbing systems may also require additional expertise.
Professional work can help maintain consistent panel alignment, joint treatment, corner finishing, and surface preparation across a larger area.
Maintaining Finished Drywall
Once drywall has been properly installed and painted, routine care is relatively straightforward.
Avoid prolonged moisture exposure, address leaks quickly, and repair dents or holes before they become larger. When hanging heavy objects, use appropriate anchors or attach supports to wall framing where necessary.
Periodic inspection is especially useful in bathrooms, kitchens, basements, and other areas where humidity or moisture may be higher.
Final Thoughts
A smooth wall is the result of several carefully executed steps rather than simply attaching panels and applying paint. Proper preparation, secure installation, careful joint treatment, controlled sanding, and appropriate priming all contribute to the final appearance.
Whether you are repairing a small damaged section or renovating an entire room, understanding these fundamentals makes it easier to plan the work, choose suitable materials, and maintain a durable interior finish.
Stay up to date with our latest ideas!