15 Easy Tree Painting Ideas for Beginners to Try
Explore 15 easy tree painting ideas for beginners to try that build confidence and create stunning artwork with simple techniques.
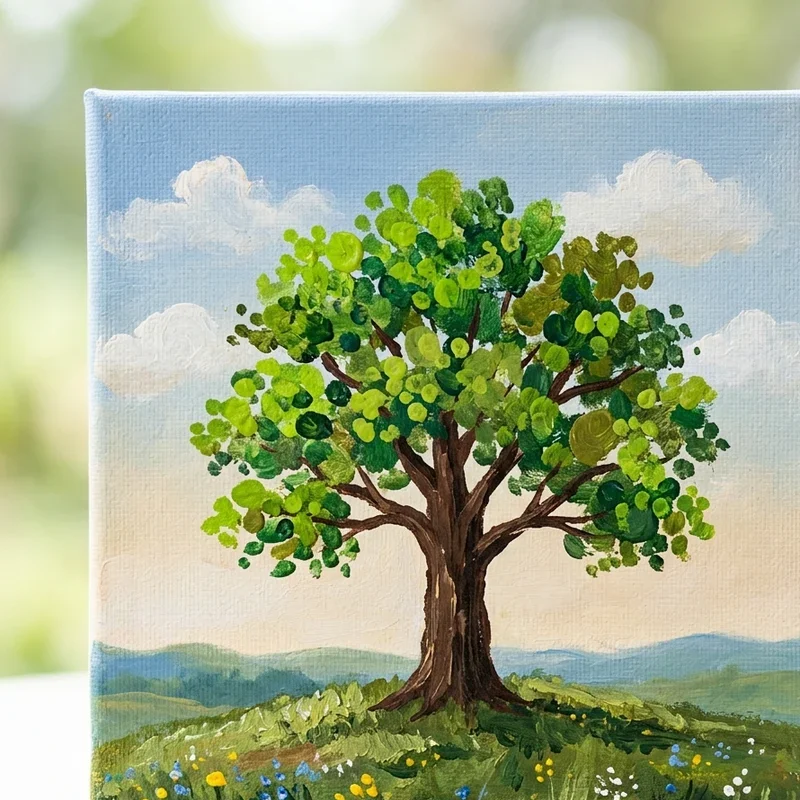
Tree paintings offer beginners the perfect entry point into the art world because trees forgive imperfection in ways that portraits and architecture absolutely refuse to, every wobbly branch and uneven leaf cluster looking naturally organic rather than obviously amateur on the finished canvas. Have you ever stared at a blank canvas feeling completely paralyzed by the fear of creating something terrible? Trees dissolve that fear entirely because nature itself draws crooked lines. Think of tree painting as learning to speak the visual language of nature where there is no wrong grammar, only different dialects expressing the same beautiful message through branches, leaves, and light. These fifteen beginner-friendly ideas build your painting confidence beautifully.
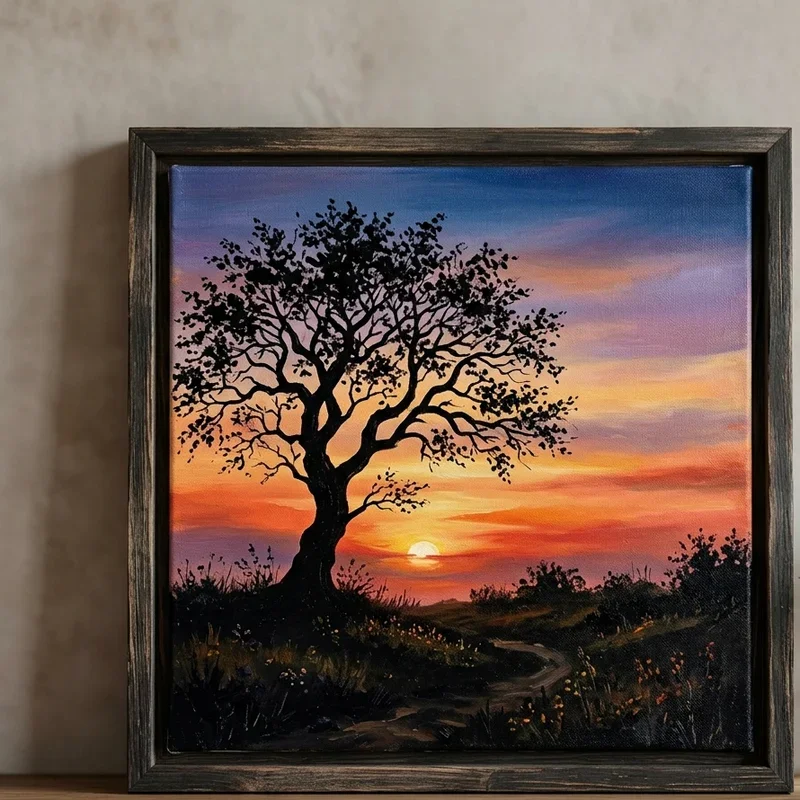
1. Simple Silhouette Tree Against Sunset
A simple silhouette tree against a sunset paints a gradient sky blending warm yellows, oranges, pinks, and purples from the horizon upward, then adds a completely black tree shape over the dried background creating dramatic contrast that looks incredibly impressive despite requiring only basic color blending skills and a steady hand for the dark outline. Sunset silhouettes work like discovering a painting cheat code where the background does all the heavy visual lifting and the tree itself needs zero detail because total darkness hides every imperfection behind solid black pigment beautifully. Blend the sky colors while the paint remains wet for seamless gradient transitions. Wait for the background to dry completely before painting the black tree silhouette preventing color bleeding between layers.
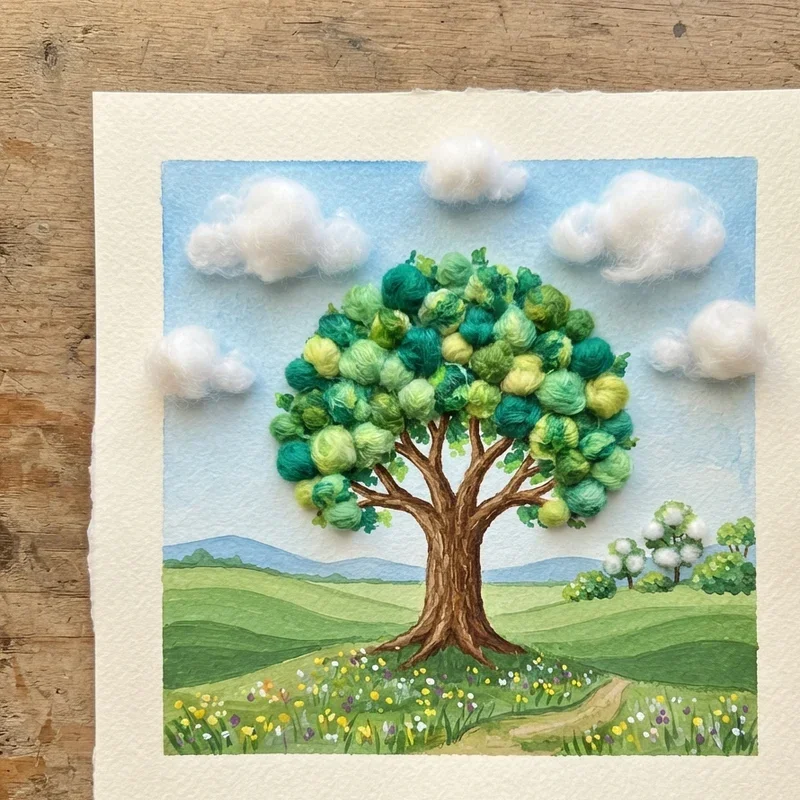
2. Cotton Ball Cloud and Tree Landscape
A cotton ball cloud and tree landscape uses actual cotton balls dipped in white paint to stamp soft, fluffy cloud shapes across a blue sky background, then applies the same dabbing technique with green paint to create leafy tree canopies that look textured and dimensional without requiring any brushwork precision from nervous beginner hands. Cotton ball painting works like replacing the intimidating brush with a forgiving tool that produces beautiful organic textures automatically, every dab creating natural cloud and foliage effects that deliberate brushstrokes struggle to replicate with the same effortless softness. Tear cotton balls into irregular pieces creating varied stamp sizes for natural-looking results. Paint the trunk and branches first using a thin brush, then stamp green cotton ball foliage over and around the branch structure.
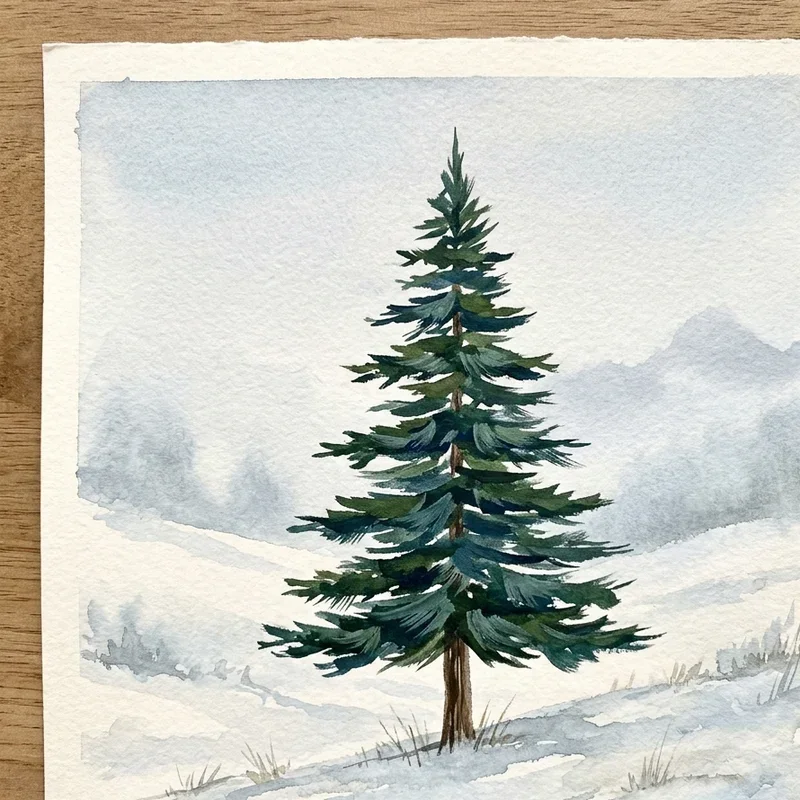
3. One Stroke Fan Brush Pine Tree
A one stroke fan brush pine tree loads a dry fan brush with dark green paint, then presses the bristle tips against the canvas in quick horizontal strokes radiating downward from a central trunk line, creating realistic evergreen needle texture through a simple repetitive motion that produces a convincing pine tree in under five minutes. Fan brush pines work like discovering that the weird flat brush you ignored in your starter set actually paints entire forests faster than any round brush could dream of achieving, the splayed bristles doing all the detailed needle work automatically. Start with the narrowest strokes at the treetop using just the brush tip. Gradually widen each descending stroke creating the natural conical silhouette that defines pine and spruce tree shapes instantly.
4. Fingerprint Leaf Autumn Tree
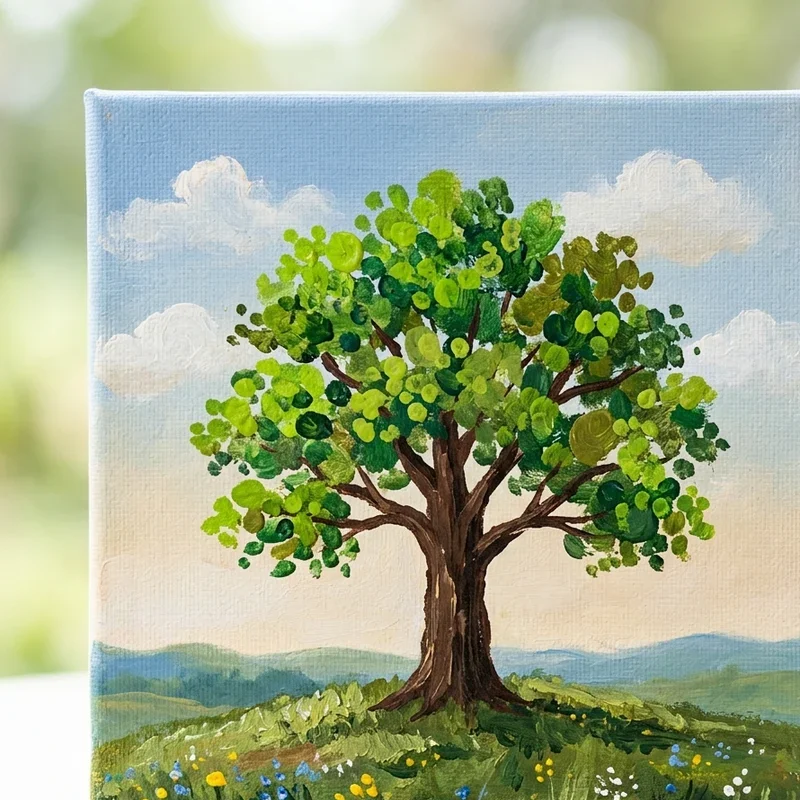
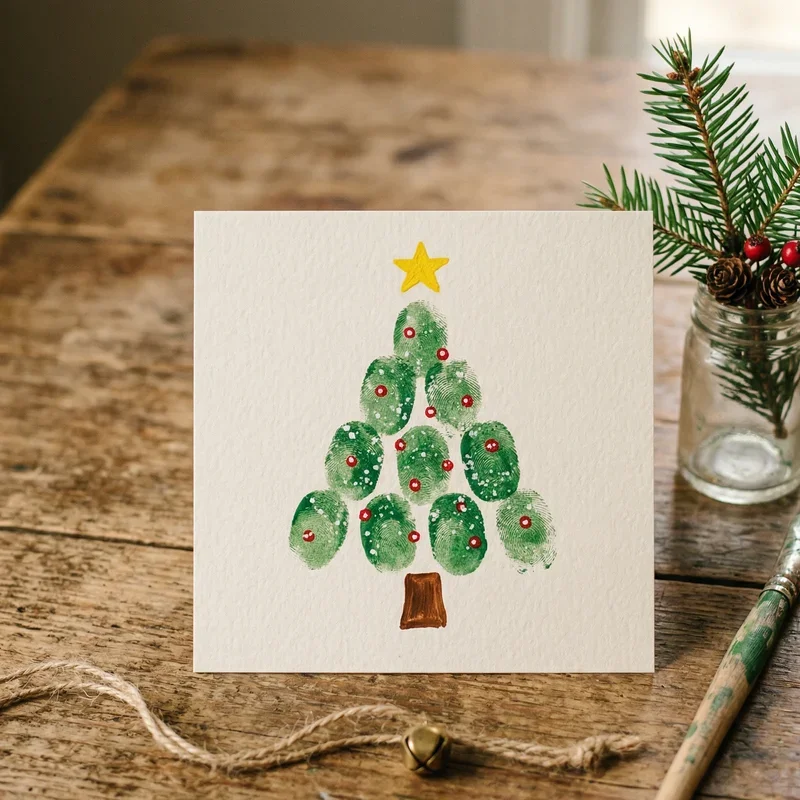
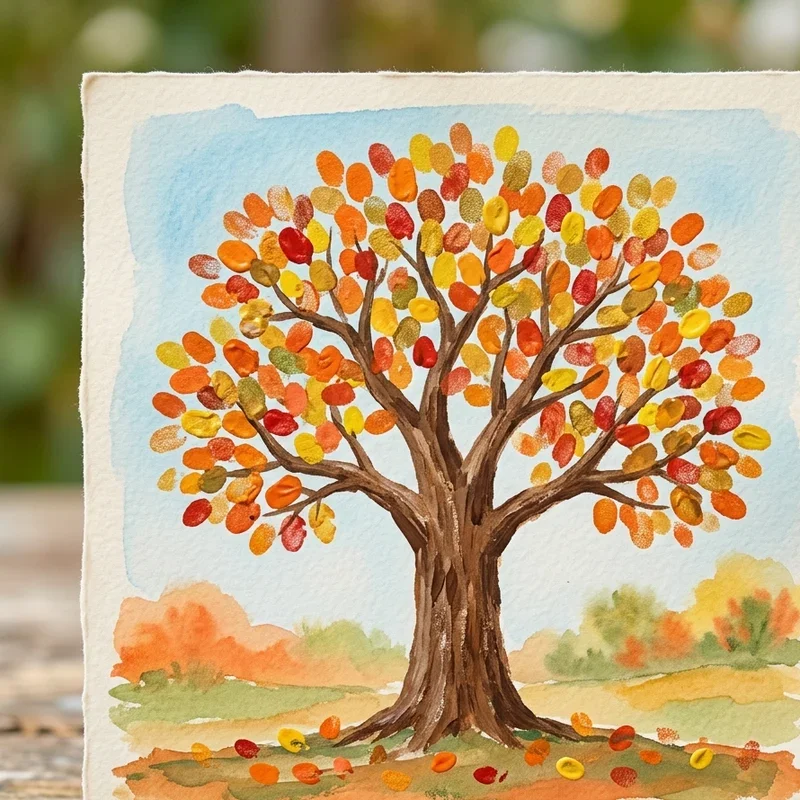
A fingerprint leaf autumn tree paints a brown trunk and bare branch structure first, then uses fingertips dipped in red, orange, yellow, and brown paint to stamp individual leaf impressions across the branches and scattered on the ground below, creating a colorful fall foliage scene using the most intuitive painting tool every human already possesses. Fingerprint trees work like returning to kindergarten art class where the rules disappeared and the joy of messy hands creating beautiful things felt completely natural, the finger-stamping technique producing surprisingly sophisticated results that visitors mistake for deliberate pointillist technique. Load different fingers with different autumn colors simultaneously for varied impressions. Cluster fingerprints densely around branch junctions and scatter them increasingly loosely toward branch tips mimicking natural leaf distribution patterns on real deciduous trees.
5. Watercolor Wet on Wet Willow Tree
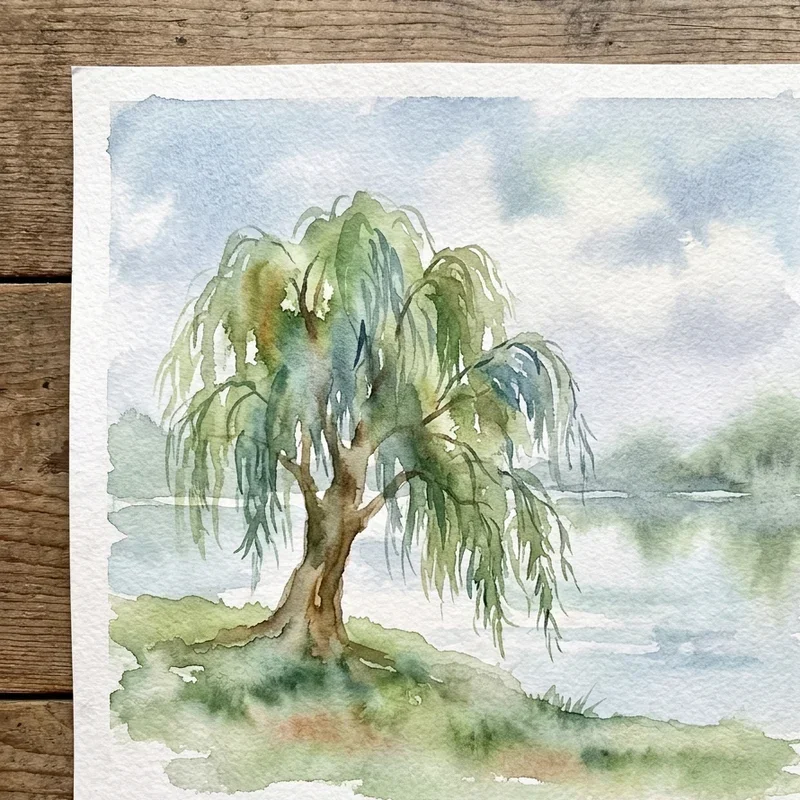
A watercolor wet on wet willow tree wets the entire paper surface first, then drops concentrated green and yellow watercolor pigments onto the wet surface allowing the colors to bleed and spread organically downward, creating the naturally flowing, drooping branch effect that defines willow trees through the paint's own gravitational movement rather than deliberate brushwork. Wet on wet willows work like convincing water and pigment to paint the tree for you, the uncontrollable bleeding becoming the exact technique required to replicate how willow branches actually cascade downward in real life, the imprecision becoming perfection. Tilt the paper slightly downward encouraging paint flow in the direction of hanging willow branches. Add the trunk using darker pigment after initial washes partially dry, building depth through layered applications rather than single heavy-handed brush passes.
6. Palette Knife Textured Tree Bark
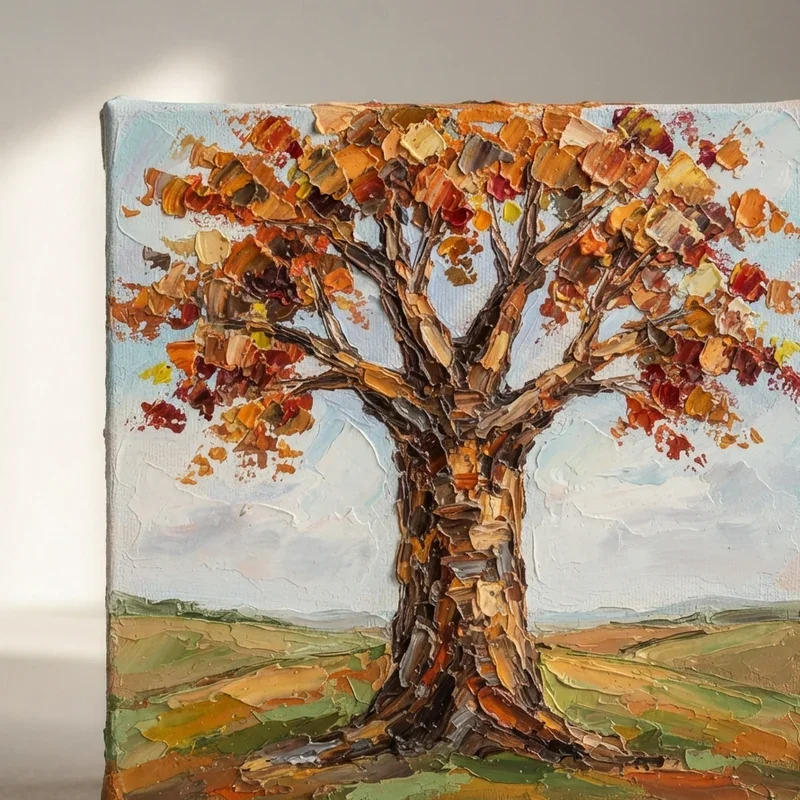
A palette knife textured tree bark painting uses a flat metal palette knife to spread thick acrylic paint across the canvas in rough, layered strokes that create three-dimensional bark texture so realistic that viewers instinctively reach out to touch the surface, the physical depth impossible to achieve using flat brushwork alone. Palette knife bark works like sculpting rather than painting, the thick paint application building actual relief on the canvas surface where light catches ridges and shadows fill valleys creating drama that flat paintings simply cannot match regardless of color accuracy or compositional skill. Load the knife edge with undiluted paint for maximum texture thickness. Drag the knife vertically along the trunk using short, choppy motions mimicking the natural directional pattern of bark ridges on mature trees convincingly.
7. Tape Resist Birch Forest Painting
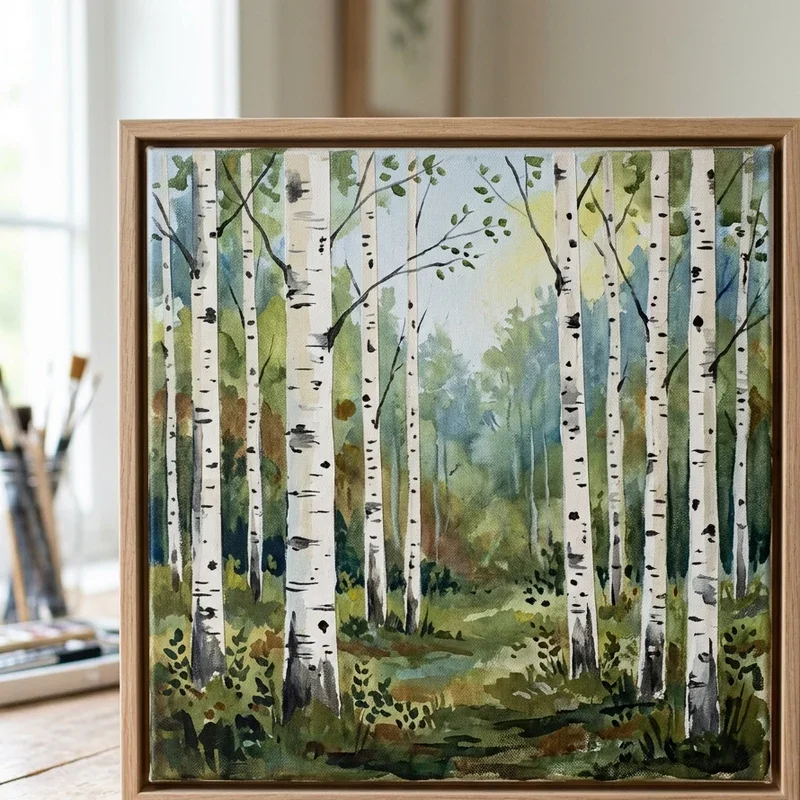
A tape resist birch forest painting places vertical strips of painter's tape across the canvas before applying a colorful background, then removes the tape after the paint dries revealing clean white trunk shapes that instantly read as a birch forest requiring only simple horizontal black marks for bark detail to complete the convincing woodland illusion. Tape resist birches work like using masking tape as a magical painting shortcut that creates perfectly straight, clean tree trunks without requiring steady hands, the tape doing the precision work while you focus entirely on the fun, expressive background painting. Apply tape strips at slightly varied angles avoiding perfectly parallel placement. Press tape edges firmly preventing paint bleeding underneath, then peel slowly at a forty-five degree angle for the cleanest possible trunk edges after background colors dry.
8. Splatter Technique Spring Blossom Tree
A splatter technique spring blossom tree paints a dark brown trunk and branch skeleton first, then loads a stiff brush with pink and white paint, pulls the bristles back with a finger, and releases them to splatter tiny blossom dots across the branch area creating a cherry blossom effect that looks delicate and complex. Splatter blossoms work like hiring a tiny paint cannon to fire hundreds of perfect flower dots across your canvas in seconds, the random distribution creating natural-looking blossom clusters that intentional individual dot placement could never replicate with the same organic spontaneity and speed. Control splatter density by varying the distance between brush and canvas surface. Layer pink splatters first, then add white highlights over the dried pink creating depth and dimension within the blossom clusters across the entire canopy area.
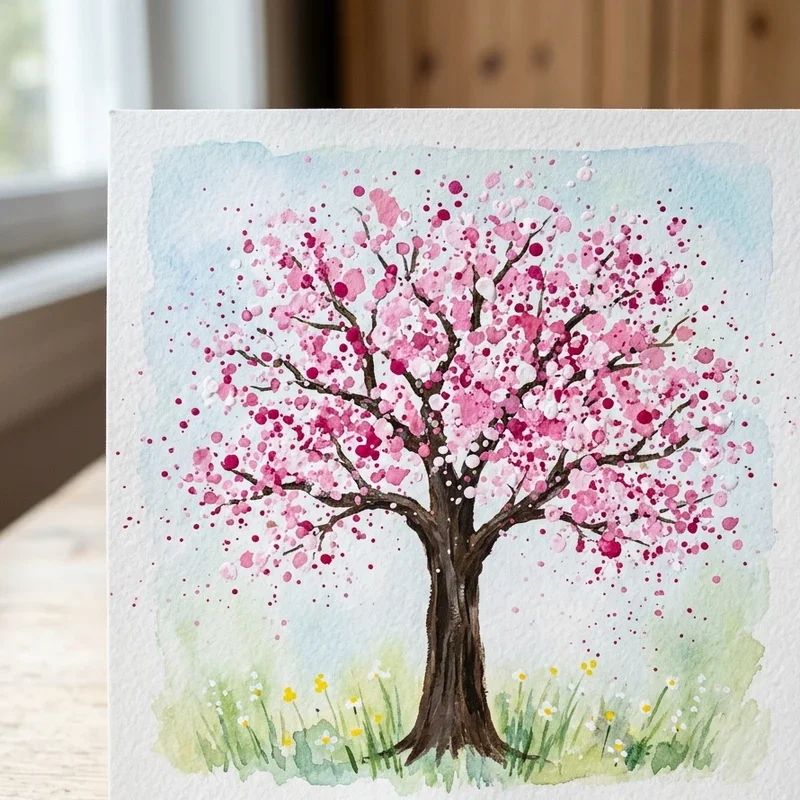
9. Monochrome Single Color Tree Study
A monochrome single color tree study paints an entire tree composition using only one paint color mixed with white and black to create a full value range from lightest highlight to darkest shadow, teaching beginners to see and render light and form without the added complexity of managing multiple color relationships simultaneously. Monochrome studies work like learning to drive in a parking lot before hitting the highway, the simplified single-color approach letting you focus entirely on mastering value, depth, and form without color decisions distracting from fundamental skills that every future painting depends upon. Choose burnt umber or Payne's gray for versatile, natural-looking monochrome tree studies. Mix at least five distinct value steps from your chosen color ranging from nearly white through medium tones to near-black.
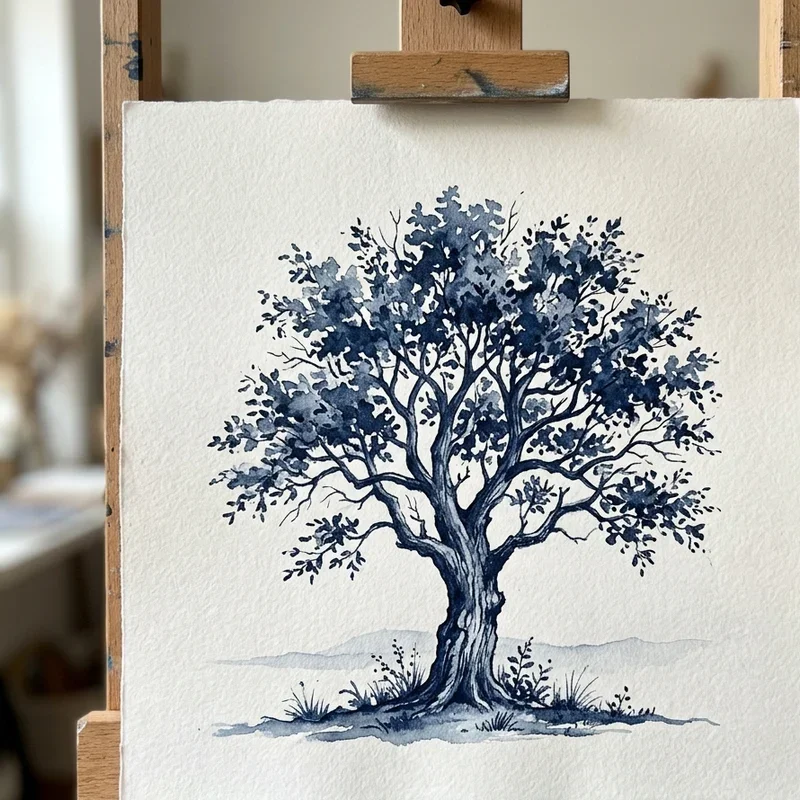
10. Straw Blown Ink Tree Branches
A straw blown ink tree branch painting drops diluted black ink or very thin acrylic paint onto the canvas surface, then uses a drinking straw to blow the liquid puddle outward in various directions, creating organic branching patterns that spread across the paper like real tree limbs growing and dividing with genuinely natural randomness. Straw blown trees work like giving your lungs the paintbrush and letting breath itself direct where the branches grow, the complete unpredictability producing results that look eerily like actual tree branch structures because the physics of liquid spreading mimics biological branching patterns naturally. Start with larger ink puddles for the trunk base directing the first blows upward strongly. Reduce ink amounts and blow more gently as branches thin, creating the natural tapering that distinguishes convincing tree structures from abstract ink splashes.
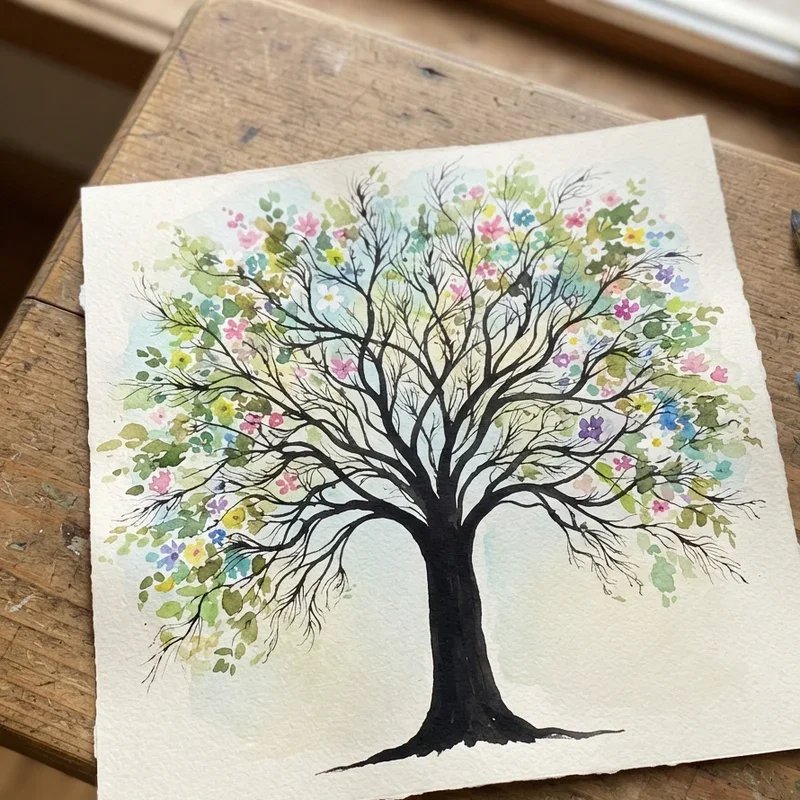
11. Dot Art Pointillism Tree Canvas
A dot art pointillism tree canvas builds an entire tree image using only painted dots applied with the handle end of a brush, cotton swabs, or specialized dotting tools, creating a mosaic-like effect where individual color dots merge visually from viewing distance into a cohesive tree form that shimmers with color variation. Pointillism trees work like assembling a tree from thousands of tiny colored pixels where each dot contributes one small piece of information and the complete picture only emerges when you step back far enough to let your eyes blend everything together naturally. Start with lighter background dots establishing the sky and ground. Layer darker dots over lighter base layers building the trunk, branches, and foliage shapes progressively through accumulated dot density rather than outline-first approaches.
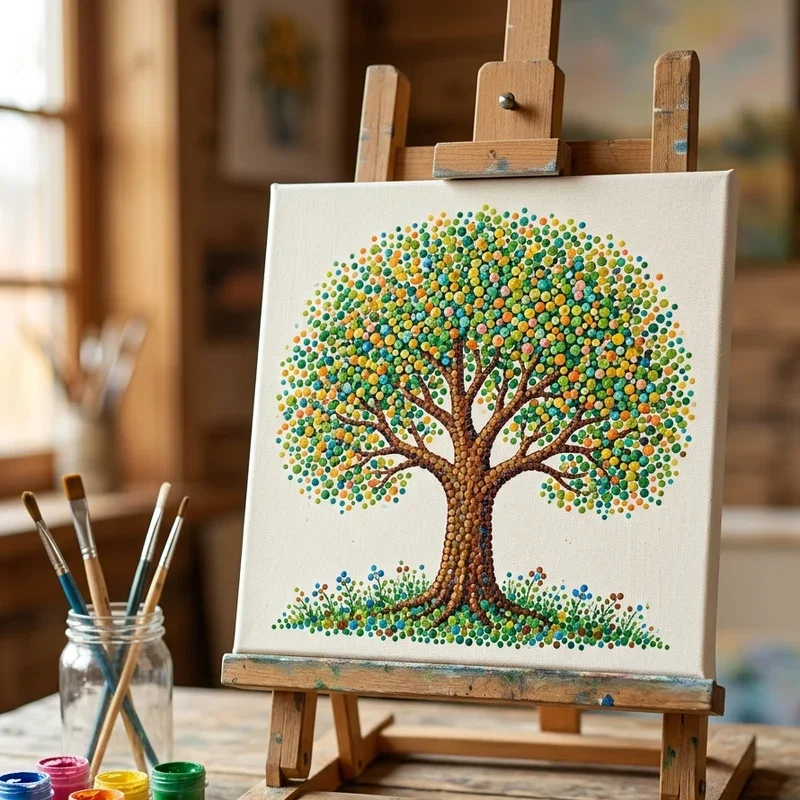
12. Sponge Stamped Foliage Tree Painting
A sponge stamped foliage tree painting tears natural sea sponges or kitchen sponges into irregular pieces, loads them with varying green tones, and stamps textured leaf canopy shapes around pre-painted trunk and branch structures, creating lush, dimensional foliage effects that flat brushes struggle to replicate with the same organic randomness. Sponge stamping works like discovering nature's own printing press hiding in your kitchen drawer, the irregular sponge surface producing random texture patterns that perfectly mimic the chaotic beauty of real leaf clusters viewed from a landscape painting distance. Dip sponge pieces into multiple green shades simultaneously for varied color impressions within single stamps. Build foliage in layers starting with darker greens underneath, then stamping progressively lighter values on top creating the natural light-to-shadow depth that real tree canopies display.
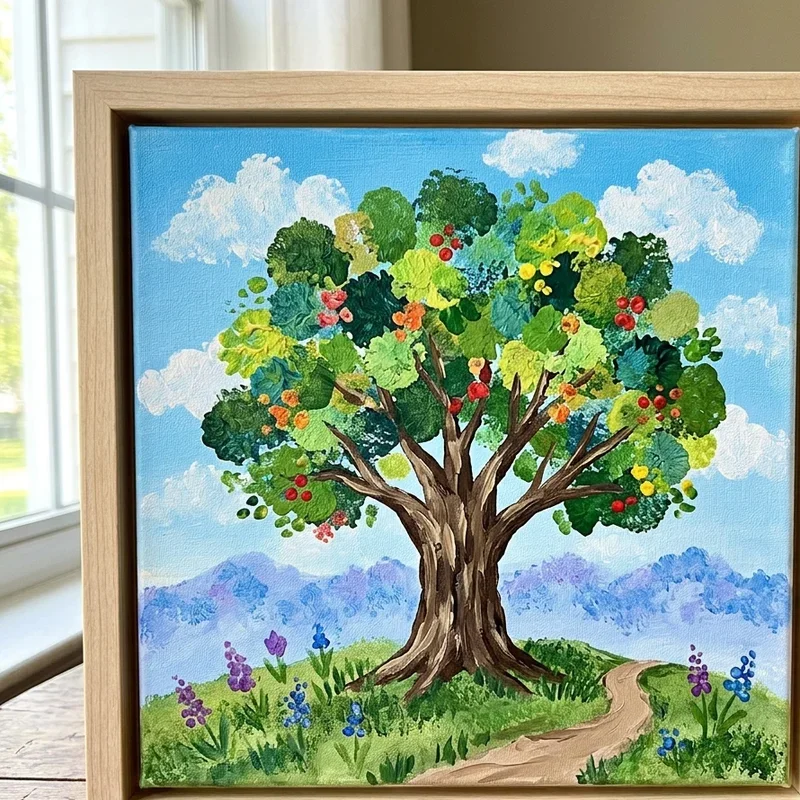
13. Gradient Sky Simple Tree Foreground
A gradient sky simple tree foreground focuses primary painting effort on creating a beautiful blended sky gradient transitioning smoothly from one color family to another, then adds a simple dark tree shape in the lower foreground creating a finished landscape where the sky's beauty carries the entire composition while the tree provides essential grounding. Gradient sky paintings work like learning that backgrounds deserve as much attention as subjects, the smooth color transitions teaching brush blending skills that transfer directly to every future painting project regardless of subject matter or style chosen later in your artistic development. Blend sky colors on the canvas while both remain wet using long horizontal strokes. Practice controlling the transition zone width between colors, keeping it neither too abrupt nor too wide for natural-looking atmospheric gradient effects.
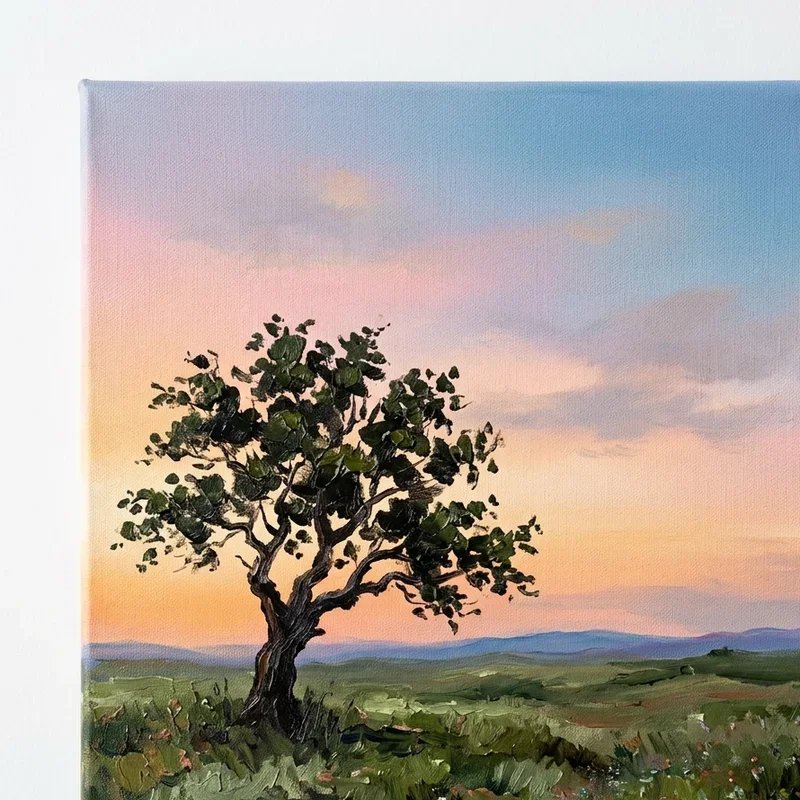
14. Whimsical Curly Branch Fantasy Tree
A whimsical curly branch fantasy tree abandons realistic tree anatomy entirely, painting swooping spiral branches, oversized colorful flowers, mismatched leaf shapes, and playful proportions that create a purely imaginative tree existing only in your creative vision, freeing beginners from the pressure of botanical accuracy that realistic tree painting sometimes imposes. Fantasy trees work like giving yourself explicit permission to paint wrong on purpose, the intentional departure from reality eliminating the anxiety of comparison with actual trees because your whimsical creation answers to nobody's rules except your own creative imagination exclusively. Use bright, unconventional color combinations like purple trunks with turquoise leaves or pink bark with golden spiral branches. Add decorative elements like hanging lanterns, tiny birds, or miniature doors embedded in the trunk creating storybook illustration aesthetics that charm viewers.
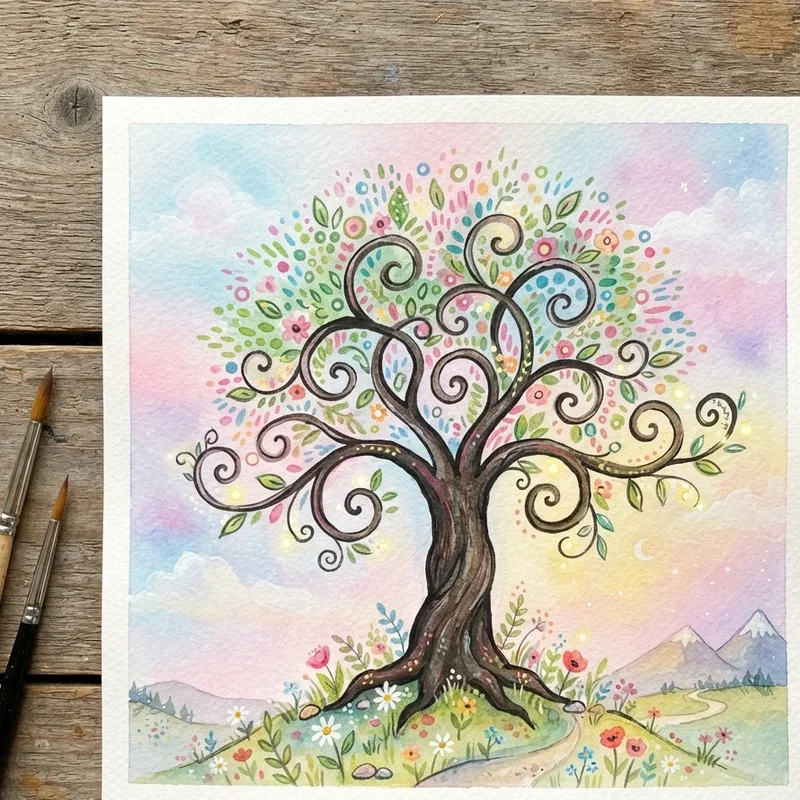
15. Moonlit Night Tree Silhouette Scene
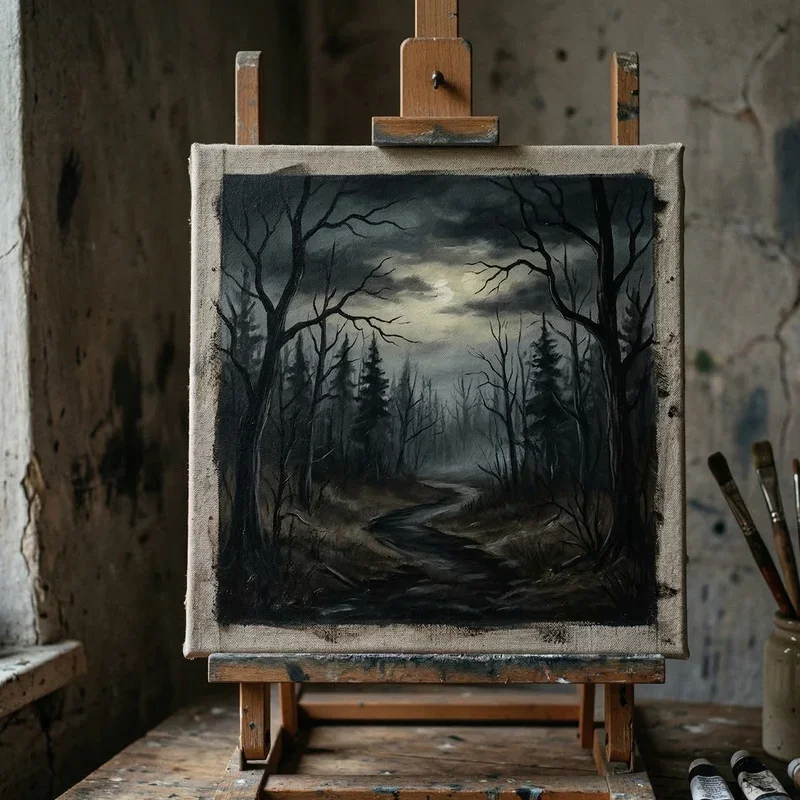
A moonlit night tree silhouette scene paints a dark blue and black gradient night sky with a bright white or pale yellow moon glowing in the upper portion, then adds detailed black tree silhouettes reaching across the moonlit background creating a moody, atmospheric nocturnal scene that beginners produce with surprising sophistication. Moonlit scenes work like painting a sunset silhouette's mysterious evening cousin, the same forgiving black-on-color technique applied to a darker, more dramatic palette that feels emotionally deeper and artistically more ambitious while remaining technically identical in difficulty level. Paint the moon first using circular white paint softened with a dry brush creating a subtle glow halo effect. Add tree silhouettes after the sky dries completely, extending thin branches across the moon face creating dramatic intersection where black limbs cross the bright lunar surface.
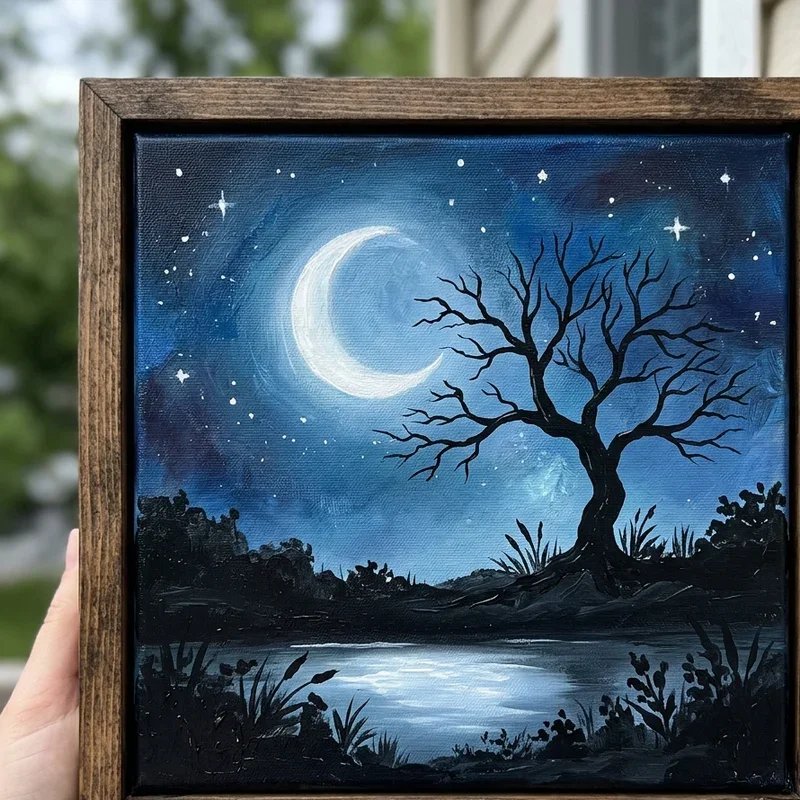
Conclusion
Tree painting gives beginners the confidence boost every aspiring artist needs because trees welcome imperfection, reward experimentation, and produce genuinely beautiful results long before technical mastery develops through years of dedicated practice and patient skill building. From simple sunset silhouettes and fingerprint autumn canopies to textured palette knife bark and whimsical fantasy spirals, these fifteen ideas prove that stunning tree art requires creative willingness rather than professional talent. Choose the technique matching your current comfort level, gather your supplies, and start painting, because every artist's forest grows one tree at a time, and your first tree is waiting.
Frequently Asked Questions
Q1: What type of paint works best for beginners attempting these tree painting techniques?
A: Acrylic paint suits beginners perfectly because it dries quickly, cleans with water, and forgives mistakes.
Q2: Do I need expensive brushes to create good tree paintings as a beginner artist?
A: Affordable starter brush sets work perfectly fine for every technique listed in this beginner guide.
Q3: How do I fix mistakes while painting trees without starting the entire canvas over?
A: Let acrylic paint dry completely then paint directly over mistakes with corrected colors and shapes.
Q4: What canvas size works best for beginners practicing these tree painting techniques at home?
A: Start with 9x12 or 11x14 inch canvases providing adequate space without feeling overwhelmingly large.
Q5: How long should a beginner expect to spend completing one tree painting from start to finish?
A: Most beginner tree paintings take between one and three hours including drying time between layers.
Stay up to date with our latest ideas!