How to Clean Walls Before Painting Like a Pro
Master wall cleaning before painting with pro tips, tools, and techniques. Get perfect paint adhesion and lasting results every time.
Listen up, DIY warriors and weekend painters! There's nothing quite like the satisfaction of transforming a room with a fresh coat of paint. But here's the kicker - if you skip the crucial step of cleaning your walls beforehand, you're basically setting yourself up for disappointment. Trust me, I've been there, done that, and bought the t-shirt.
You see, painting over dirty walls is like putting makeup on without washing your face first. Sure, it might look okay initially, but those imperfections will show through eventually. Whether you're dealing with grimy fingerprints, mysterious stains, or just years of accumulated dust, knowing how to clean walls before painting like a pro can make or break your entire project.
The truth is, proper wall preparation isn't just about aesthetics - it's about creating the perfect canvas for your paint to adhere to. When you take the time to clean thoroughly, you're ensuring that your hard work will last for years to come. So grab your cleaning supplies and let's dive into this comprehensive guide that'll have you cleaning walls like you've been doing it professionally for decades.
Why Wall Cleaning Matters More Than You Think
Before we jump into the nitty-gritty of how to clean walls before painting like a pro, let's talk about why this step is absolutely crucial. Think of it this way - paint is only as good as the surface it's applied to.
Dirty walls create barriers between your paint and the actual wall surface. Dust, grease, crayon marks, and other contaminants prevent proper paint adhesion, leading to peeling, bubbling, and uneven coverage. Nobody wants to repaint a room because they cut corners during prep work, right?
Moreover, certain types of dirt and stains can actually bleed through your new paint job. Imagine spending a weekend painting your living room only to see mysterious yellow spots appearing a few weeks later. Yikes! That's why professional painters always emphasize the importance of thorough wall cleaning.
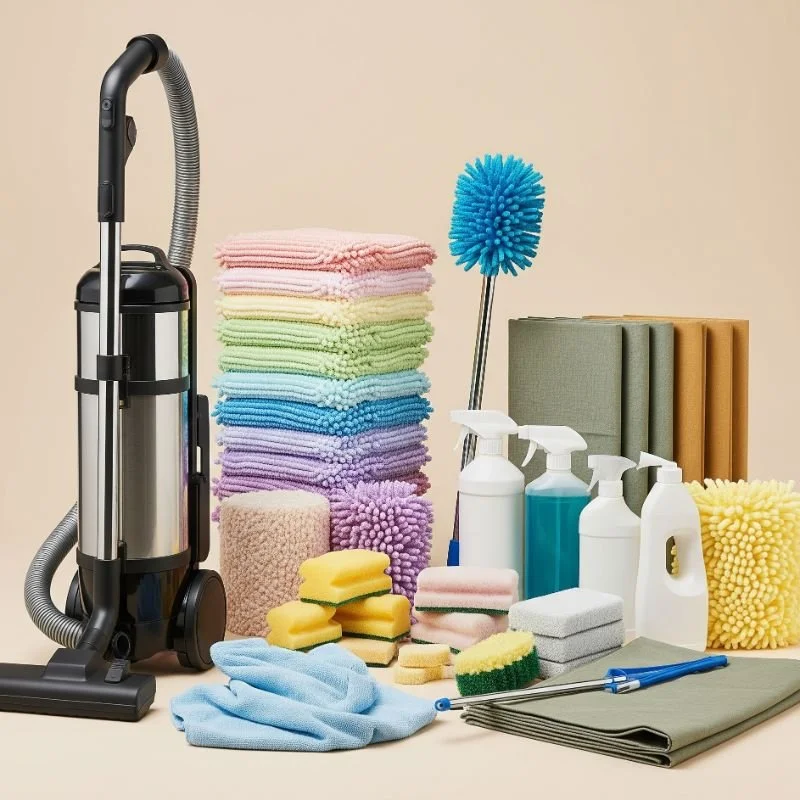
Essential Tools and Materials for Professional Wall Cleaning
Gathering Your Arsenal
You wouldn't show up to a gunfight with a water pistol, and you shouldn't tackle wall cleaning without the right equipment. Here's what you'll need to get the job done properly:
Basic Cleaning Supplies:
Vacuum cleaner with brush attachment
Microfiber cloths (lots of them!)
Natural sponges
Bucket for mixing cleaning solutions
Rubber gloves
Drop cloths or plastic sheeting
Step ladder or sturdy chair
Cleaning Solutions:
Mild dish soap
Trisodium phosphate (TSP) or TSP substitute
White vinegar
Baking soda
Degreasing cleaner for kitchen areas
Specialty stain removers
Pro Tip: Don't cheap out on your cleaning cloths. Quality microfiber cloths will make your life so much easier and leave your walls streak-free.
Choosing the Right Cleaning Solution
Not all walls are created equal, and neither are cleaning solutions. The type of paint, the room's function, and the level of grime all play a role in determining what cleaning approach you should take.
For most painted walls, a simple mixture of warm water and mild dish soap does the trick. However, if you're dealing with heavy grease buildup in kitchens or tough stains in high-traffic areas, you might need to bring out the big guns with TSP or specialized degreasers.
Step-by-Step Guide: How to Clean Walls Before Painting Like a Pro
Step 1: Clear the Decks
First things first - you've got to prepare your workspace. Remove all furniture from the room or push it to the center and cover it with plastic sheeting. Take down pictures, mirrors, and any wall decorations. Trust me, you don't want to be working around obstacles while you're trying to clean.
Don't forget to remove switch plates and outlet covers. These little details make a huge difference in achieving that professional look. Plus, it's much easier to clean around electrical fixtures when they're not in the way.
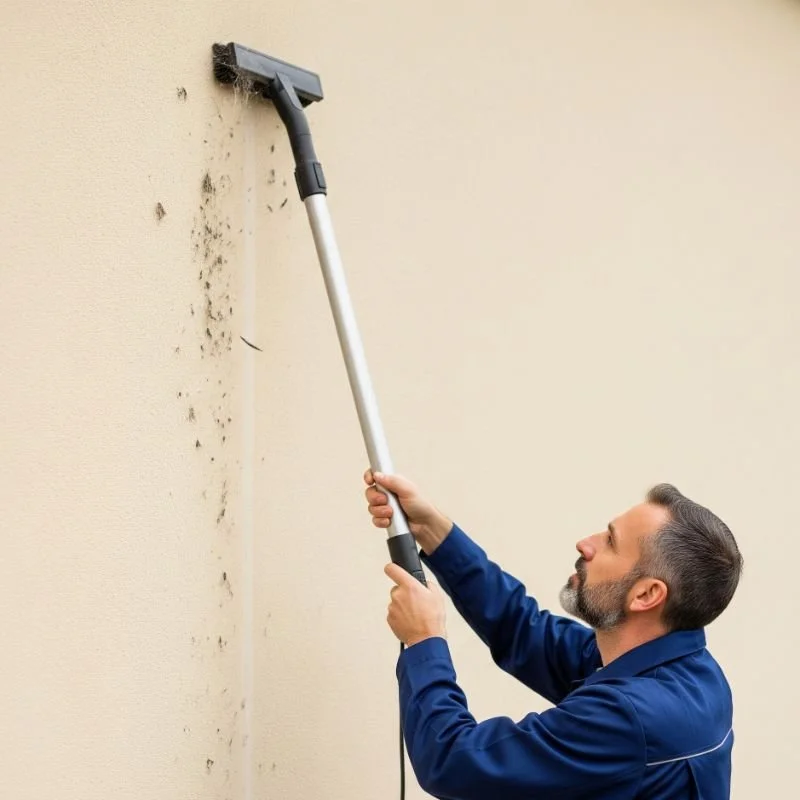
Step 2: Dust and Vacuum
Here's where many amateur painters go wrong - they skip the dusting step and jump straight to wet cleaning. Big mistake! Wet cleaning dusty walls just creates muddy streaks that are harder to remove.
Start from the top and work your way down, using your vacuum's brush attachment to remove loose dirt, dust, and cobwebs. Pay special attention to corners, baseboards, and areas around light fixtures where dust tends to accumulate.
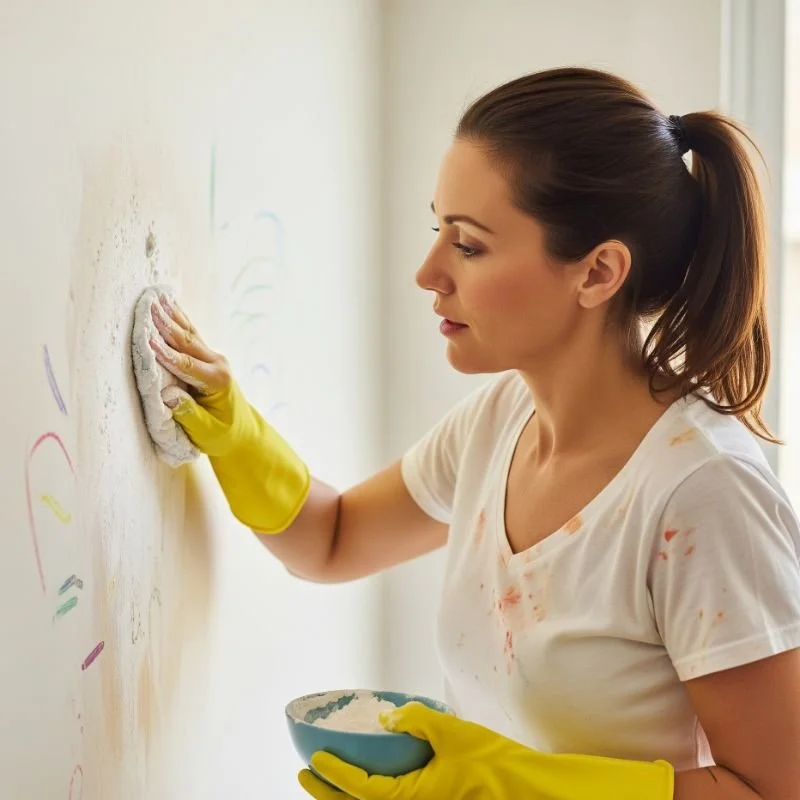
Step 3: Spot Treat Stains and Marks
Before you start the general cleaning process, take care of any obvious stains or marks. Crayon marks respond well to a paste made from baking soda and water. Grease stains might need a stronger degreaser, while scuff marks often come off with a simple pencil eraser.
For stubborn stains, don't scrub like your life depends on it. Instead, let your cleaning solution sit for a few minutes to break down the grime before gently wiping it away.
Step 4: The Main Event - Washing Your Walls
Now we're getting to the heart of how to clean walls before painting like a pro. Mix your cleaning solution in a bucket - for most situations, a few drops of dish soap in warm water will do the job perfectly.
Work in sections, starting from the top of the wall and moving downward. This prevents dirty water from dripping onto already-cleaned areas. Use a damp (not soaking wet) sponge or microfiber cloth, and work in circular motions to lift dirt and grime.
Important Note: Never oversaturate your walls, especially if they're painted with flat or eggshell finishes. Too much water can damage the paint or even the drywall underneath.
Step 5: Rinse and Dry
After cleaning each section, rinse with clean water to remove any soap residue. Soap left on walls can interfere with paint adhesion, so don't skip this step! Follow up immediately with a dry microfiber cloth to prevent water spots and streaking.

Special Considerations for Different Wall Types
Textured Walls: The Challenge Multiplier
Textured walls are like cleaning kryptonite - they trap dirt and dust in all those nooks and crannies. For these surfaces, you'll need to be extra patient and thorough. Use a soft-bristled brush to work cleaning solution into the texture, then rinse carefully to avoid leaving soap buildup.
Glossy and Semi-Gloss Paints
These finishes are generally more durable and can handle stronger cleaning solutions. However, be careful not to use abrasive cleaners that might dull the finish. A degreasing cleaner followed by a thorough rinse usually does the trick.
Flat Paint: Handle with Care
Flat paint is notoriously delicate. Use the gentlest cleaning method possible - often just dusting and light spot cleaning is sufficient. If you must wash flat-painted walls, use minimal water and work quickly to avoid damaging the finish.
Dealing with Stubborn Problems
Grease and Cooking Residue
Kitchen walls take a beating from cooking splatters and grease. For these tough customers, you might need to bring out the heavy artillery. TSP or a commercial degreaser can cut through stubborn grease buildup, but always test in an inconspicuous area first.
Crayon and Marker Stains
Kids will be kids, and sometimes their artistic expression ends up on your walls. For crayon marks, try heating them gently with a hair dryer, then wiping away the softened wax. Magic erasers work wonders on many types of marks, but use them sparingly as they can remove paint.
Water Stains and Discoloration
Water stains often indicate underlying moisture problems that should be addressed before painting. Clean the stain with a bleach solution (properly ventilated area only!), then make sure the source of moisture is eliminated.
Post-Cleaning Inspection and Final Prep
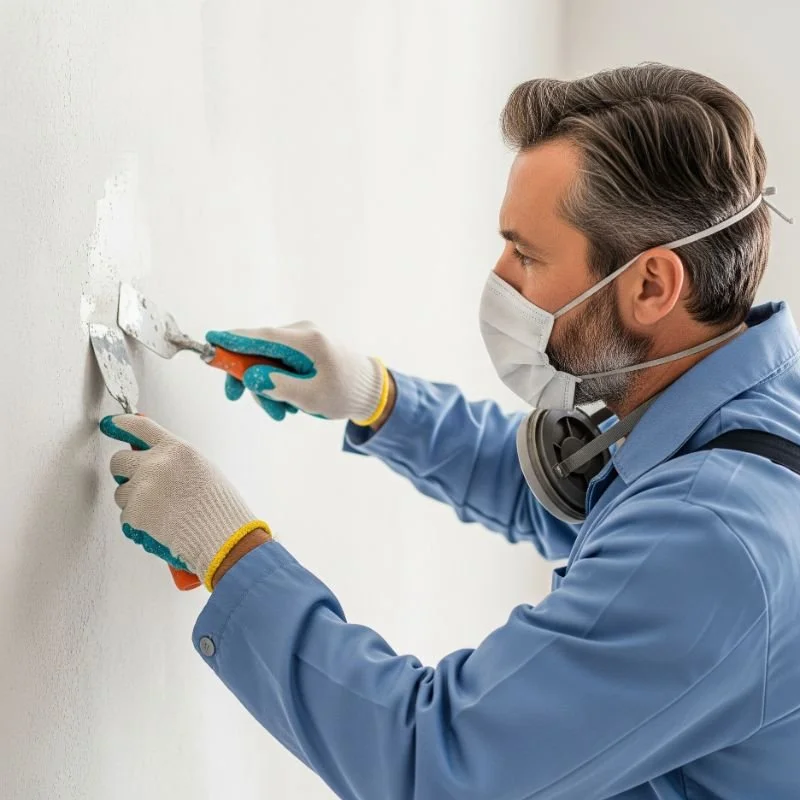
Once your walls are clean and completely dry, it's time for a thorough inspection. Look for any areas you might have missed, and don't be afraid to touch up problem spots. This is also the perfect time to fill any nail holes or minor imperfections with spackling compound.
Run your hand along the wall surface - it should feel smooth and clean. Any gritty or sticky spots need additional attention before you can move on to painting.
Common Mistakes to Avoid
Even with the best intentions, it's easy to make mistakes when cleaning walls. Here are some pitfalls to watch out for:
Using too much water can damage drywall or cause paint to peel. Always wring out your sponges thoroughly and work in small sections.
Forgetting to rinse soap residue is another common error. Soap film prevents proper paint adhesion and can cause your new paint job to fail prematurely.
Don't rush the drying process either. Painting over damp walls is asking for trouble. Make sure everything is bone dry before you even think about opening that paint can.
Professional Tips for Different Room Types
Kitchens: The Grease Battlefield
Kitchens require extra attention due to cooking residue and grease buildup. Start with a degreasing cleaner, work in small sections, and don't forget areas behind appliances and around the stove where splatter accumulates.
Bathrooms: Moisture Management
Bathroom walls deal with humidity, soap scum, and potential mold issues. Use a mold-killing cleaner in areas where you see discoloration, and ensure proper ventilation during and after cleaning.
Children's Rooms: The Wild West
Kids' rooms often have the most interesting array of stains and marks. Take your time with spot treatments, and don't forget to check lower wall areas where little hands tend to leave their mark.
When to Call in the Professionals
Sometimes, despite your best efforts, you might encounter situations that require professional intervention. If you're dealing with extensive mold growth, lead paint (in homes built before 1978), or severe staining that won't respond to cleaning, it might be time to call in the experts.
Professional painters have access to specialized equipment and cleaning solutions that aren't available to the general public. They also have the experience to know when additional prep work, like priming or surface repairs, might be necessary.
Conclusion
Mastering how to clean walls before painting like a pro isn't rocket science, but it does require patience, the right tools, and attention to detail. Remember, the time you invest in proper wall preparation will pay dividends in the quality and longevity of your paint job. Take your time, don't cut corners, and your walls will provide the perfect canvas for a beautiful, long-lasting finish that you'll be proud to show off.
Read next: 15 Painting Ideas to Spark Your Creativity
Frequently Asked Questions
1. How long should I wait after cleaning walls before painting?
Wait at least 24 hours to ensure walls are completely dry before painting.
2. Can I use bleach to clean walls before painting?
Use diluted bleach only for mold removal, then rinse thoroughly afterward.
3. Do I need to prime after cleaning walls?
Primer isn't always necessary but recommended for stained or previously unpainted surfaces.
4. How do I clean textured walls without damaging them?
Use soft brushes and work gently to avoid flattening or damaging texture.
5. Can I paint immediately after spot cleaning stains?
No, allow treated areas to dry completely and consider using stain-blocking primer.
Stay up to date with our latest ideas!