How to Clean an Oil Painting Safely at Home
Learn how to clean oil paintings safely at home with gentle techniques. Preserve your artwork's beauty using simple household items and expert tips.
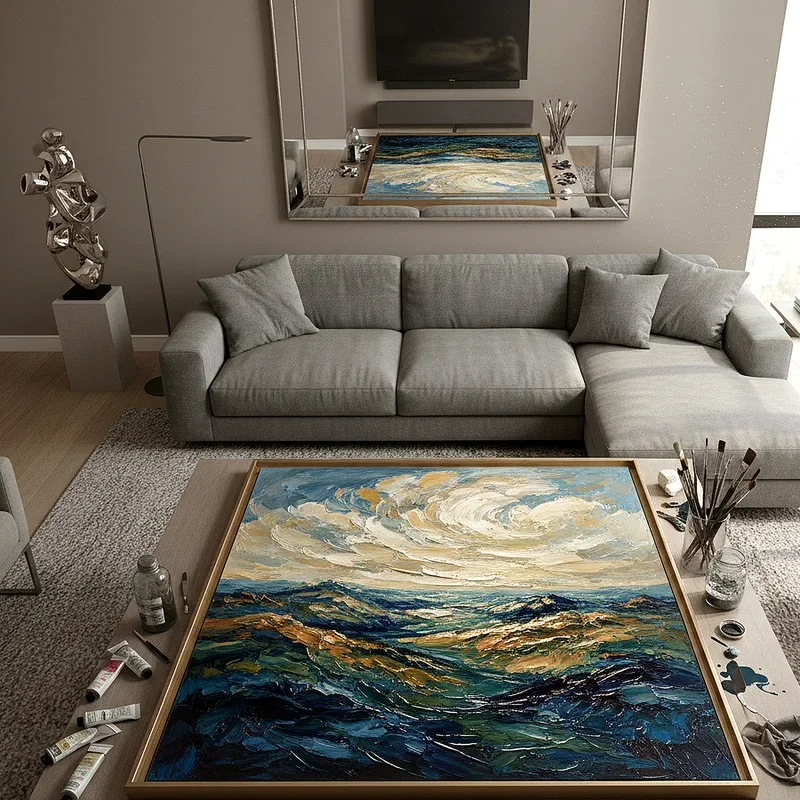
So, you've got a dusty old oil painting hanging around, and it's looking a bit worse for wear? Well, you're not alone! Whether it's a family heirloom that's been gathering dust in the attic or a thrift store find that needs some TLC, knowing how to clean an oil painting safely at home can save you a pretty penny on professional restoration. Now, before you grab that bottle of Windex and go to town, let's pump the brakes a bit. Oil paintings are delicate creatures, and treating them wrong can turn your masterpiece into a hot mess faster than you can say "oops!".The thing is, oil paintings aren't just pretty pictures slapped on canvas. They're complex layers of pigments, oils, and varnishes that have been aging together like a fine wine..
Understanding Your Oil Painting's Condition
Taking Stock of What You're Working With
Before jumping in with both feet, you've gotta play detective first. Every painting tells a story, and I'm not just talking about what's depicted on the canvas. Look closely at your painting's surface. Is it just dusty, or are there deeper issues lurking beneath? Sometimes what looks like dirt might actually be yellowed varnish, and what appears to be a stain could be old restoration work gone wonky.
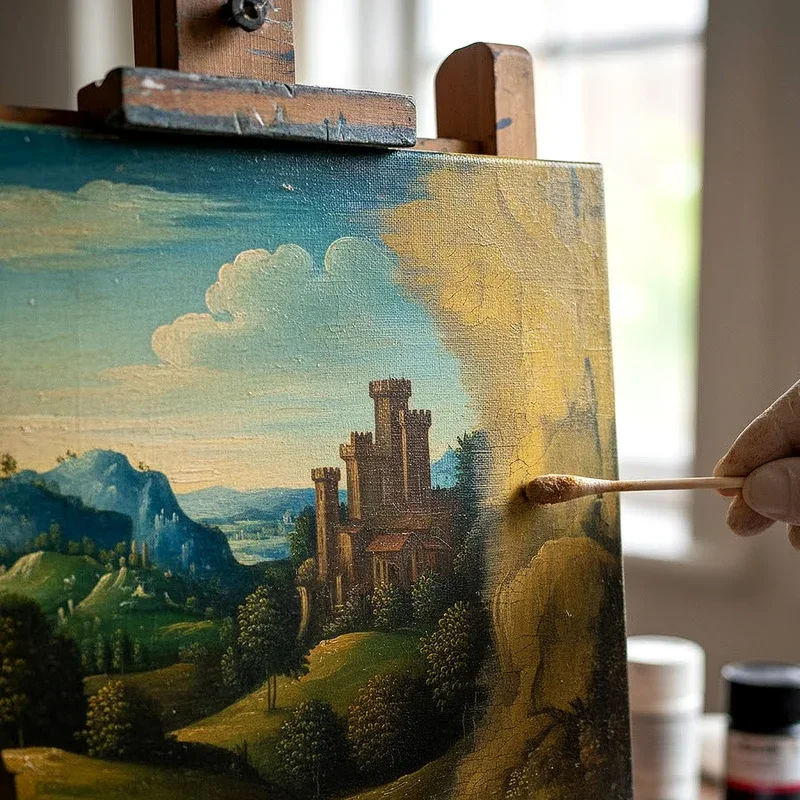
Hold your painting up to the light at different angles. See any cracks running through the paint? Those are called craquelure, and they're totally normal in older paintings. However, if you spot any paint that's flaking off or bubbling up, that's when you might wanna call in the pros. These issues need more than just a gentle cleaning; they need proper conservation work.
Identifying Different Types of Dirt and Damage
Not all grime is created equal, folks! Surface dust is the easiest villain to tackle, while nicotine stains from years of cigarette smoke are tougher customers. Then there's the dreaded mold, which can appear as fuzzy spots if paintings have been stored in damp conditions. Each type of dirt requires a slightly different approach, so knowing what you're dealing with is half the battle won.
Essential Supplies for How to Clean an Oil Painting Safely at Home
The Basic Cleaning Arsenal
Getting your supplies together doesn't mean raiding the cleaning aisle at your local supermarket. Nope, this job calls for a gentler approach. Here's what you'll need to get started:
Soft brushes (think makeup brushes or artist's brushes)
Cotton swabs or Q-tips
Distilled water
Mild dish soap (just a tiny bit!)
Clean, lint-free cloths
A fresh loaf of white bread (yeah, you read that right!)
Saliva (your own, obviously)
Setting Up Your Workspace
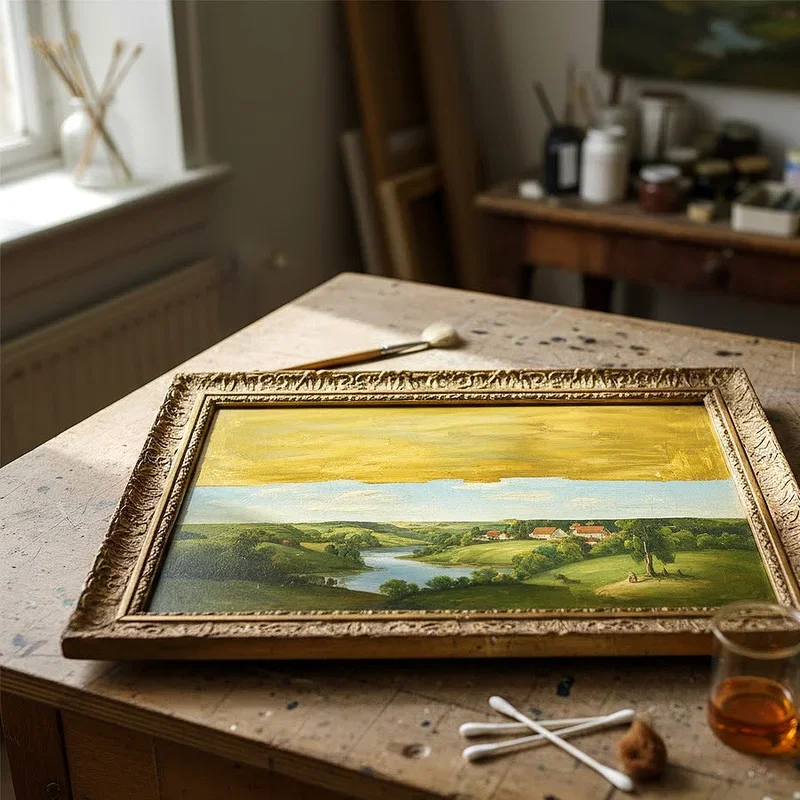
Creating the right environment is crucial when you're learning how to clean an oil painting safely at home. Find a flat, stable surface where you can work comfortably without hunching over. Good lighting is your best friend here; natural daylight is ideal, but a bright lamp will do in a pinch. Lay down some clean towels or a soft blanket to protect both your painting and your work surface.
Make sure the room is well-ventilated but not drafty. You don't want dust blowing around while you're trying to clean! And here's a pro tip: keep pets and kids at a safe distance. Nothing ruins a careful cleaning session quite like a curious cat jumping onto your workspace.
The Gentle Art of Dry Cleaning
Dusting Without Damaging
Starting with the gentlest method first is always the way to go. Using a soft, clean brush, gently sweep across the painting's surface in one direction. Think of it like you're petting a nervous cat; gentle, consistent strokes work best. Don't scrub back and forth like you're trying to start a fire! This just grinds the dust deeper into the paint's texture.
For those hard-to-reach nooks and crannies around the frame, a clean, dry paintbrush works wonders. Some folks swear by using a vacuum cleaner on its lowest setting, holding it a few inches away from the surface to suck up loose dust without actually touching the painting. If you go this route, cover the nozzle with cheesecloth to prevent any loose paint from getting sucked up.
The Bread Method (Yes, Really!)
Now here's where things get interesting! The inside of fresh white bread, rolled into a ball, can work like a gentle eraser on your painting's surface. The bread picks up surface dirt without leaving any residue behind. Just make sure you're using fresh bread; stale bread can scratch, and whole wheat might leave crumbs. Gently dab and roll the bread ball across the painting, replacing it with a fresh piece when it gets dirty.
Stepping It Up with Moisture Cleaning
The Cotton Swab Technique
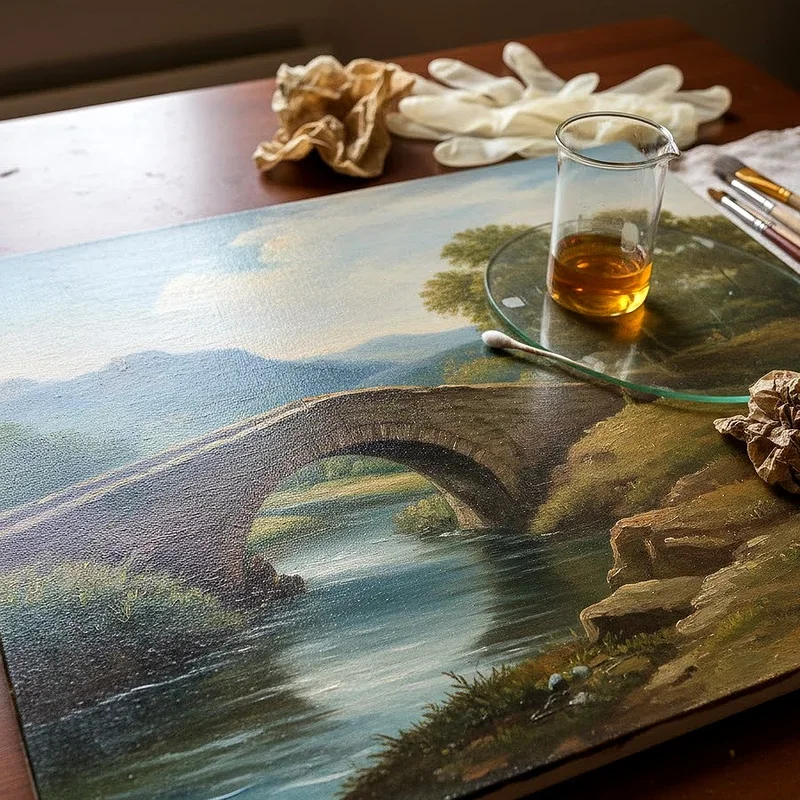
When dry cleaning isn't cutting it, it's time to bring in a tiny bit of moisture. Dampen a cotton swab with distilled water, then squeeze out most of the liquid. You want it barely damp, not wet. Working in small circular motions, gently clean a tiny test area in an inconspicuous corner first. If the paint stays put and the dirt comes off, you're golden!
Change swabs frequently; using a dirty swab is like washing your car with a muddy sponge. Work systematically across the painting, section by section. This isn't a race, so take your sweet time. Rome wasn't built in a day, and your painting won't be cleaned in five minutes either.
The Saliva Solution
Okay, this might sound gross, but conservators have been using this trick for centuries! Human saliva contains enzymes that can break down certain types of dirt without harming the paint. Plus, it's free and always available! Apply a small amount to a cotton swab and use it just like you would with water. Just make sure you haven't just eaten or drunk anything, especially coffee or wine, which could stain the painting.
When to Use Cleaning Solutions
Mixing Your Gentle Potion
Sometimes, stubborn grime needs a bit more persuasion. Mix a tiny drop of mild dish soap into a cup of distilled water. We're talking about a solution so weak it barely makes bubbles. Any stronger and you risk damaging the paint or removing the varnish layer. Test this solution on a small, hidden area first, waiting for it to dry completely before proceeding.
Application Techniques That Work
Using your cleaning solution requires a delicate touch. Dip a cotton swab or soft cloth into the solution, then wring it out until it's just barely damp. Clean in gentle, circular motions, working on small sections at a time. Immediately follow up with a swab dampened with plain distilled water to remove any soap residue, then gently pat dry with a soft, clean cloth.
Dealing with Varnish Issues
Recognizing Varnish Problems
Old varnish can yellow over time, making your bright painting look like it's been filtered through amber-colored glasses. While removing varnish is generally a job for professionals, you can sometimes improve the appearance with careful cleaning. If the varnish is cracked, cloudy, or flaking, though, stop right there and consult a conservator.
Safe Varnish Cleaning Methods
For stable varnish layers, the same gentle cleaning methods apply. However, be extra cautious as varnish can be sensitive to moisture. Work even more slowly and carefully, constantly checking that you're not causing any damage. If you notice any tackiness or softening of the varnish, stop immediately and let it dry completely.
Common Mistakes to Avoid
The Don'ts of DIY Cleaning
Whatever you do, steer clear of these common blunders:
Never use household cleaners, bleach, or alcohol
Don't scrub aggressively, no matter how stubborn the dirt
Avoid using paper towels, which can leave lint and scratch
Never clean a painting that's flaking or has loose paint
Don't attempt to clean paintings on paper or those with water-based paints
Resist the urge to remove the painting from its frame unless you really know what you're doing
Recognizing When to Stop
Sometimes, despite our best intentions, we need to know when to throw in the towel. If you encounter any of these situations, it's time to call in a professional:
Paint starting to come off on your cleaning swabs
Colors bleeding or running
Surface becoming tacky or sticky
Any signs of damage appearing or worsening
Mold that won't come off with gentle cleaning
Maintaining Your Cleaned Painting
Proper Display and Storage
Once you've got your painting looking spiffy, keeping it that way is key. Hang it away from direct sunlight, which can fade colors faster than you can say "UV damage." Avoid placing it above fireplaces, radiators, or in bathrooms where humidity levels fluctuate wildly. These conditions can cause the canvas to expand and contract, leading to cracks and other damage.
Regular Maintenance Tips
Prevention is worth a pound of cure, as they say. Dust your painting regularly with a soft brush to prevent buildup. Every few months, give it a once-over to check for any new issues. Keep an eye on the humidity levels in your home; ideally, they should stay between 40-60%. If you live in a particularly humid or dry climate, consider using a humidifier or dehumidifier to maintain stable conditions.
Special Considerations for Valuable Pieces
When Professional Help is Essential
If you're dealing with a painting that has serious monetary or sentimental value, think twice before going the DIY route. Professional conservators have years of training and access to specialized equipment. They can handle complex issues like paint consolidation, tear repair, and proper varnish removal that are way beyond the scope of home cleaning.
Insurance and Documentation
Before cleaning any valuable painting, document its condition thoroughly with photographs. This creates a record in case anything goes wrong and can be useful for insurance purposes. Speaking of insurance, make sure your homeowner's or renter's policy covers your artwork, especially if it's valuable.
Conclusion
Learning how to clean an oil painting safely at home isn't rocket science, but it does require patience, gentleness, and knowing your limits. With the right techniques and tools, you can restore your painting's beauty without risking damage. Remember, when in doubt, less is more, and there's no shame in calling professionals for treasured pieces. Your paintings are investments in beauty and culture, so treat them with the respect they deserve!
Read next: How to Dry Oil Painting Overnight with Simple Methods
Frequently Asked Questions
Q1: How often should I clean my oil paintings?
A: Dust monthly, deep clean every few years as needed.
Q2: Can I use vinegar to clean oil paintings?
A: No, vinegar is too acidic and can damage paint.
Q3: Is it safe to clean old oil paintings myself?
A: Yes, if stable and using gentle dry cleaning methods.
Q4: What causes oil paintings to yellow over time?
A: Aging varnish and oxidation of oil paint layers naturally.
Q5: Should I remove paintings from frames before cleaning?
A: Only if you're experienced; otherwise clean them while framed.
Stay up to date with our latest ideas!