How to Dry Oil Painting Overnight with Simple Methods
Discover quick tricks to dry oil paintings overnight! Learn simple methods, proper ventilation tips, and expert techniques for faster drying times.
Well, here's the thing about oil paintings, they're absolutely gorgeous but boy oh boy, waiting for them to dry can feel like watching paint dry, literally! If you've ever found yourself staring at your masterpiece, tapping your foot impatiently while deadlines loom, you're not alone. Artists everywhere have faced this age-old dilemma, wondering if there's a magic wand to speed things up. The traditional drying time for oil paintings can stretch from days to weeks, sometimes even months depending on how thick you've laid that paint on. But what if I told you there are actually ways to dry oil painting overnight with simple methods? Yep, you heard that right! While we can't completely change the chemical nature of oil paint, we can certainly give it a little nudge in the right direction.
Understanding Why Oil Paintings Take Forever to Dry
Before jumping into the solutions, let's chat about why oil paintings are such slowpokes when it comes to drying. Unlike watercolors or acrylics that dry through evaporation, oil paints go through a process called oxidation. Basically, the oil in your paint needs to react with oxygen in the air to harden. It's kinda like how an apple turns brown when you leave it out, except way slower and less appetizing to watch.
The thickness of your paint layers plays a huge role too. If you're channeling your inner Van Gogh with those thick, impasto strokes, well, you're in for a longer wait. Temperature and humidity also crash the party, affecting how quickly or slowly your painting decides to dry. Cold, damp environments? Forget about it! Your painting will take its sweet time.
How to Dry Oil Painting Overnight with Simple Methods: The Basics
Now, let's get down to brass tacks. While truly drying an oil painting overnight is pushing the boundaries of what's chemically possible, you can definitely speed things up significantly. The key is creating the perfect storm of conditions that encourage faster oxidation.
First off, thin layers are your best friend. I know, I know, sometimes you want that texture, but if speed is what you're after, thin is in. Think of it like cooking, a thin crepe cooks way faster than a thick pancake, right? Same principle applies here.
Creating the Perfect Drying Environment
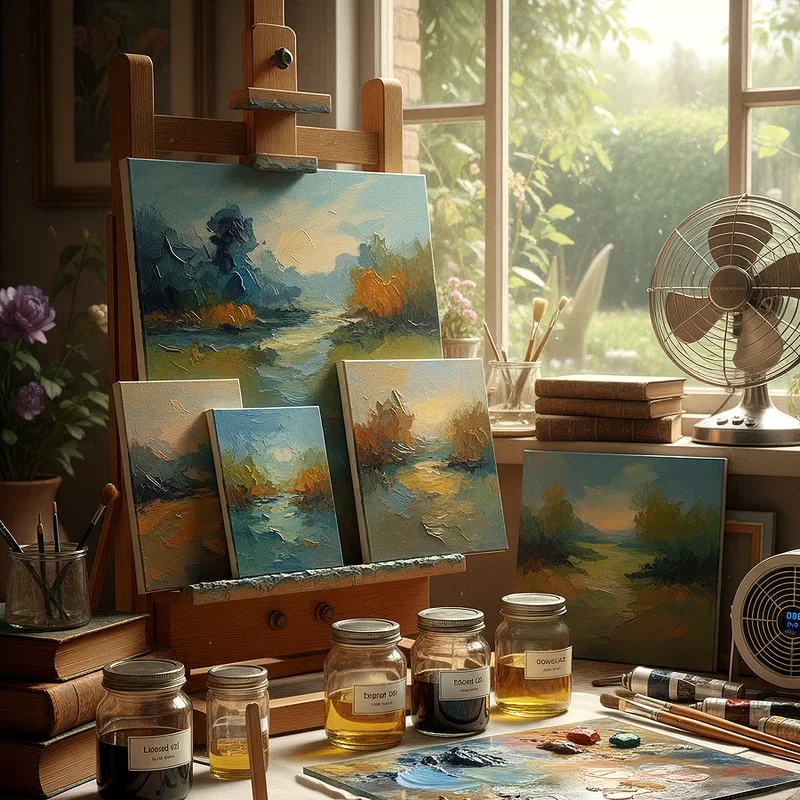
Temperature and airflow are gonna be your secret weapons in this battle against time. You want to create an environment that's warm, dry, and has good air circulation. Here's what works wonders:
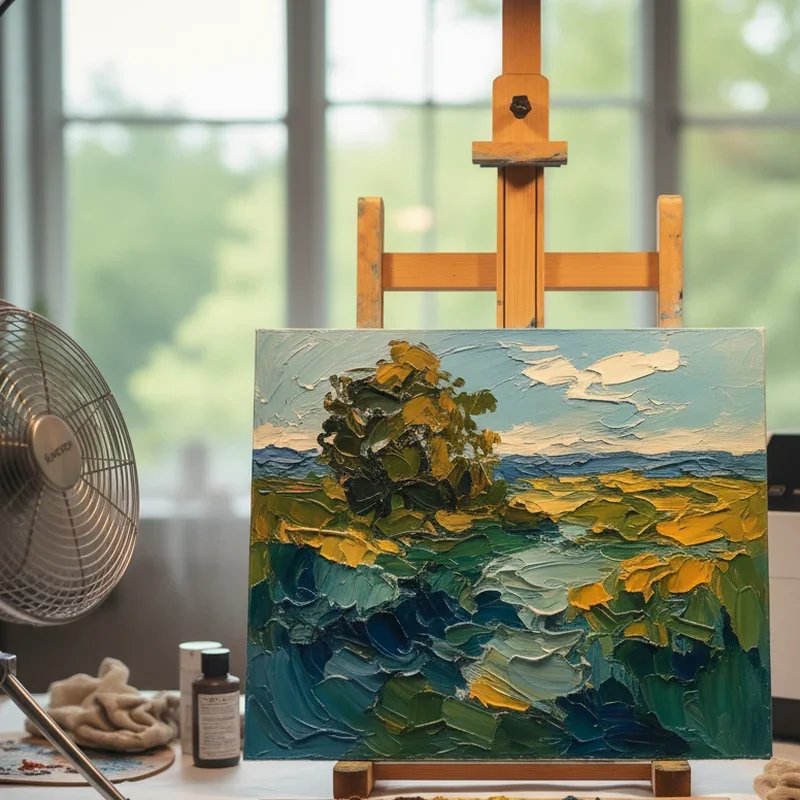
Set up a small fan to blow gently across your painting, but not directly at it. You don't want to create a dust storm on your wet masterpiece! Position it at an angle so the air moves across the surface. This helps oxygen reach the paint more efficiently, speeding up that oxidation process we talked about earlier.
Crank up the heat a bit, aiming for around 70 to 75 degrees Fahrenheit. Any warmer and you might cause cracking, any cooler and you're back to waiting forever. If you've got a space heater, great! Just don't point it directly at your painting unless you want some unwanted special effects.
Quick-Drying Mediums That Actually Work
Alright, here's where things get interesting. There are these nifty products called alkyd mediums that can be real game-changers. Liquin and Galkyd are popular choices that many artists swear by. Mix these bad boys with your oil paint, and you'll cut drying time dramatically. We're talking hours instead of days for thin layers!
Here's a quick rundown of the best mediums:
Liquin Original: Cuts drying time by about half
Galkyd Lite: Great for maintaining paint consistency while speeding things up
Cobalt driers: Super powerful but use sparingly, too much can cause yellowing
Stand oil mixed with turpentine: Old school but effective
Alkyd white: Replace your regular white with this faster-drying alternative
The Hair Dryer Method: Proceed with Caution
Speaking of heat, lots of folks wonder about using a hair dryer. Can you do it? Sure! Should you? Well, that's where it gets tricky. If you're gonna go this route, keep these tips in mind:
Keep the dryer on low heat and hold it at least 12 inches away from the painting. Move it constantly in a sweeping motion, never focusing on one spot for too long. Think of it like you're gently warming the painting, not trying to blast it into submission. Too much heat too fast can cause the top layer to dry while the bottom stays wet, leading to cracking down the road. Nobody wants that!
Natural Light and Window Placement
Here's a trick that doesn't cost a dime! Place your painting near a window where it can catch some indirect sunlight. The gentle warmth and natural air circulation work together beautifully. Just don't put it in direct sunlight unless you want to risk color fading or uneven drying. Morning light tends to be gentler and more consistent than afternoon sun.
The Oven Method for Small Paintings
Okay, this one's a bit unconventional, but hear me out. For small paintings, you can use your oven on its lowest setting, usually around 150 degrees Fahrenheit or less. Pop your painting in there for about 10 to 15 minutes, then turn off the oven and let it cool down slowly with the door slightly open. It's like giving your painting a little spa treatment!
But seriously, be super careful with this method. Never leave it unattended, and make sure your painting doesn't have any materials that could melt or release fumes. Canvas and wood panels are usually fine, but anything with plastic or synthetic materials is a no-go.
Chemical Accelerators and When to Use Them
Japan drier and cobalt siccative are the heavy hitters in the drying accelerator world. These chemicals can dramatically speed up drying time, but they come with a catch. Use too much and your painting might yellow over time or become brittle. It's like adding hot sauce to your food, a little goes a long way!
If you're gonna use these, add just a tiny amount, we're talking a drop or two per blob of paint on your palette. Mix it thoroughly and test it on a scrap piece first. Better safe than sorry, especially if you're working on something important.
Layering Techniques for Faster Results
Fat over lean isn't just an old wives' tale, it's actually crucial for both the longevity of your painting and drying time. Start with thin layers mixed with more turpentine or mineral spirits, then gradually add more oil or medium to subsequent layers. This way, your bottom layers dry faster, and you avoid the dreaded cracking that happens when the top dries before the bottom.
Think of it like building a house, you need a solid foundation before adding the fancy stuff on top. Each layer should be slightly fatter, meaning more oil content, than the one below it.
How to Dry Oil Painting Overnight with Simple Methods: Advanced Tips
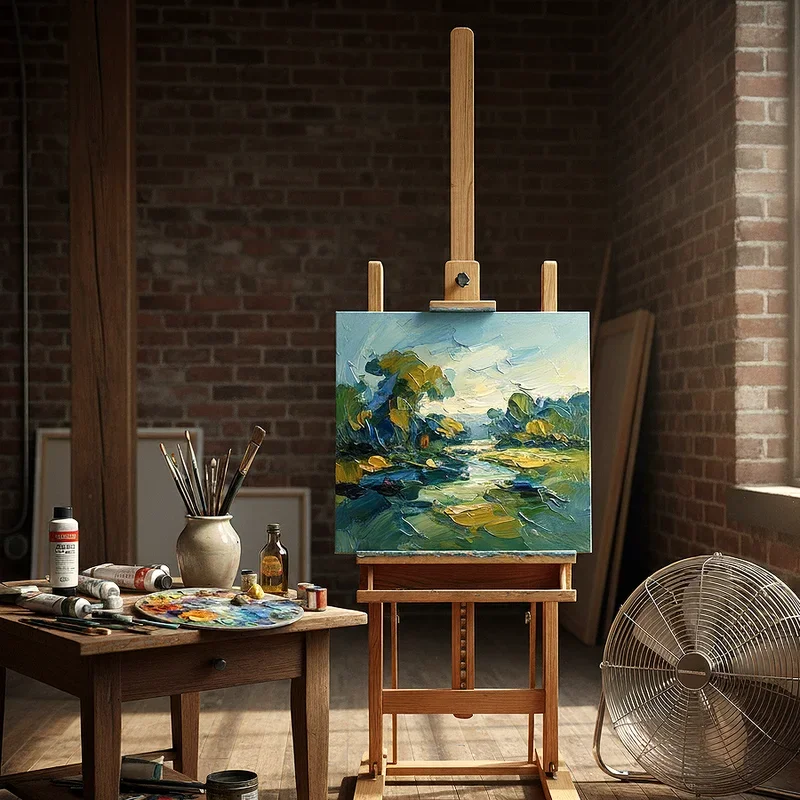
For those really pushing the envelope, combining methods can yield impressive results. Set up your painting in a warm room with good ventilation, use a quick-drying medium in your paint, position a fan for indirect airflow, and maybe even throw in a dehumidifier if you're in a humid climate. It's all about stacking the odds in your favor!
Consider painting in the morning so your artwork has the whole day to benefit from natural light and warmth. By evening, move it to your prepared drying station for the overnight push. This tag-team approach maximizes drying time without you having to babysit the process.
Common Mistakes That Slow Down Drying
Even with all these tricks up your sleeve, there are some pitfalls that can sabotage your efforts. Painting in a cold basement or garage? That's gonna slow you down big time. Using too much linseed oil in your medium? You've just added days to your drying time. Applying paint straight from the tube without any medium? Unless it's alkyd paint, you're looking at a long wait.
Humidity is another silent killer of quick drying times. If you live in a humid climate, investing in a dehumidifier for your studio can make a world of difference. Aim for around 40 to 50 percent humidity for optimal drying conditions.
Safety Considerations When Speed-Drying
Let's talk safety for a hot minute because rushing the drying process can introduce some risks. Always ensure proper ventilation when using chemical driers or heating methods. Those fumes aren't doing your lungs any favors! Keep a window cracked open or use an exhaust fan.
Never use high heat or open flames near oil paintings. Oil paint and its mediums are flammable, and the last thing you want is to turn your art project into a fire hazard. Also, those oily rags you use for cleaning? They can spontaneously combust if not disposed of properly. Soak them in water or seal them in a metal container.
Testing Your Painting for Dryness
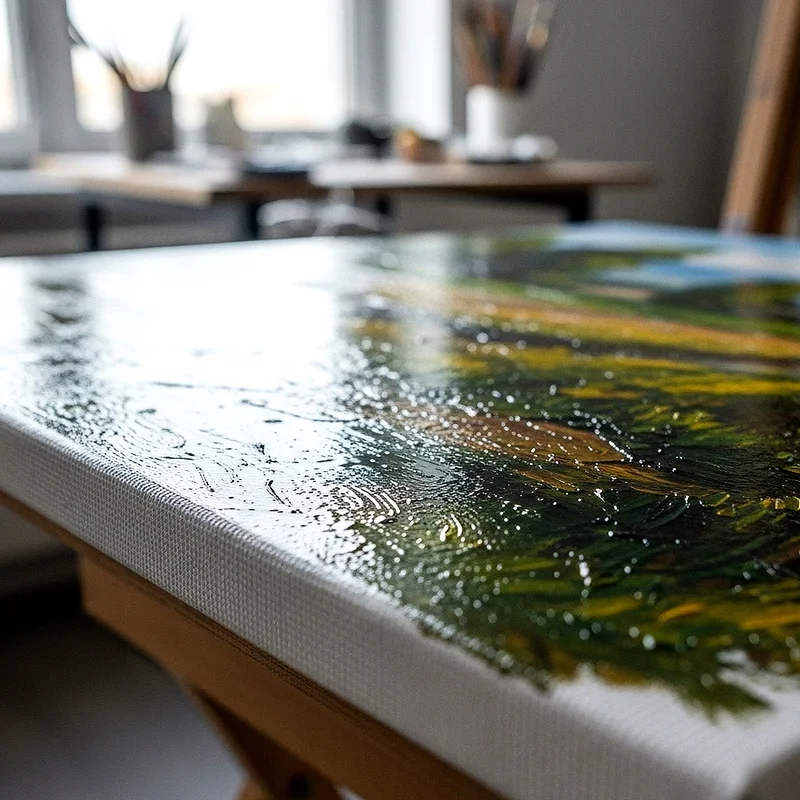
So how do you know when your painting is actually dry enough? The touch test is pretty straightforward, gently touch an inconspicuous area with your pinky finger. If it feels tacky or leaves a fingerprint, it needs more time. If it feels dry and doesn't smudge, you're golden!
For a more thorough test, try the cotton swab method. Lightly drag a cotton swab across a small area. If paint comes off on the swab, keep waiting. This is especially useful for checking if lower layers are dry when you're planning to add more paint on top.
Conclusion
Getting oil paintings to dry overnight might seem like trying to teach a cat to bark, but with these simple methods, you're definitely barking up the right tree! While true overnight drying depends on factors like paint thickness and environmental conditions, combining techniques like using alkyd mediums, maintaining proper temperature and airflow, and choosing the right drying accelerators can dramatically speed up the process. Remember, patience might be a virtue, but a little know-how never hurt anybody!
Read next: 15 Painting Ideas for Beginners to Boost Creativity
Frequently Asked Questions
Q1: Can I use a hair dryer to dry oil paint faster?
A: Yes, but use low heat and keep it moving constantly.
Q2: What's the fastest drying medium for oil painting?
A: Alkyd mediums like Liquin can cut drying time significantly.
Q3: Is it safe to dry oil paintings in the oven?
A: Only small paintings on lowest heat with careful monitoring.
Q4: How long does oil paint normally take to dry?
A: Anywhere from days to weeks depending on thickness.
Q5: Will adding turpentine make oil paint dry faster?
A: Yes, it thins paint and speeds up the drying process.
Stay up to date with our latest ideas!