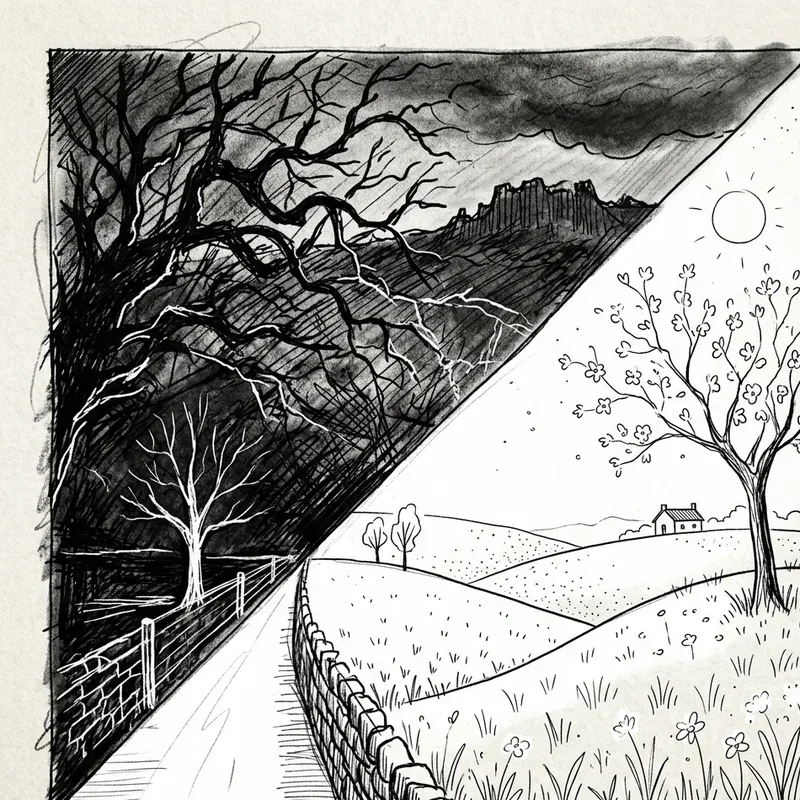
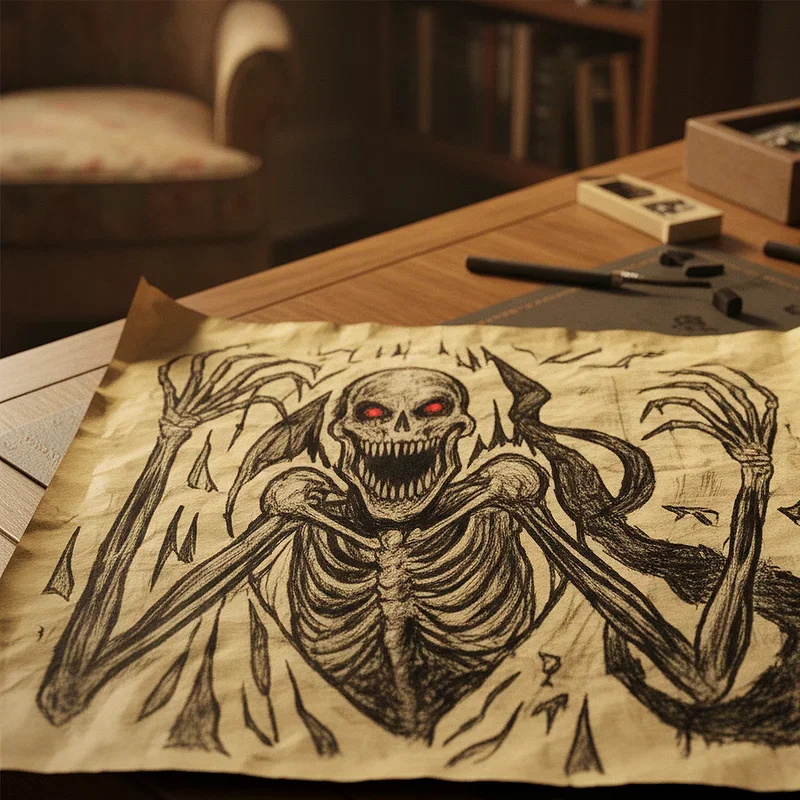
How to Seal a Charcoal Drawing the Right Way
Discover how to seal a charcoal drawing the right way using fixatives, proper technique, and smart tips to protect your art.

You've just finished a charcoal drawing that you're genuinely proud of. The shading is smooth, the contrasts are dramatic, and every detail looks exactly the way you envisioned it. Then you set it down on the table, brush your hand across it by accident, and suddenly half the face you spent three hours rendering is a smudgy gray blur. Heartbreaking, isn't it?
Charcoal is one of the most expressive and forgiving drawing mediums out there, but it comes with a catch. It's incredibly fragile once it's on paper. Without proper sealing, your finished piece is basically living on borrowed time. One stray touch, a gust of wind, or even stacking it under another sheet of paper can destroy hours of careful work in a split second.
That's exactly why learning how to seal a charcoal drawing the right way matters so much. It's not just about spraying some fixative and calling it a day. There's technique involved, there are choices to make about products, and there are pitfalls that can actually make things worse if you're not careful. Whether you're a seasoned artist or someone who's just picked up their first stick of vine charcoal, this guide will walk you through everything you need to know to keep your drawings safe, vibrant, and intact for years to come.
Why Charcoal Drawings Need Sealing in the First Place
Before diving into the how, let's talk about the why. Understanding what makes charcoal so vulnerable helps you appreciate why sealing isn't optional.
Charcoal doesn't absorb into paper the way ink or paint does. Instead, it sits on top of the paper's surface, clinging to the tiny ridges and valleys in the tooth of the paper. Those particles are held in place mostly by friction and gravity, which isn't exactly a rock-solid arrangement. The slightest contact can dislodge them.
Compressed charcoal holds a bit better than vine or willow charcoal because the binder mixed into the stick gives it more grip. But even compressed charcoal isn't safe from smudging. And if you've used charcoal powder or done any blending with your fingers or a tortillon, those areas are especially vulnerable because the particles are sitting even more loosely on the surface.
Humidity plays a role too. In damp conditions, paper fibers swell slightly, which can loosen the charcoal's already tenuous grip. Over time, even a drawing stored carefully in a portfolio can lose detail and contrast simply from the natural settling and shifting of those tiny carbon particles.
So sealing isn't just a nice extra step. It's the difference between artwork that lasts and artwork that slowly fades into a ghost of what it once was.
How to Seal a Charcoal Drawing the Right Way: Choosing Your Fixative
The first big decision you'll face is picking the right fixative. Not all fixatives are created equal, and the wrong choice can ruin your drawing just as surely as not sealing it at all.
Workable Fixative
Workable fixative is the go-to choice for most charcoal artists. As the name suggests, it seals the current layer of your drawing while still allowing you to add more charcoal on top. The surface remains slightly receptive to additional media, which is perfect if you're building up your drawing in stages.
Most workable fixatives dry to a matte finish, which preserves the natural look of charcoal. They also tend to be lighter in application, meaning there's less risk of darkening or shifting your values. Brands like Krylon and Winsor and Newton are popular choices that have earned solid reputations among artists over the years.
Final Fixative
Final fixative is heavier and creates a more permanent seal. You'd use this once you're completely finished with a drawing and have no intention of adding anything else. It locks everything down tight and offers better long-term protection against smudging, dust, and humidity.
The trade-off is that final fixative can sometimes darken lighter areas of your drawing or add a slight sheen, depending on the brand. Some artists find that the midtones shift a bit, which can alter the overall mood of the piece. Testing on a scrap piece first is always a smart move.
Hairspray: The Controversial Alternative
Let's address the elephant in the room. Can you use hairspray as a fixative? Technically, yes. Plenty of art students have done it in a pinch. Hairspray contains polymers that create a thin film over the drawing, which does hold the charcoal particles in place temporarily.
However, hairspray wasn't designed for archival use. Over time, it can yellow, become sticky, attract dust, and even cause the paper to deteriorate. If you're working on something you care about keeping, do yourself a favor and invest in a proper artist-grade fixative. Your future self will thank you.
Spray Varnish and Other Options
Some artists use spray varnishes designed for paintings, but these can be tricky with charcoal. They tend to be thicker and can flood the surface, causing the charcoal to run or pool in unexpected ways. If you go this route, look for ultra-matte spray varnishes and apply them with extreme caution.
There are also brush-on fixatives, though these are far less common for charcoal work. The act of brushing over a charcoal drawing tends to disturb the particles, which defeats the whole purpose. Stick with spray applications for the best results.
How to Seal a Charcoal Drawing the Right Way: Step-by-Step Technique
Now for the part you've been waiting for. Here's the process, broken down into clear, manageable steps.
Step One: Let the Drawing Rest
Before you even reach for the fixative can, make sure your drawing is completely finished and that you haven't recently blended or added any charcoal. Give it a few minutes to settle. If you've been working with powdered charcoal or doing heavy blending, the surface particles need a moment to find their resting place.
Step Two: Set Up Your Workspace
Sealing a drawing should always happen in a well-ventilated area. Fixatives contain solvents that produce fumes, and breathing those in repeatedly isn't great for your health. If you can work outdoors, that's ideal. Otherwise, open windows and set up near a fan that pushes air away from you.
Lay your drawing flat on a clean surface or, even better, pin it vertically on a board or easel. Vertical positioning helps prevent pooling and lets excess spray drift away from the surface instead of settling on it.
Step Three: Shake the Can Thoroughly
This might seem obvious, but it makes a real difference. Shake the fixative can for at least 30 seconds before spraying. The propellant and the fixative solution need to mix properly, or you'll get an uneven spray that sputters and spits droplets onto your drawing. Those droplets can leave dark spots that are nearly impossible to fix.
Step Four: Spray From the Right Distance
Hold the can about 12 to 14 inches away from the drawing surface. Too close and you'll blast the charcoal right off the paper or saturate the surface with too much liquid. Too far away and the fixative will dry in mid-air before it reaches the paper, leaving behind a dusty residue that doesn't actually seal anything.
Step Five: Use Light, Even Passes
This is where most people go wrong. The temptation is to drench the drawing in one heavy coat and be done with it. Resist that urge. Instead, use light, sweeping passes across the surface. Start spraying off to one side of the drawing, sweep across, and continue past the other side before releasing the nozzle. This prevents buildup at the starting and stopping points.
Move in one direction for each pass, and keep your hand moving at a steady pace. Think of it like misting a plant, not hosing down a driveway.
Step Six: Apply Multiple Thin Coats
One coat usually isn't enough for charcoal. Plan on applying three to five thin coats, letting each one dry for about five to ten minutes before applying the next. Multiple thin layers build up protection gradually without overwhelming the surface or altering your values.
After the first coat, you might notice that the drawing looks a little different. Don't panic. Charcoal can appear slightly darker when first sprayed because the fixative temporarily fills in the gaps between particles. As it dries, the original appearance usually returns, though there may be a very subtle shift in the deepest darks.
Step Seven: Let It Dry Completely
After the final coat, let the drawing dry for at least 20 to 30 minutes in a dust-free area before handling it. Patience is key here. Touching the surface too early can leave fingerprints in the still-tacky fixative, and those marks will be sealed permanently into the surface.
Mistakes to Avoid When Sealing Charcoal Drawings
Even with the right products and technique, there are a few common traps that can catch you off guard.
Spraying too close to the paper is probably the number one mistake. Heavy spray creates wet spots where the charcoal particles get displaced and float around in the liquid before settling in the wrong places. The result is dark splotches, lost detail, and blurred edges.
Applying one thick coat instead of several thin ones is another frequent blunder. A single heavy application is almost guaranteed to alter your values and can cause the paper to buckle or warp from absorbing too much liquid at once.
Sealing in a dusty or windy environment is asking for trouble. Dust particles that land on wet fixative become permanently embedded in the surface. Wind can blow the spray unevenly across your drawing or send your charcoal particles scattering before the fixative has a chance to lock them down.
Forgetting to test your fixative on a scrap piece first is a gamble that doesn't always pay off. Different combinations of charcoal, paper, and fixative can produce unexpected results. A quick test on a similar surface saves you from unpleasant surprises on your actual artwork.
Using expired or old fixative is a subtle one. Over time, the propellant in spray cans can lose pressure, and the fixative solution can separate. If your can is sputtering, spraying unevenly, or producing a different smell than usual, it's time to replace it.
Alternative Methods for Protecting Charcoal Drawings
Fixative spray is the most common approach, but it's not your only option. Some artists prefer alternative methods, especially for pieces they consider particularly precious.
Glassine Paper
Glassine is a smooth, translucent paper that's resistant to moisture and grease. Placing a sheet of glassine over your charcoal drawing before storing it protects the surface from direct contact with other materials. It won't seal the charcoal permanently, but it's excellent for short-term storage and transport.
Framing Under Glass
The ultimate protection for a finished charcoal drawing is framing it behind glass. The glass creates a physical barrier that prevents any contact with the drawing surface. When framing charcoal work, always use a mat to keep the glass from touching the paper directly. Charcoal particles can transfer to glass if they're in contact, which defeats the purpose.
Even with framing, most artists still apply at least a light coat of fixative first. The fixative handles the particle adhesion, while the glass handles environmental protection. Together, they give your drawing the best chance at a long and stable life.
Storing in a Portfolio
If you're not ready to frame a piece, storing it flat in a portfolio with sheets of glassine between each drawing is a solid approach. Avoid stacking drawings face to face without a barrier, as the charcoal from one can transfer onto the back of another.
Does Fixative Change the Look of a Charcoal Drawing?
This is a question that worries a lot of artists, and honestly, it's a valid concern. The short answer is yes, fixative can change the appearance of your drawing, but the changes are usually subtle and manageable.
The most common change is a slight darkening of the lighter values. This happens because the fixative fills in the microscopic gaps in the paper where light was reflecting off the white surface. Once those gaps are filled, less light bounces back, and the area appears a touch darker.
Some fixatives also add a very slight sheen to the surface, which can affect how the drawing looks under certain lighting conditions. Matte fixatives minimize this, but even the most matte formulas can produce a barely perceptible change in surface texture.
The best way to deal with this is to anticipate it. When you know you're going to seal a drawing, leave your lightest values a hair lighter than you want them in the final result. That way, the fixative brings them down to exactly where you intended.
Another strategy is to apply fixative between layers as you work. By sealing early stages before adding more charcoal on top, you build up protection gradually while maintaining control over your values. This approach works particularly well for highly detailed drawings where precision matters.
How to Seal a Charcoal Drawing the Right Way for Long-Term Storage
If you're creating artwork that you want to last for decades, or even longer, the sealing process becomes even more important. Archival preservation requires a few extra considerations.
Use acid-free paper for your drawings from the start. No amount of fixative can compensate for a paper that's going to yellow and crumble over time due to acid content.
Choose an archival-quality fixative specifically designed for fine art. These products are formulated to remain stable over long periods without yellowing, cracking, or becoming brittle.
Store sealed drawings in acid-free portfolios or folders, away from direct sunlight, extreme temperatures, and humidity. A stable environment is just as important as the fixative itself when it comes to long-term preservation.
Consider using UV-protective glass if you're framing the work. Ultraviolet light gradually fades charcoal and can degrade both the paper and the fixative over time. UV glass filters out the harmful wavelengths while still letting you enjoy the artwork.
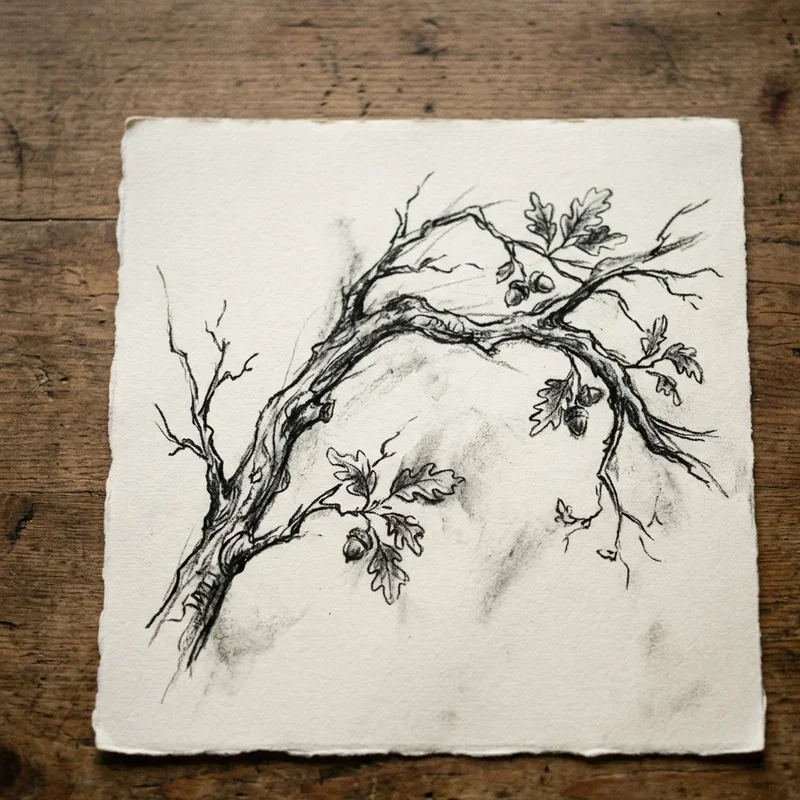
Working With Different Types of Charcoal
The type of charcoal you use affects how you should approach the sealing process.
Vine and willow charcoal are the lightest and most fragile. These produce soft, powdery marks that lift off the paper with the slightest provocation. They require extra care when spraying and often benefit from an additional coat or two of fixative compared to other types.
Compressed charcoal is denser and holds to the paper more firmly, thanks to the binder mixed into the stick. It still needs sealing, but it's a bit more forgiving during the spraying process.
Charcoal pencils offer the most control and the best adhesion of any charcoal type. The wood casing keeps the charcoal under pressure against the paper, and the thin marks tend to sit in the paper's tooth more securely. A couple of light coats of fixative is usually sufficient.
Powdered charcoal, applied with brushes or chamois cloth, is the most vulnerable of all. The particles are extremely loose on the surface, and heavy spraying can easily blow them around. Use the lightest possible coats and spray from a slightly greater distance to avoid displacing the powder.
Conclusion
Understanding how to seal a charcoal drawing the right way is an essential skill that protects your hard work from smudges, dust, and the passage of time. By choosing the right fixative, spraying from the proper distance, and building up thin coats with patience, you can preserve every detail and value in your artwork. It doesn't take much extra effort, but the payoff is enormous. A well-sealed drawing looks just as striking years from now as it did the moment you finished it.
Read next: 15 Contrast Drawing Ideas to Improve Your Art Skills
Frequently Asked Questions
1.What is the best fixative for sealing charcoal drawings at home?
Workable fixative from brands like Krylon or Winsor and Newton works best for most artists.
2.Can I use hairspray instead of proper fixative on charcoal drawings?
Hairspray works temporarily but yellows over time and is not suitable for archival preservation.
3.How many coats of fixative should I apply to charcoal artwork?
Apply three to five thin coats, allowing each layer to dry completely before the next.
4.Will fixative spray change the appearance of my charcoal drawing noticeably?
It may slightly darken light values, but using matte fixative keeps changes very minimal.
5.How far away should I hold the fixative can from my drawing?
Hold the can approximately 12 to 14 inches away and use light sweeping passes.
Stay up to date with our latest ideas!