How to Draw Saturn Planet Step by Step for Beginners
Learn how to draw Saturn planet step by step for beginners with our easy guide. Create stunning space art with simple techniques today.

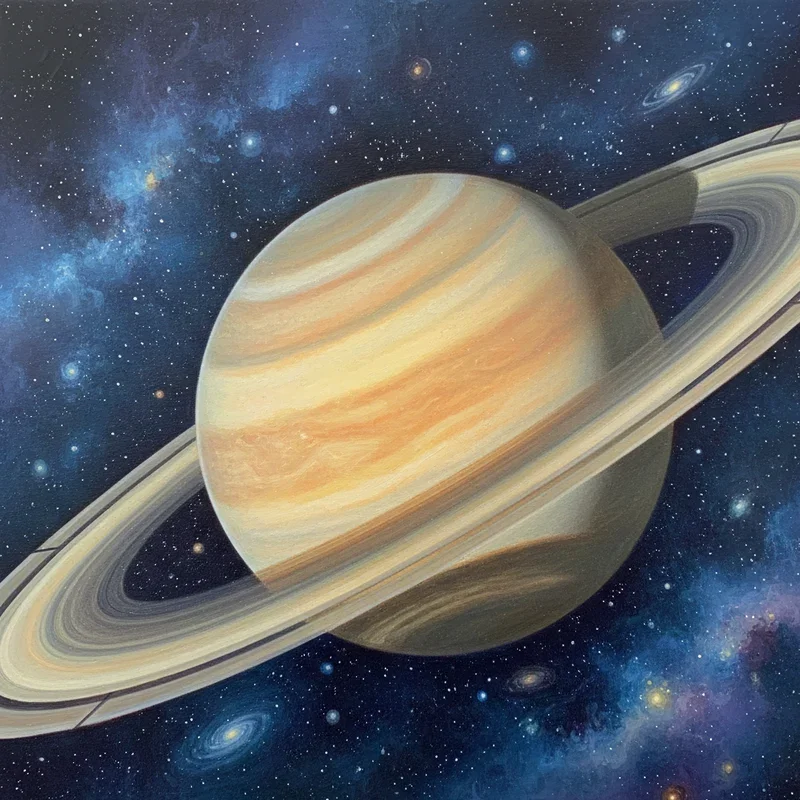
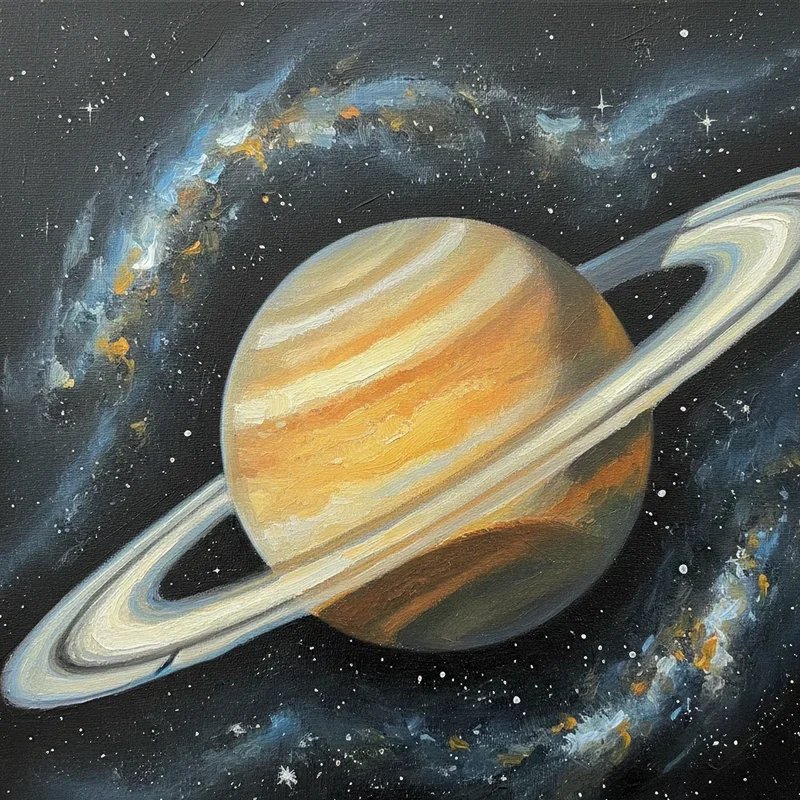
Saturn has captured human imagination for centuries, and honestly, it's not hard to see why. Those magnificent rings circling the gas giant make it the most visually striking planet in our solar system. Whether you've spotted it through a telescope or simply admired photographs from space missions, there's something genuinely magical about this celestial beauty.
Now here's the thing about drawing Saturn. It looks complicated at first glance, but it's actually one of the friendliest planets for beginner artists to tackle. Unlike Jupiter with its complex storm patterns or Mars with its subtle terrain features, Saturn's defining characteristic is those elegant rings, and rings are basically just ellipses. If you can draw an oval, you're already halfway there.
The beauty of learning how to draw Saturn planet step by step for beginners lies in how it teaches fundamental art concepts while producing genuinely impressive results. You'll practice drawing circles, ellipses, shading, and creating the illusion of three-dimensional forms, all skills that transfer to countless other drawing subjects.
Whether you're a parent looking for a fun art activity with your kids, a student working on a school project, or simply someone who wants to doodle something cooler than stick figures during boring meetings, this tutorial has you covered.
By the end of this guide, you'll have all the knowledge needed to create a Saturn drawing that looks like it belongs in an astronomy textbook. We'll break everything down into manageable chunks, offer tips for common mistakes, and even explore some creative variations once you've mastered the basics.
So grab your pencils, find some paper, and let's head to the outer solar system together.
Materials You'll Need
Before we blast off, let's gather our supplies. The good news is you don't need anything fancy.
Basic Drawing Supplies
A regular pencil works perfectly for this project. HB or number 2 pencils are ideal because they're dark enough to see clearly but light enough to erase easily.
You'll want a good eraser on hand. Mistakes happen, especially when drawing circles, and being able to correct them without creating a smudgy mess makes the whole process more enjoyable.
Plain white paper suits this project perfectly. Sketch paper or printer paper both work great. Avoid lined paper if possible since the lines can interfere with your planetary creation.
Optional Enhancement Tools
If you want to take your Saturn beyond basic sketch quality, consider these additions:
Colored pencils allow you to add those gorgeous golden and tan hues that make Saturn instantly recognizable. Even a basic set with yellows, oranges, and browns opens up wonderful possibilities.
A compass helps create perfect circles, though freehand circles work fine and sometimes look more natural.
A ruler assists with keeping ring ellipses symmetrical, particularly helpful if you're still developing your ellipse-drawing confidence.
Blending stumps or even cotton swabs help create smooth gradients for shading.
Understanding Saturn's Basic Shape
Before putting pencil to paper, let's visualize what we're actually trying to create.
The Anatomy of Saturn
Saturn consists of two main visual elements. First, there's the planet itself, a large sphere that appears slightly flattened at its poles due to rapid rotation. Second, and most famously, there's the ring system that extends dramatically outward from the planet's equator.
The planet body appears as an oval rather than a perfect circle when viewed from most angles. This subtle squashing gives Saturn its characteristic shape and distinguishes it from how we might draw Earth or Venus.
The rings are actually multiple bands of ice, rock, and dust particles orbiting the planet. From our viewing angle, they appear as thin ellipses that pass both in front of and behind the planetary sphere.
Visualizing Three Dimensions
Here's where things get interesting. When drawing Saturn, you're representing a three-dimensional object on a two-dimensional surface. The rings help create this illusion because they wrap around the planet, partially hidden behind the sphere and partially visible in front.
Understanding this spatial relationship helps your drawing make visual sense. The rings aren't just floating next to Saturn. They're physically surrounding it like a giant cosmic hula hoop tilted at an angle to our view.
How to Draw Saturn Planet Step by Step for Beginners: The Process
Alright, let's get down to business. Follow these steps carefully, and you'll have a beautiful Saturn taking shape in no time.
Step One: Draw the Basic Circle
Start by drawing a circle in the center of your paper. Leave plenty of room on all sides because those rings extend quite a bit beyond the planet body.
Don't stress about making this circle absolutely perfect. Even real Saturn isn't a perfect sphere, so slight imperfections add character rather than ruining your drawing.
If you're using a compass, set it to create a circle roughly two to three inches in diameter. Freehand artists should draw lightly at first, refining the shape with additional passes until satisfied.
Step Two: Flatten the Circle Slightly
Here's a detail many beginners miss. Saturn rotates so quickly that it bulges at its equator and flattens at its poles. To capture this, gently erase and redraw your circle to be slightly wider than it is tall.
The difference is subtle, maybe ten percent wider than tall. Don't overdo this effect or Saturn will look squashed rather than natural.
This small adjustment immediately makes your drawing look more scientifically accurate and visually interesting.
Step Three: Draw the Ring Guidelines
Lightly sketch a horizontal line through the center of your planet. This line represents Saturn's equator and serves as the center line for your rings.
Now draw a larger ellipse around the planet, centered on this equatorial line. This ellipse should extend significantly beyond the planet on both left and right sides while remaining relatively thin vertically.
The ring ellipse should be roughly twice as wide as the planet diameter and quite narrow in height, perhaps only a quarter of the planet's height at its thickest point.
Step Four: Create the Ring Gap
Saturn's rings aren't a solid disk. The most noticeable feature is the Cassini Division, a dark gap that splits the main rings into distinct sections.
Draw a second ellipse inside your first ring ellipse, creating a narrow band between the two lines. This inner ellipse follows the same shape but sits closer to the planet.
The gap between these ellipses represents the famous division visible through telescopes.
Step Five: Add the Inner Ring Edge
Draw another ellipse even closer to the planet's surface. This creates the inner edge of Saturn's main ring system.
The space between this new ellipse and your second one represents the bright B ring, while the outermost band represents the A ring.
Keep all your ellipses parallel and properly aligned. They should all share the same center line and tilt angle.
Step Six: Create the Ring Overlap
Here's where your drawing becomes three-dimensional. The rings pass in front of Saturn on one side and behind it on the other.
Erase the portions of your ring ellipses that would be hidden behind the planet. Looking at your drawing, if the rings appear tilted downward toward the viewer, the back portion of the rings is hidden behind the top of the planet sphere.
Conversely, the front portion of the rings passes in front of the planet's lower section, so those ring lines remain visible.
Step Seven: Refine the Planet Body
Now that your rings are in place, refine the planetary sphere. The ring system actually obscures part of the planet, so erase any planet outline hidden behind the front section of the rings.
The resulting shape should show Saturn's surface with rings passing in front of its lower portion while the upper portion of the planet remains fully visible.
Step Eight: Add Surface Bands
Saturn displays horizontal bands across its surface similar to Jupiter, though more subtle in appearance.
Draw several gentle curved lines across the planet body, following the sphere's curvature. These lines should arc slightly, appearing closer together near the planet's edges due to perspective.
Keep these bands subtle. They're visible but not dramatic features.
How to Draw Saturn Planet Step by Step for Beginners: Adding Details and Shading
With basic shapes complete, let's bring Saturn to life.
Creating Depth Through Shading
Decide where your imaginary light source is located. Most artists place it somewhere to the upper left, which means the lower right portions of both the planet and rings will be darker.
Begin shading the planet body lightly, gradually building up darker tones on the shadowed side. Leave a highlight area on the upper left to represent direct light reflection.
The bands you drew earlier can serve as guides for varying your shading intensity, creating the appearance of different atmospheric layers.
Shading the Rings
The rings require careful shading to look three-dimensional rather than flat.
The portion of the rings in front of the planet should cast a subtle shadow on the planetary surface below. Draw this shadow as a slightly darker band following the ring's curve across Saturn's surface.
The rings themselves vary in brightness. The A ring (outer) appears slightly dimmer than the B ring (middle). The Cassini Division is quite dark.
Add gradual shading across the rings, making the far portions slightly darker to suggest curvature around the planet.
Adding Texture and Refinement
Once basic shading is complete, refine your work by smoothing transitions and adding subtle details.
Blend your shading using a tissue, blending stump, or your finger for smooth gradients. The planet's atmosphere and ring particles create soft edges rather than harsh lines.
Consider adding tiny streaks or variations in the ring shading to suggest the countless particles making up these structures.
Adding Color to Your Saturn
If you want to move beyond graphite, color transforms your drawing dramatically.
Choosing Your Palette
Saturn appears in warm golden, tan, and butterscotch tones when photographed. Gather yellow, orange, light brown, and cream-colored pencils for the planet body.
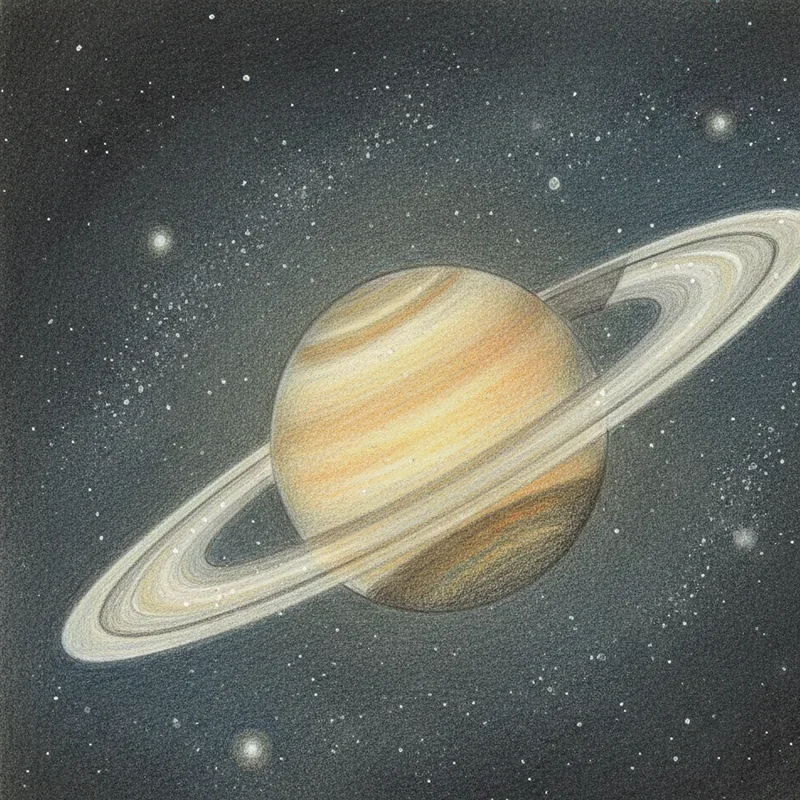
The rings appear slightly grayish-white with hints of warm color reflected from the planet. White, light gray, and very pale yellow work well.
Color Application Techniques
Apply colors in thin layers, building up intensity gradually. This layering technique creates richer, more realistic results than heavy single applications.
Start with your lightest colors across the entire surface, then add darker tones in shadowed areas. The bands on Saturn's surface offer opportunities to introduce subtle color variations.
For the rings, consider leaving some areas white while adding very light color to others. This variation suggests different densities of ring material.
Creative Variations to Try
Once you've mastered basic Saturn, experiment with these variations.
Different Viewing Angles
Saturn's rings appear dramatically different depending on viewing angle. When Earth is positioned to see the rings edge-on, they virtually disappear. When tilted toward us, they appear wide and impressive.
Try drawing Saturn with rings at various angles to understand how the ellipse shape changes.
Adding Context
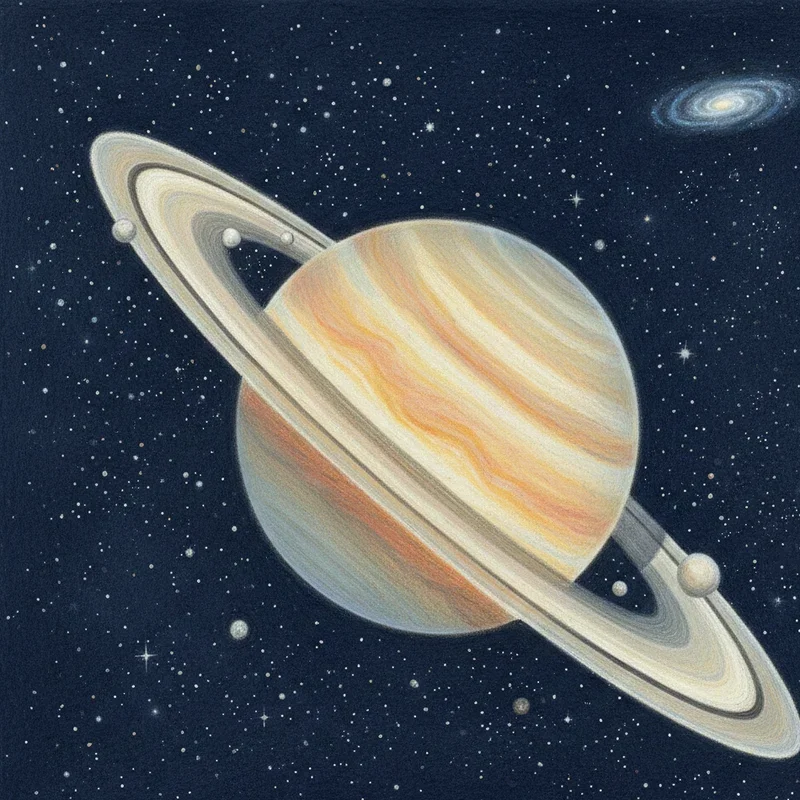
Place Saturn in a larger scene. Add stars in the background, include some of Saturn's moons, or create a view as if you're looking through a spaceship window.
Background elements enhance your Saturn drawing while letting you practice additional techniques.
Stylized Approaches
Who says your Saturn must be realistic? Try a cartoon version with exaggerated ring proportions. Create a Saturn with impossible ring colors. Experiment with geometric or abstract interpretations.
Art allows infinite creative freedom once you understand the fundamentals.
Common Mistakes and How to Avoid Them
Watch out for these frequent beginner errors.
Ring Alignment Issues
The most common problem involves rings that don't properly align with the planet's equator or don't maintain consistent tilt angles across all ring ellipses.
Always use that central guideline and check that all your ellipses share the same angle and center point.
Proportion Problems
Rings that are too narrow look unimpressive. Rings too wide appear cartoonish. Study reference images to understand natural proportions.
Generally, the full ring system extends about two and a half times the planet's diameter.
Flat-Looking Results
If your Saturn looks flat despite following all steps, shading is probably the culprit. Increase contrast between light and dark areas. Ensure shadows and highlights follow the spherical form.
Conclusion
Learning how to draw Saturn planet step by step for beginners opens doors to both artistic expression and scientific appreciation of our amazing solar system. The combination of simple geometric shapes with thoughtful shading creates impressive results that belie the technique's accessibility. As your confidence grows, experiment with different angles, color schemes, and artistic styles to make each Saturn uniquely yours. This fundamental skill provides a foundation for drawing other planets, space scenes, and countless subjects beyond astronomy.
Read next: How to Draw 3D Art: Simple Techniques for Beginners
Frequently Asked Questions
1.What size should I draw Saturn for best results?
A planet diameter of two to three inches gives enough space for details while fitting standard paper.
2.Do I need artistic experience to draw Saturn successfully?
No prior experience is necessary since this tutorial breaks everything into simple shapes anyone can draw.
3.How long does it typically take to complete this drawing?
Beginners usually complete a basic Saturn drawing in thirty minutes to one hour depending on detail level.
4.Can children follow this Saturn drawing tutorial?
Yes, children ages seven and older can successfully follow these steps with occasional adult guidance.
5.What's the most important element for making Saturn look realistic?
Proper ring overlap showing rings passing both in front and behind the planet creates convincing depth.
Stay up to date with our latest ideas!