15 Pencil Drawing Ideas to Inspire Your Next Artwork
Discover 15 inspiring pencil drawing ideas from portraits to landscapes. Perfect for artists seeking fresh subjects to master graphite techniques!
Remember that satisfying feeling when pencil meets paper and magic starts flowing from your fingertips? There's something wonderfully pure about pencil drawing that digital art just can't replicate. Maybe it's the gentle scratch of graphite on paper, or how easily you can shade from whisper-light to midnight-dark with just pressure changes. Whether you're clutching your first 2B pencil or you've been sketching for years, finding fresh inspiration can feel like searching for diamonds in your couch cushions. But here's the thing: inspiration surrounds us everywhere, waiting to be captured in shades of gray! From the crinkles around your grandmother's eyes to the way morning light hits your coffee mug, the world offers endless subjects for your pencil. Ready to break through that creative block and fill your sketchbook with drawings that'll make your artist friends jealous? Let's explore ideas that'll reignite your passion for graphite!
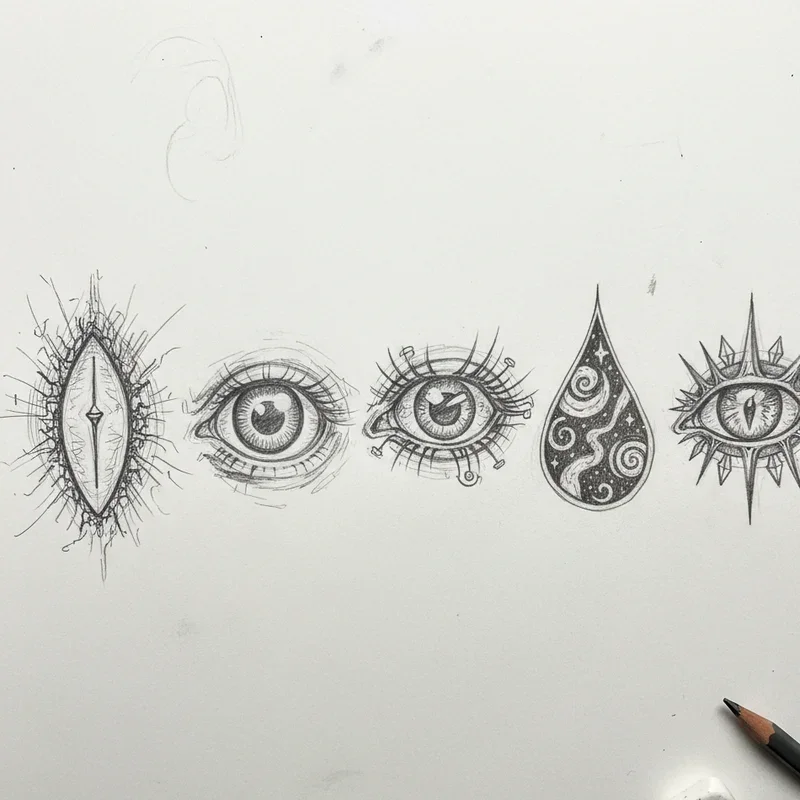
1. Draw Expressive Eye Studies
Eyes tell stories that words never could, making them perfect subjects for developing your observational skills and emotional depth. Start by studying different eye shapes: almond, round, hooded, or deep-set, noting how each creates unique character. Focus on capturing the iris texture with tiny radial lines emanating from the pupil, building layers gradually for realistic depth. Don't forget the often-overlooked details: tear ducts, lower lash reflections, and that subtle wetness suggesting life. Practice drawing eyes showing various emotions; notice how squinting creates crow's feet while surprise lifts eyebrows and widens pupils. Study how light creates catchlights that bring eyes alive, typically appearing at 10 or 2 o'clock positions. Try drawing eyes from unusual angles or partially closed, pushing beyond the standard forward-facing view. Each eye study teaches patience while improving your ability to convey emotion through subtle details.
2. Create Detailed Hand Positions
Hands intimidate many artists, but mastering them unlocks infinite storytelling possibilities in your artwork. Begin with your non-dominant hand as a model, always available and free! Start with basic shapes: the palm as a square, fingers as cylinders, understanding proportions before adding complexity. Practice different positions: relaxed, fisted, pointing, or holding objects, each presenting unique challenges in foreshortening and perspective. Pay attention to knuckle placement, skin creases, and how tendons create subtle surface variations. Draw hands of different ages; baby hands with dimpled knuckles versus elderly hands with pronounced veins tell vastly different stories. Study how light defines form, creating shadows between fingers and highlighting knuckles. Include gestures that convey emotion: gentle touches, nervous fidgeting, or confident poses. Your hand drawings become visual vocabulary for human expression and interaction.

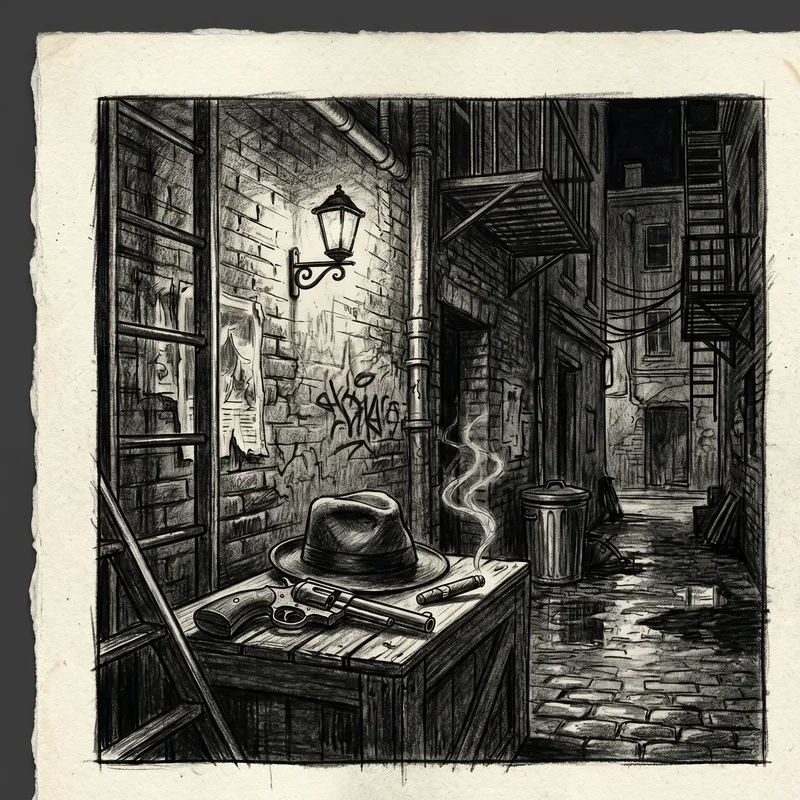
3. Sketch Urban Architecture
Transform concrete jungles into artistic playgrounds by sketching buildings that showcase perspective, texture, and urban character. Start with one-point perspective drawing a street vanishing into distance, adding buildings that follow those invisible guidelines. Observe how windows create rhythm, fire escapes add diagonal interest, and architectural details like cornices provide personality. Capture different architectural styles: Art Deco's geometric patterns, Victorian's ornate details, or modernism's clean lines. Include urban elements that bring life: streetlights, signs, power lines creating web-like patterns overhead. Practice drawing buildings from worm's-eye view for drama or bird's-eye for complexity. Show weathering through careful shading: water stains, crumbling bricks, or graffiti adding urban authenticity. Your architectural sketches document places while teaching technical skills like perspective and proportion that apply to all drawing subjects.

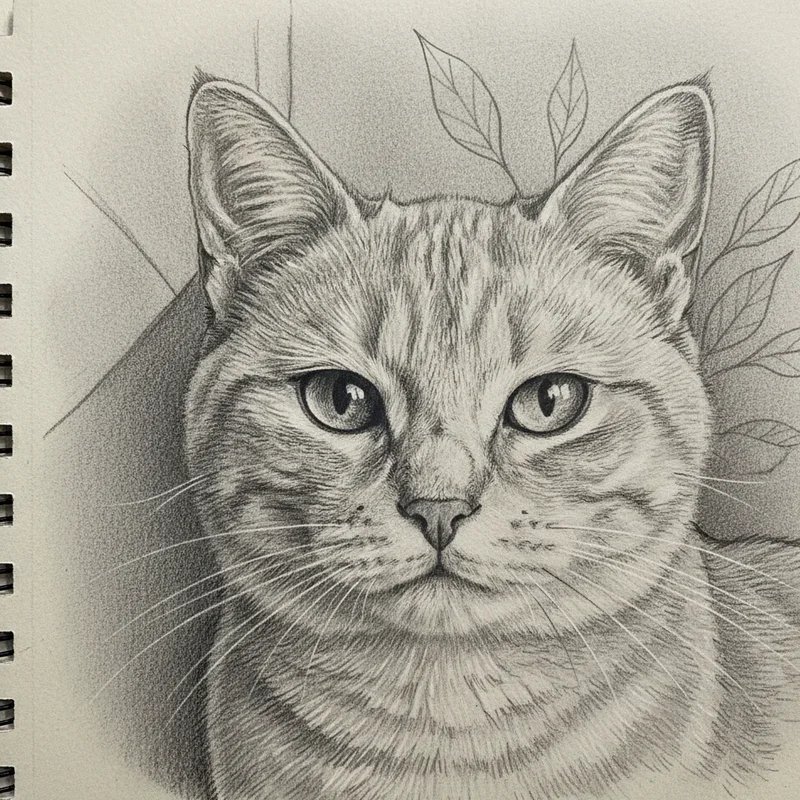
4. Capture Pet Portraits
Bring beloved furry friends to life on paper by mastering fur textures, expressive features, and unique personalities. Start with basic shapes underlying the animal: circles for heads, ovals for bodies, understanding skeletal structure beneath fur. Study fur direction patterns; it rarely grows uniformly, instead following body contours and creating natural divisions. Use varied pencil strokes for different fur types: short, precise marks for smooth coats, longer flowing lines for fluffy breeds. Capture personality through eyes and expression; a tilted head suggests curiosity while alert ears show attentiveness. Include environmental context: a favorite toy, sleeping spot, or characteristic pose that family members would recognize instantly. Pay special attention to noses and paws, often overlooked but essential for believable pet portraits. These drawings become treasured keepsakes while teaching you to observe and reproduce natural textures.
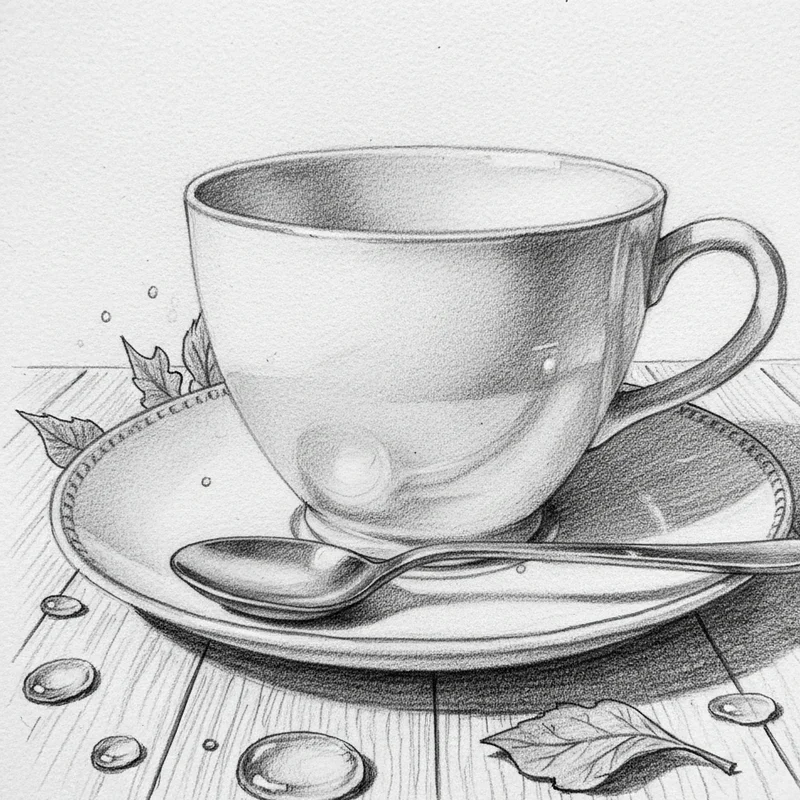
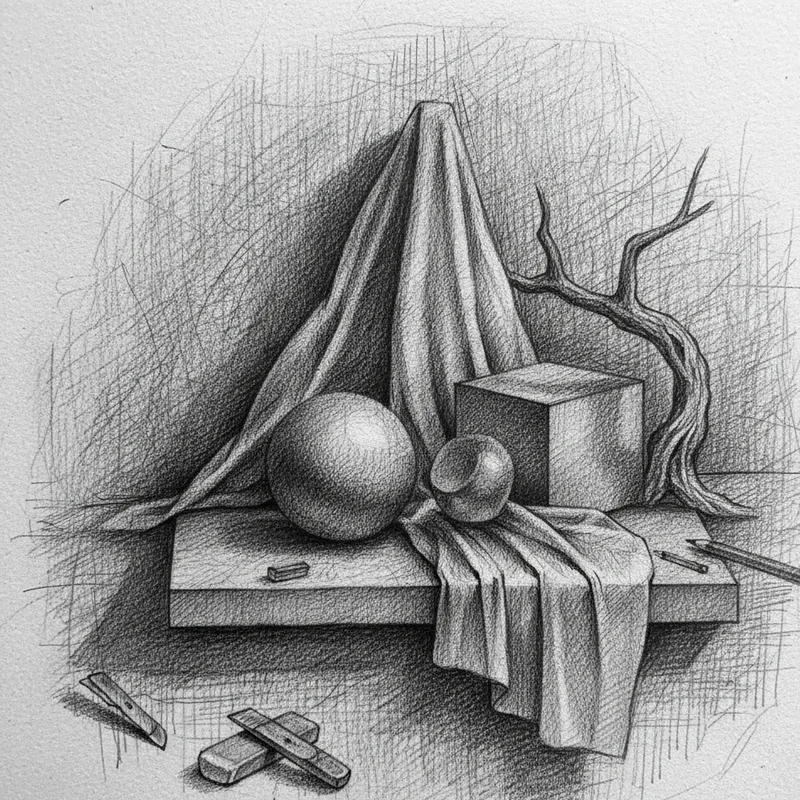
5. Draw Still Life with Dramatic Lighting
Master light and shadow by arranging everyday objects under dramatic lighting that transforms ordinary into extraordinary. Set up a single strong light source, like a desk lamp, creating bold shadows and bright highlights that define form. Choose objects with varied textures: smooth glass, rough fabric, metallic surfaces, organic fruits, each responding differently to light. Focus on cast shadows, observing how they change based on light angle and object distance from surfaces. Practice different lighting setups: backlighting for silhouettes, side lighting for texture emphasis, or top lighting for mysterious moods. Study reflected light bouncing between objects, subtle but crucial for realistic rendering. Include transparent or reflective objects challenging you to show what's behind or reflected within them. Your still life drawings teach fundamental skills while creating moody, atmospheric artwork from simple subjects.

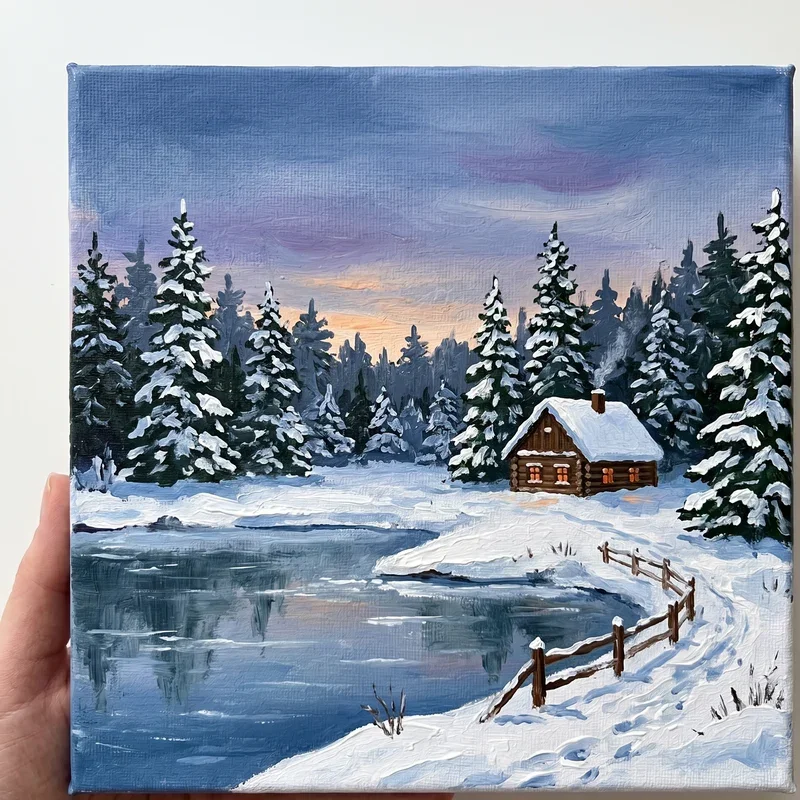
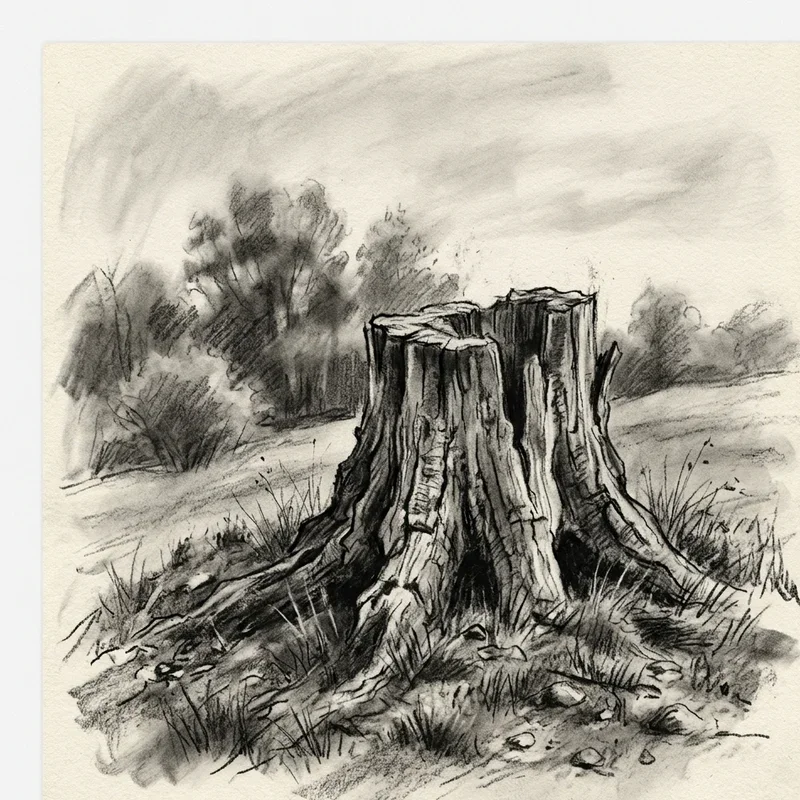
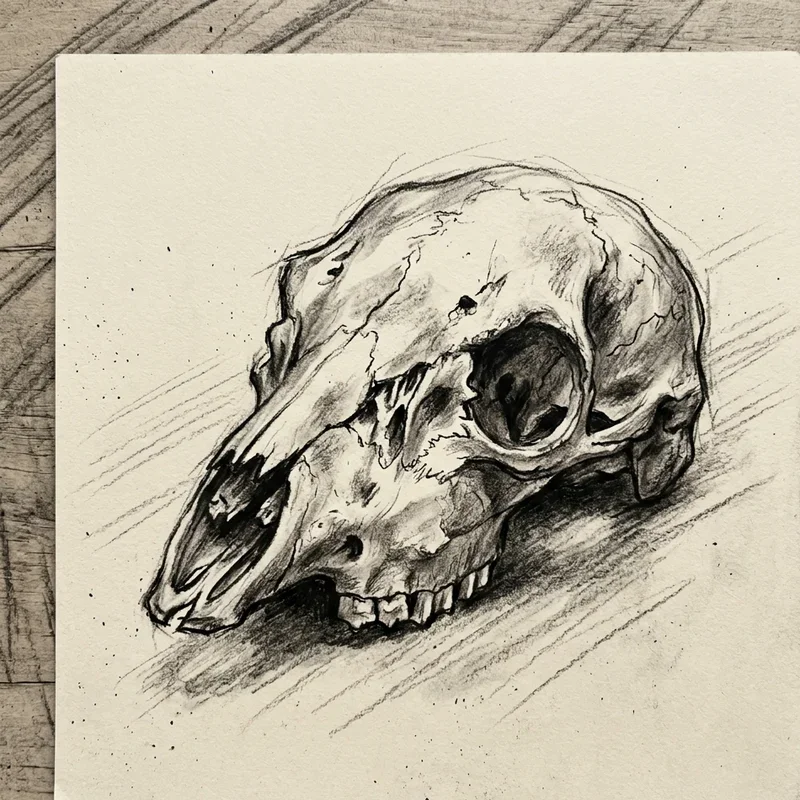
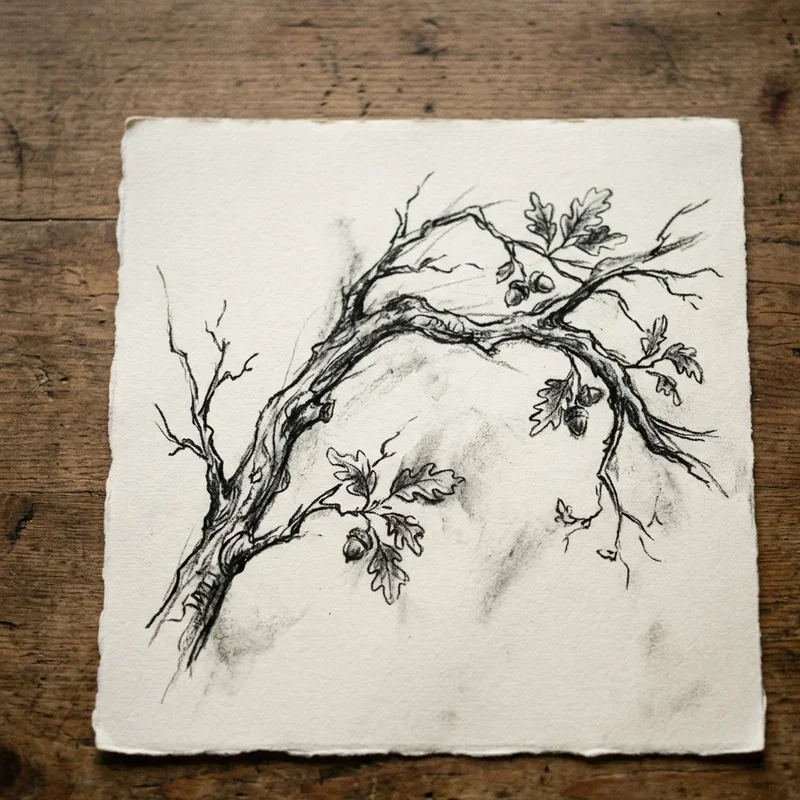
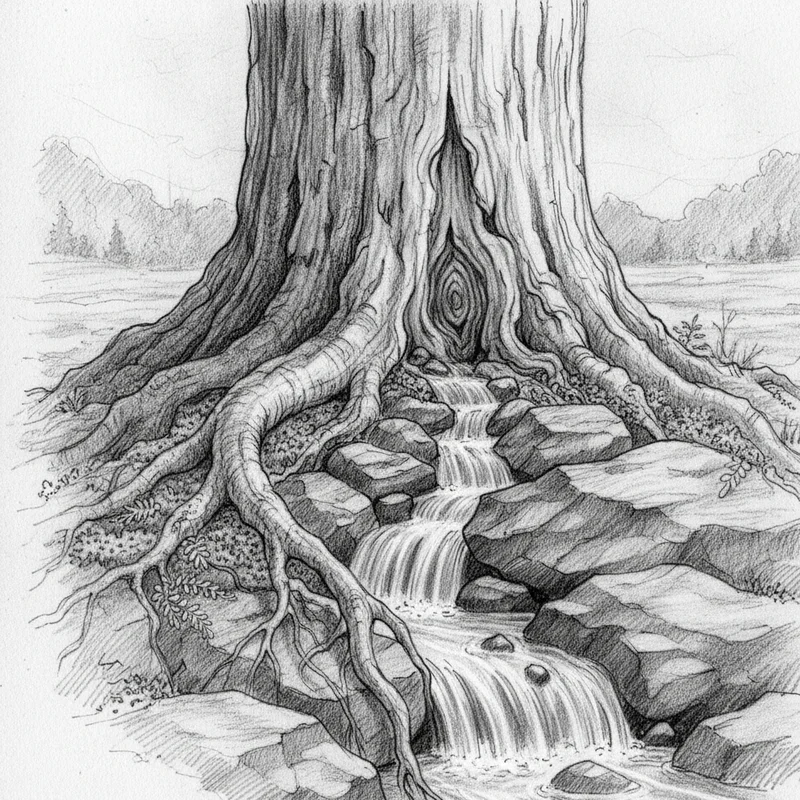
6. Create Nature's Textures
Explore the natural world's infinite textures by drawing bark, leaves, rocks, and water with careful observation and varied techniques. Study tree bark patterns: deep grooves of oak, papery peeling birch, or smooth beech, using different pencil strokes for each. Draw leaves showing veining patterns, insect damage, or seasonal changes through careful value gradation. Capture rock surfaces from smooth river stones to jagged cliff faces, using side-pencil shading for rough textures. Practice drawing water: still pond reflections, flowing stream movement, or ocean wave foam, each requiring different approaches. Include weather elements like rain streaks, snow accumulation, or wind effects on grass. Use various pencil grades strategically: harder for fine details, softer for deep shadows and smooth gradients. Nature drawing connects you to the environment while building an extensive texture vocabulary for future artworks.
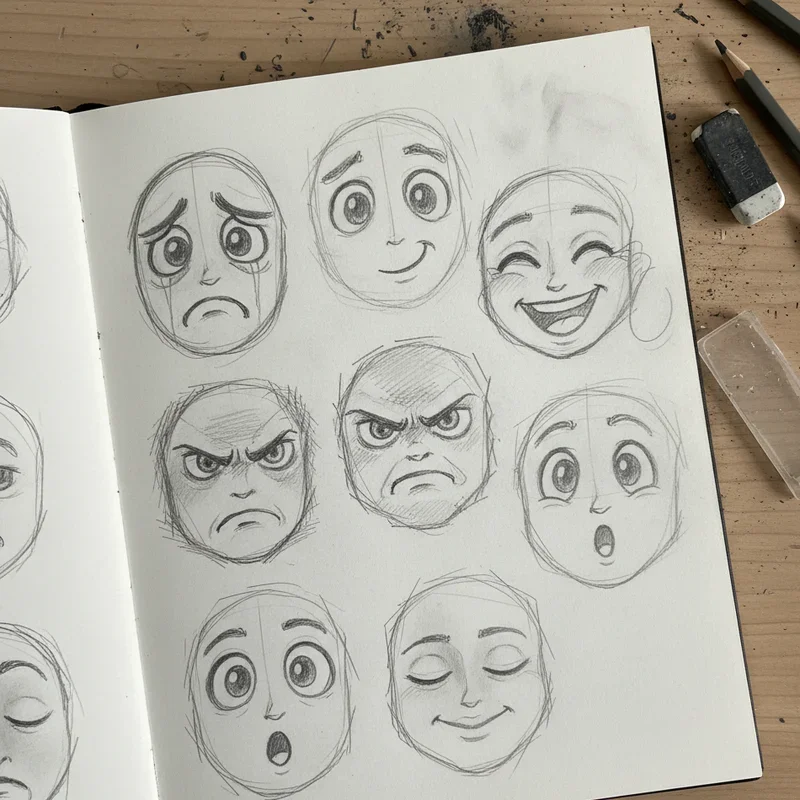
7. Sketch Self-Portraits in Different Moods
Become both artist and subject by creating self-portraits that explore emotional range and technical skills simultaneously. Set up a mirror at comfortable drawing distance, ensuring consistent lighting throughout your session. Start with proportional guidelines: eyes halfway down head, nose bottom at ear bottom, mouth one-third between nose and chin. Draw yourself expressing different emotions: joy, sadness, contemplation, surprise, noticing how facial muscles create unique wrinkle patterns for each. Try various angles beyond straight-on: three-quarter view for dynamism, profile for classical elegance, or from below for drama. Experiment with different lighting moods using lamps or window light at various times. Include context suggesting mood: messy hair for exhaustion, formal clothing for confidence. Self-portraits offer always-available subjects while teaching honest observation and emotional expression through drawing.
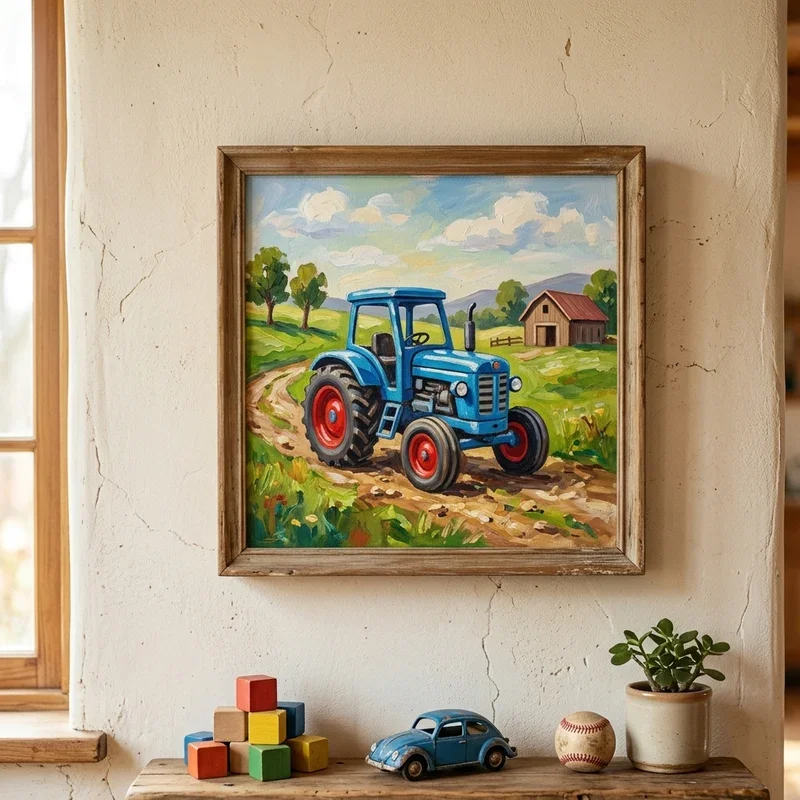
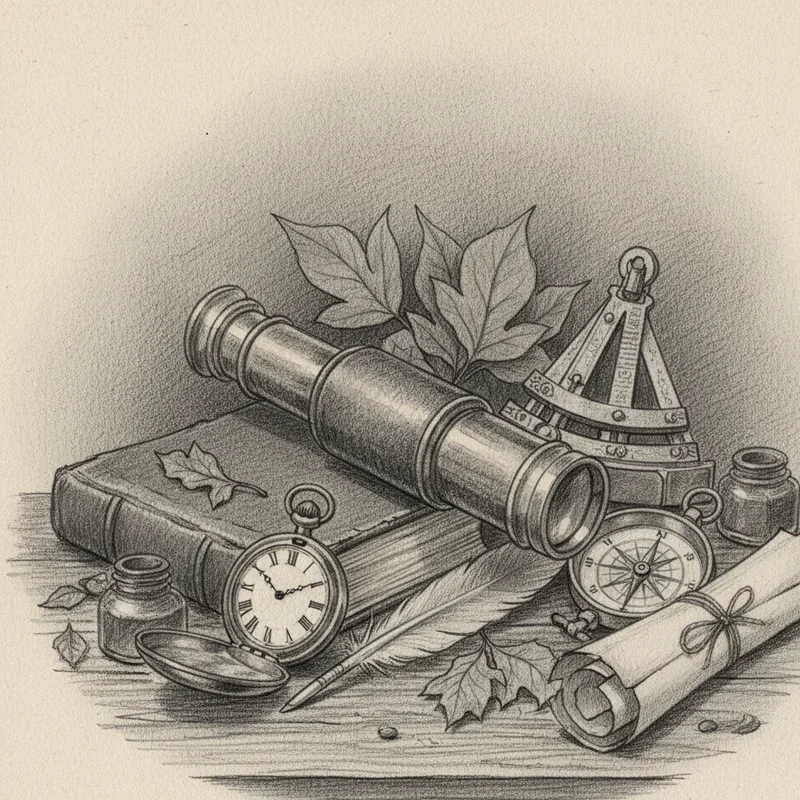
8. Draw Vintage Objects
Travel through time by sketching vintage objects that tell stories through worn surfaces, outdated designs, and nostalgic charm. Visit antique shops, flea markets, or raid grandparents' attics for subjects like typewriters, rotary phones, or pocket watches. Focus on wear patterns: scratched surfaces, faded labels, rust spots that suggest years of use and stories untold. Capture intricate mechanical details often visible in older objects: clock gears, typewriter keys, radio dials requiring precise observation. Study how different materials age: tarnished metal, yellowed plastic, cracked leather, each requiring specific shading techniques. Include period-appropriate contexts or companion objects suggesting the era. Practice lettering and typography found on vintage items, adding authenticity to your drawings. These sketches preserve history while teaching you to find beauty in imperfection and age.
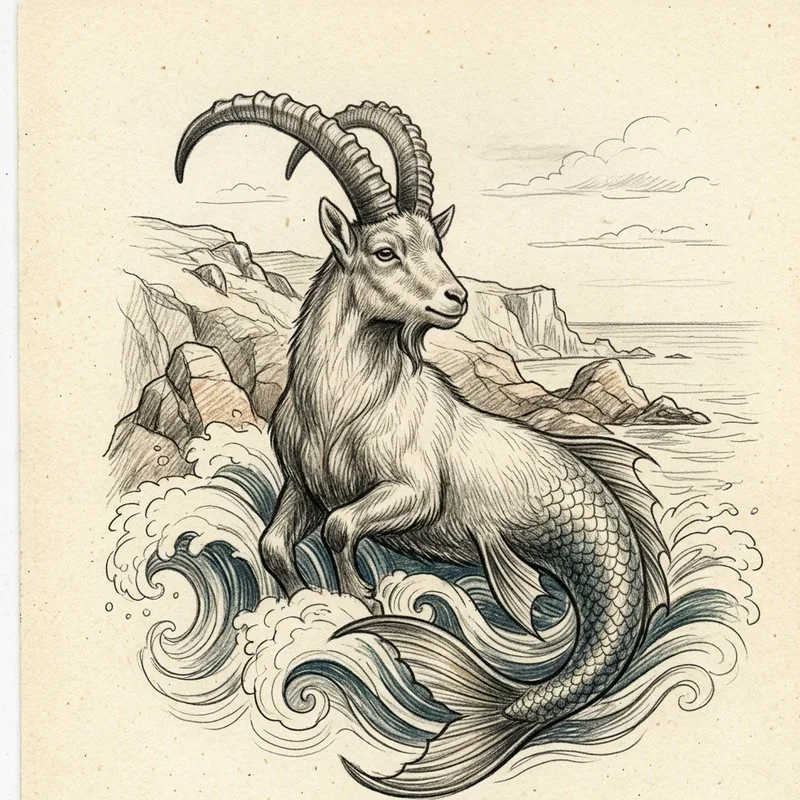
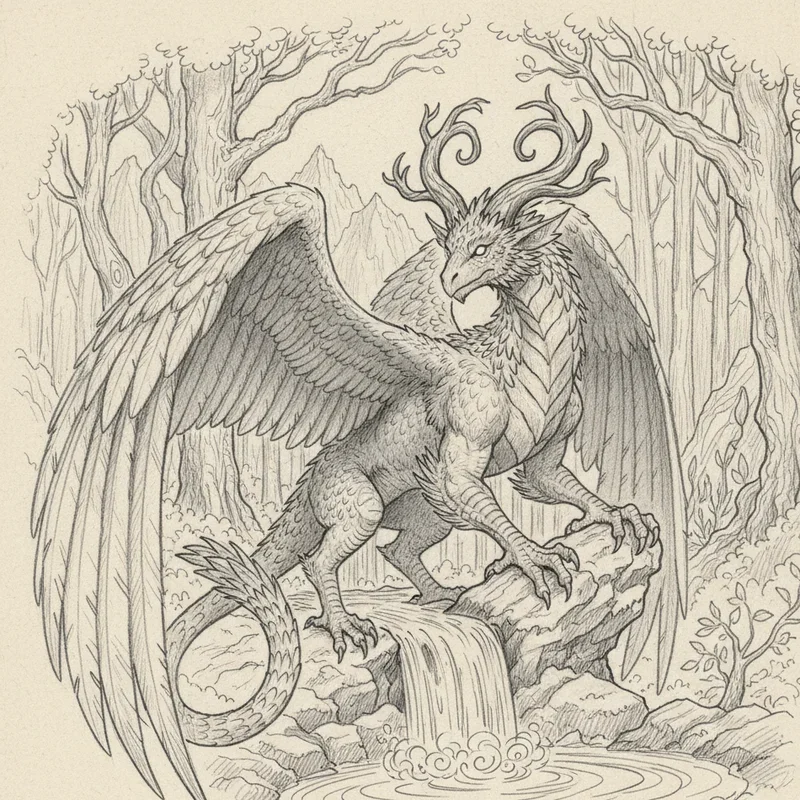
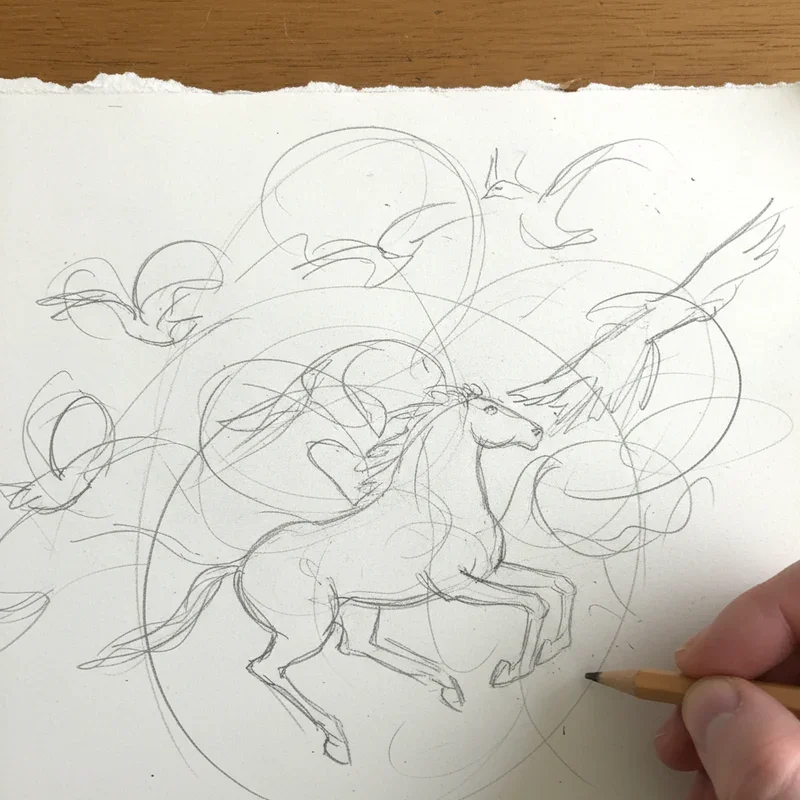
9. Create Fantasy Creatures
Unleash imagination by designing fantasy creatures that blend realistic anatomy with creative invention. Start with familiar animal anatomy as foundation, then modify and combine features creating believable impossibilities. Consider function following form: wing size supporting body weight, claw shape suggesting diet, eye placement indicating predator or prey. Develop unique textures combining scales, feathers, fur in logical patterns that suggest evolution and habitat. Create backstories influencing design: desert dwellers might have protective scales, while forest creatures could have camouflaging patterns. Study real unusual animals for inspiration: platypuses, anglerfish, or mantis shrimps already seem fantastical. Include environmental elements suggesting your creature's world and lifestyle. Practice conveying personality through posture and expression, making viewers empathize with imaginary beings. Fantasy drawing frees creative constraints while still requiring solid foundational skills.
10. Sketch Movement and Gesture Drawings
Capture life's dynamism through quick gesture drawings that prioritize movement and energy over perfect details. Set time limits: 30 seconds for initial gesture, 2 minutes for basic forms, forcing quick decision-making and confident lines. Draw people in motion: walking, dancing, playing sports, focusing on action lines that convey movement direction and force. Practice drawing from life when possible; cafes, parks, or public transport offer endless moving subjects. Study how clothing responds to movement: flowing, bunching, stretching in ways that emphasize action. Use continuous line drawing occasionally, never lifting pencil, creating fluid, energetic sketches. Include multiple overlapping poses showing movement sequences, like animation frames. Focus on weight distribution and balance points that make poses believable. Gesture drawing improves observation speed and teaches capturing essence quickly.
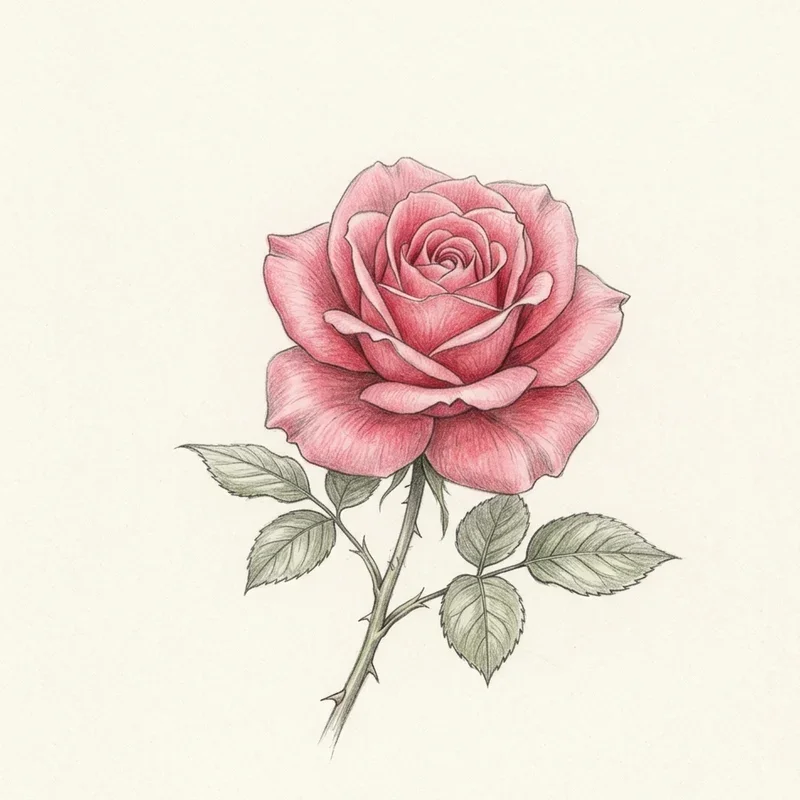
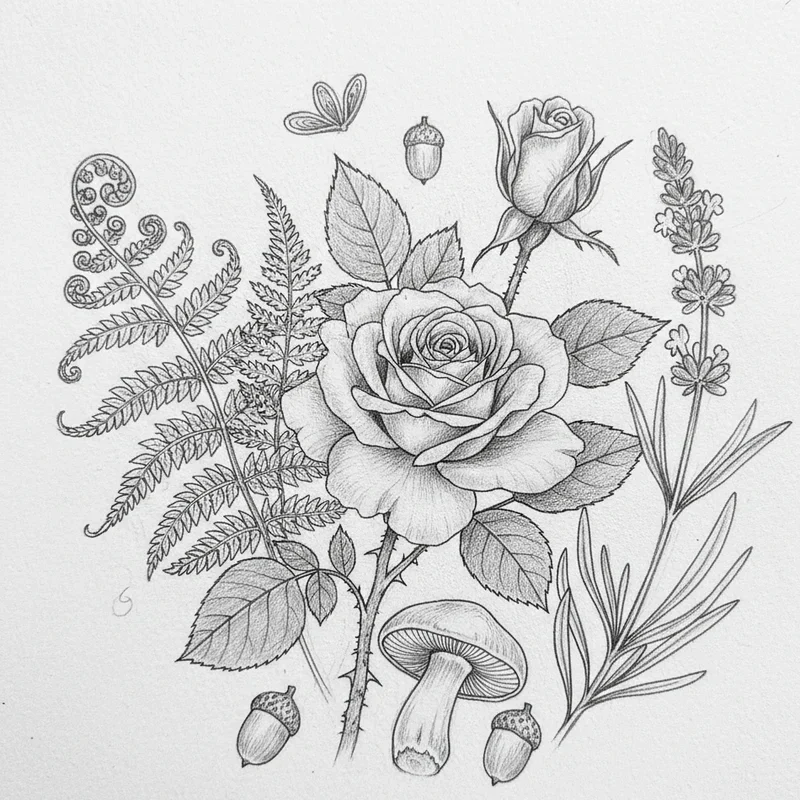
11. Draw Botanical Illustrations
Channel scientific accuracy meeting artistic beauty by creating detailed botanical illustrations worthy of field guides. Study plant structure: how leaves attach to stems, petal arrangements, seed pod formations, understanding botany improves artistic accuracy. Draw specimens at various life stages: buds, full bloom, seed production, showing complete life cycles. Include cross-sections revealing internal structures: seed chambers, stem vessels, root systems normally hidden. Use stippling for subtle texture on petals, hatching for leaf veining, creating dimension without overwhelming delicate subjects. Practice botanical illustration conventions: showing front and profile views, actual size indications, detail callouts of specific parts. Label parts if desired, integrating text elegantly into compositions. Work from real specimens when possible, noting imperfections that add authenticity. Botanical drawing teaches patience and precision while creating artwork that's both beautiful and educational.
12. Create Weathered Face Portraits
Celebrate life's journey by drawing weathered faces where every line tells stories of laughter, worry, and wisdom. Focus on elderly subjects whose faces offer rich texture through wrinkles, spots, and sagging skin. Study how skin folds: crow's feet from smiling, forehead lines from expression, jowls from gravity's patient work. Capture character through asymmetry; perfectly symmetrical faces lack the authenticity that makes portraits compelling. Pay attention to how aged skin reflects light differently: more matte than young skin, with deeper shadows in creases. Include details like liver spots, scars, or distinctive features that make faces unique. Draw from life when possible or use high-resolution photographs showing skin texture clearly. Show personality through expression and eye engagement that transcends physical aging. These portraits honor human experience while challenging technical skills through complex textures.

13. Sketch Everyday Objects with New Perspective
Transform mundane objects into fascinating subjects by drawing them from unexpected angles or in unusual contexts. Draw your coffee mug from inside looking out, or shoes from sole perspective looking up. Use macro perspective making tiny objects monumental: pencil shavings becoming mountain ranges, crumpled paper resembling landscapes. Practice extreme foreshortening with common objects extending toward viewer, challenging spatial understanding. Create visual puns placing objects in unexpected contexts that change their meaning. Study how different viewpoints reveal hidden geometries in familiar forms. Include dramatic shadows that make simple objects mysterious or theatrical. Combine multiple perspectives of the same object in one drawing, showing all sides simultaneously cubism-style. This exercise breaks habitual seeing patterns while finding extraordinary in ordinary surroundings.
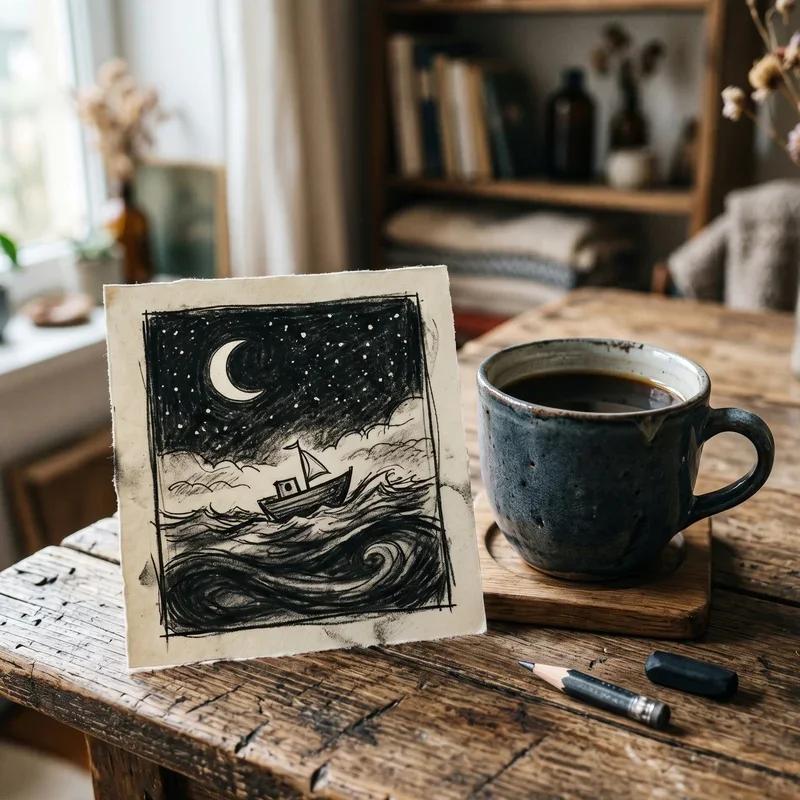
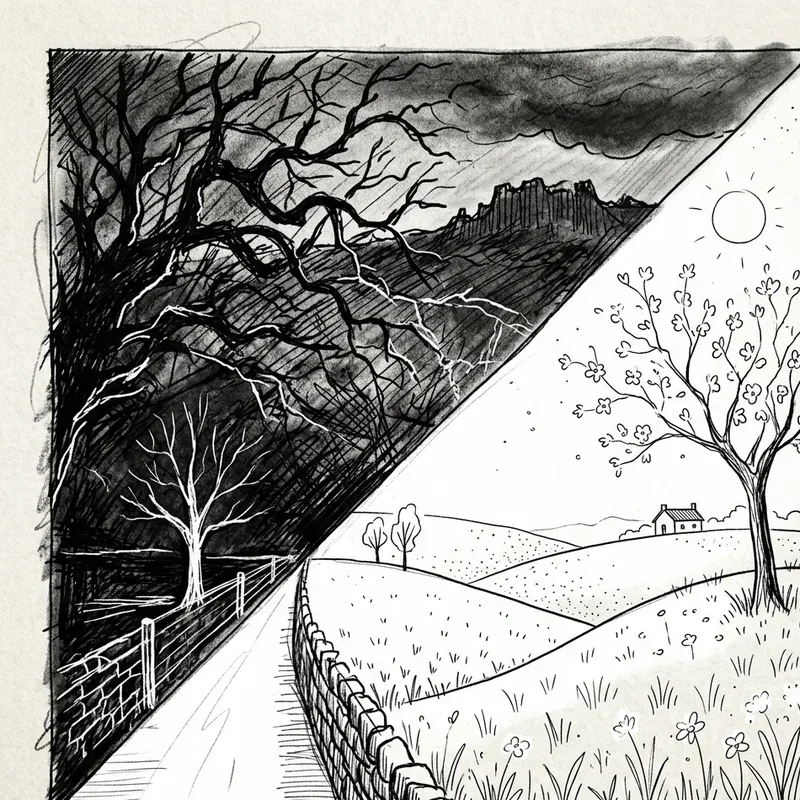
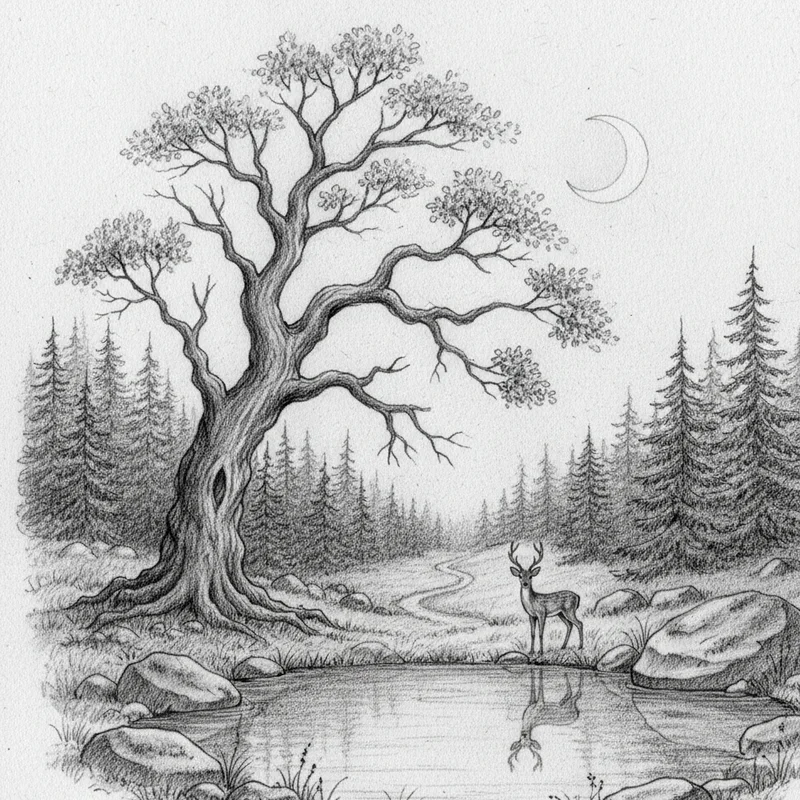
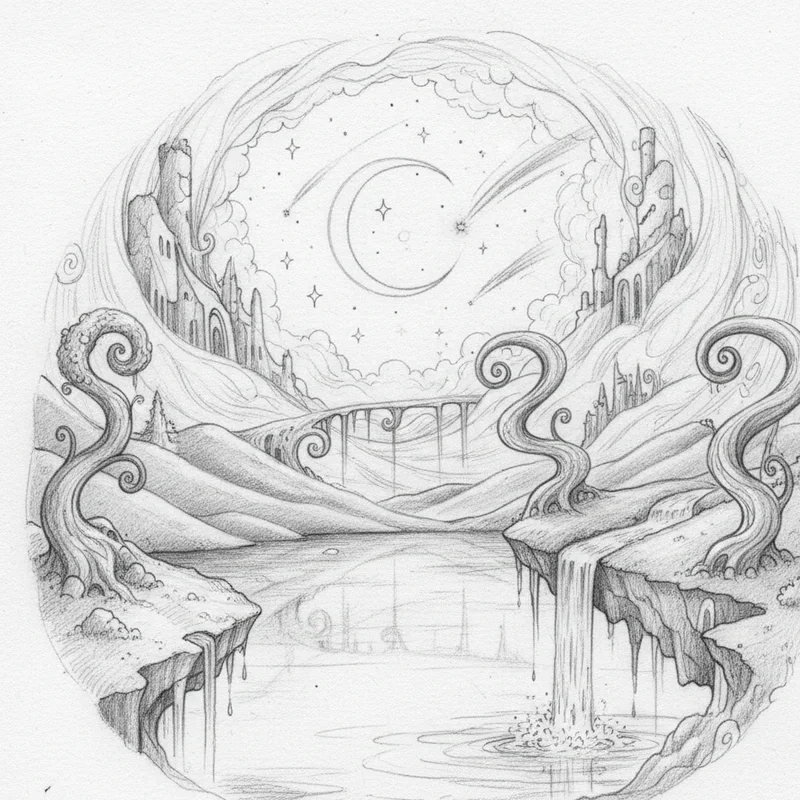
14. Draw Dreamscape Scenes
Venture beyond reality by creating surreal dreamscapes where logic bends and imagination rules supreme. Combine unexpected elements: fish swimming through clouds, trees growing downward, or staircases leading nowhere. Use perspective tricks creating impossible spaces like Escher's work, challenging viewers' perception. Blend textures unusually: water flowing like fabric, solid objects melting, or soft things appearing crystalline. Create atmosphere through careful value control, using soft edges and gradual transitions suggesting dream haziness. Include symbolic elements meaningful to you personally or universally recognized dream symbols. Practice seamless transitions between disparate elements, making impossible seem plausible within dream logic. Play with scale relationships: tiny elephants on flower petals or enormous teacups as swimming pools. Dreamscape drawing frees you from realistic constraints while still requiring strong technical skills for convincing execution.
15. Create Cross-Hatching Masterpieces
Master this classical technique by creating entire drawings using only crossed lines to build value, texture, and form. Start with simple forms practicing consistent line spacing and angle control for even tones. Vary line density for different values: sparse for light areas, dense overlapping for deep shadows. Experiment with line direction following form contours, reinforcing three-dimensional illusion through mark-making. Create texture variety using different cross-hatching patterns: regular grids for smooth surfaces, irregular for rough textures. Practice transitioning smoothly between values without harsh boundaries unless desired for effect. Study master examples from Dürer to modern artists, analyzing their mark-making strategies. Challenge yourself with complex subjects requiring various textures within single drawings. Cross-hatching develops patience and control while creating distinctive artistic style using purely linear marks.
Conclusion
Pencil drawing offers endless possibilities for artistic expression, from realistic portraits to imaginative dreamscapes. These 15 ideas provide launching points for your creative journey, each teaching different skills while keeping your passion alive. Remember, every master artist started with simple lines on paper. The key lies in consistent practice and staying curious about the world around you. So grab your pencils and start sketching your unique vision today!
Read next: 15 Color Pencil Drawing Ideas for Creative Sketches
Frequently Asked Questions
Q1: What pencil grades should beginners start with for drawing?
A: Start with HB, 2B, and 4B pencils for versatile light to dark value ranges.
Q2: How long should I practice drawing daily to improve?
A: Even 15-30 minutes daily creates noticeable improvement within a few weeks of practice.
Q3: Should I use reference photos or draw from life?
A: Both offer benefits; life drawing trains observation while photos provide consistent reference availability.
Q4: What paper type works best for pencil drawings?
A: Medium-tooth drawing paper around 70-90lb weight provides good texture without excessive grain interference.
Q5: How do I prevent pencil drawings from smudging?
A: Use fixative spray, work left-to-right if right-handed, and place paper under your hand.
Stay up to date with our latest ideas!